To shift from Gmail to Proton Mail without losing your emails, start by exporting your Gmail data using Google Takeout, selecting only relevant emails. Next, set up your Proton Mail account, choosing a plan that fits your needs, and personalize the settings. Use Proton’s Easy Switch tool to securely import your emails, contacts, and calendars. Make certain your devices are synchronized, and notify your contacts of your new address. Continue exploring for detailed steps to make the changeover seamless.
Quick Guide
- Use Google Takeout to export and download your Gmail data securely before migration.
- Utilize Proton Mail’s Easy Switch tool to transfer emails, contacts, and calendars directly.
- Enable IMAP in Gmail and configure Proton Mail to sync existing emails seamlessly.
- Notify contacts of your new Proton Mail address to ensure continuous communication.
- Keep Gmail active as an archive for several months to prevent data loss during transition.
Try Proton for 14 days free, and get US$20 in credits
Why Moving From Gmail to Proton Mail Protects Your Privacy
Switching from Gmail to Proton Mail considerably improves your privacy because Proton Mail uses advanced encryption advantages, ensuring only you and your recipient can read your messages. Its jurisdictional protections, stored in Switzerland, shield your data from US surveillance laws. Zero-access encryption prevents Proton from reading your messages, giving you true freedom and control over your personal information. Additionally, Proton’s bundled services can provide a cost-effective way to access multiple privacy-focused tools in one subscription.
Prepare and Export Your Gmail Data for a Smooth Migration
To guarantee a smooth migration from Gmail to Proton Mail, you need to start by exporting your existing email data properly.
Use Google Takeout to select and filter emails, ensuring only relevant messages are included.
Focus on email encryption and spam filtering preferences, control archive size, and verify data integrity before download.
Safeguarding your data’s privacy during the changeover is essential.
Additionally, consider your privacy and security concerns when choosing how to transfer or access your emails to ensure your information remains protected during the migration process.
Set Up Your Proton Mail Account and Customize Settings
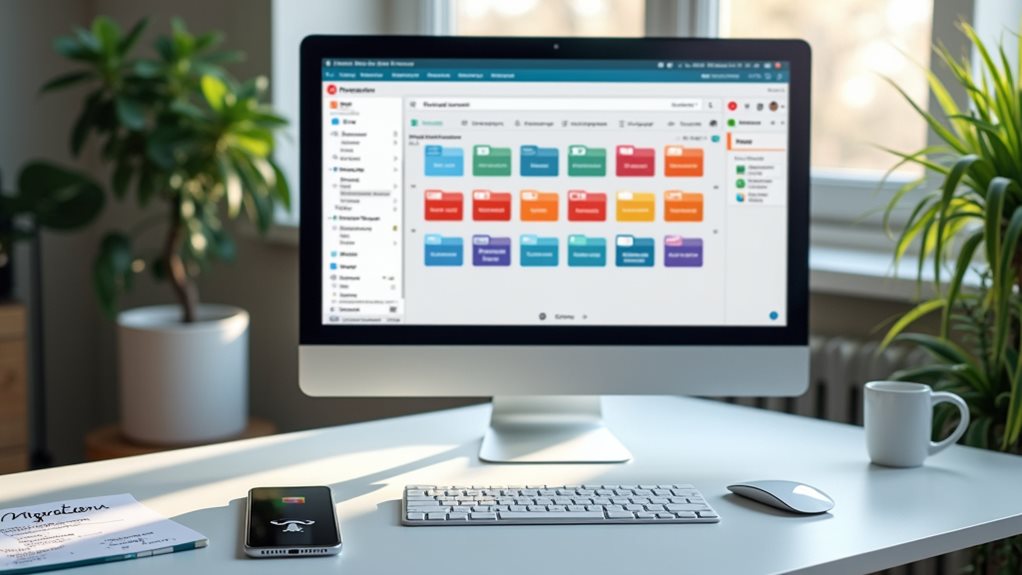
Once you’ve created your Proton Mail account, it’s important to choose the right plan and customize your interface settings to suit your preferences. Setting up your email signature and display name helps establish your identity and maintains professionalism in your communications. Taking these steps guarantees your account is both secure and adapted for efficient use from the start, especially if you utilize features like security protocols to enhance your privacy.
Register and Choose Plan
Are you ready to set up your Proton Mail account? Start by choosing a plan that fits your needs — the free tier offers basic security with 1 GB storage, while paid plans provide more space and features.
Make sure your username is unique, create a strong password, and verify you’re human.
Consider adding recovery options for added account security.
Personalize Interface Settings
After registering and selecting a plan, you can personalize your Proton Mail interface to suit your preferences through interface customization and accessibility enhancements.
You can:
- Choose from eight inbox views and composer layouts
- Enable dark themes or switch themes easily
- Adjust font size, family, and scrollbar settings
- Customize the mobile toolbar for quick actions
- Upload your organization’s logo for branding
These options help you create a customized, accessible workspace.
Try Proton for 14 days free, and get US$20 in credits
Set Up Email Signature
Setting up your email signature in Proton Mail is an important step to personalize your outgoing messages and maintain professionalism.
To do this, access the Signature Configuration Menu via account.proton.me, then move to “Identity and addresses.”
You can create a simple text signature or import formatted HTML.
Signature customization allows you to manage multiple addresses and guarantee your signature displays correctly.
Transfer Emails, Contacts, and Calendars to Proton Mail

To transfer your emails, contacts, and calendars from Gmail to Proton Mail, you can use Proton’s built-in migration tool called Easy Switch.
- Grant necessary permissions via OAuth for a secure transfer.
- Customize your import by selecting specific data types and time ranges.
- Exclude folders or change labels for clarity.
- Enable email forwarding to capture new messages during migration.
- Guarantee data backup and email encryption for privacy and safety.
A Mode Not Supported error message may appear if there is a resolution mismatch or connectivity issue, so ensuring proper settings can help facilitate a smooth migration process.
Manage Devices and Apps During Your Migration
Managing your devices and apps during your migration guarantees a smooth shift from Gmail to Proton Mail. Enable IMAP access, update app configurations, and verify permissions to make certain device synchronization.
Remove old Gmail credentials after initial import, re-log into Proton Mail apps, and check notification settings. This approach maintains seamless email flow and data consistency across all your devices.
Wrap Up: Finalize Your Switch and Notify Your Contacts

Once your data is fully migrated, you should notify your important contacts about your new Proton Mail address to guarantee smooth communication.
Update your online accounts and profiles to reflect the change, reducing the risk of missed messages.
Finally, gradually decommission your Gmail account by disabling or setting it to read-only mode after confirming all data and contacts have been transferred.
Consider exploring email security features to ensure your new account remains protected.
Notify Important Contacts
As you finalize your switch from Gmail to Proton Mail, it’s essential to notify your important contacts clearly and efficiently.
- Use a template that explains your new Proton Mail address and reasons for switching.
- Request contacts update their email directories to avoid spam filters blocking messages.
- Highlight Proton Mail’s email encryption for added security.
- Set a timeline for shifting entirely.
- Verify contacts received your message to guarantee a smooth switch.
Update Online Accounts
When finalizing your switch from Gmail to Proton Mail, it’s important to update your online accounts systematically to facilitate a smooth changeover and maintain security.
Focus on sensitive accounts first, enabling 2FA and verifying email notifications. Make certain email verification is complete, update recovery options, and document each change.
This protects account security and prevents gaps during your transition.
Gradually Decommission Gmail
To effectively wrap up your switch from Gmail, it’s important to carefully decommission the account.
- Verify your alternate email for account recovery before closure.
- Keep Gmail as an archive for 6–12 months to guarantee email encryption and access.
- Transfer folders via IMAP, deleting spam and unnecessary data beforehand.
- Download Gmail data for offline backup and local storage.
- Notify contacts of your new address to complete the handover smoothly.
Wrapping Up
Once you’ve completed the migration process, double-check that all your emails, contacts, and calendar events have transferred correctly. Update your contacts about your new Proton Mail address to guarantee smooth communication. Remember to log out of Gmail and remove related apps from your devices if necessary. This final step helps protect your privacy and confirms your switch is complete. Staying organized during this shift assures a seamless change to your new, more secure email service.