When your Blink cameras fail to arm, start by checking signal strength in the app’s Device Settings – you’ll need at least 3 bars for reliable performance. Verify you’re connected to a 2.4GHz Wi-Fi network and check for scheduling conflicts that might override manual commands. Confirm motion detection is enabled on all cameras and look for the “Running Man” icon indicating armed status. Power cycle your cameras and Sync Module if connectivity issues persist, and consider moving cameras closer to improve range. Understanding these additional troubleshooting steps will assist you in resolving persistent arming problems completely.
Quick Guide
- Check for overlapping schedules in the Blink app that may override manual arming commands.
- Ensure cameras have at least 3 signal strength bars and are within 40-50 feet of the Sync Module.
- Verify motion detection is enabled on all cameras and look for the “Running Man” icon indicating armed status.
- Temporarily disable all schedules to test manual arming and identify conflicting automated settings.
- Power cycle your router and ensure cameras connect to a stable 2.4 GHz Wi-Fi network.
Check Signal Strength Between Cameras and Sync Module
When your Blink cameras experience connectivity issues, checking the signal strength between your cameras and Sync Module should be your first troubleshooting step.
Access this information by tapping More (…), then Device Settings, then General Settings in your Blink app.
Look for signal strength bars under the Network section. Yellow or red icons indicate weak connectivity requiring immediate attention.
Aim for 3 bars signal strength to ensure optimal performance for Live Views, motion clips, and video quality.
Verify Wi-Fi Network Connectivity Requirements
After confirming your cameras have adequate signal strength with the Sync Module, you’ll need to verify that your Wi-Fi network meets Blink’s specific connectivity requirements.
Start by checking that your signal strength remains consistent, then restart your network equipment to refresh all connections. Ensure your network uses a 2.4GHz frequency with 802.11b/g/n standards for proper device compatibility. Additionally, consider enabling WPA2 encryption to enhance the security of your network.
Finally, you should optimize your router’s placement to guarantee it’s positioned for maximum coverage throughout your camera system.
Check Signal Strength Requirements
Before troubleshooting camera connectivity issues, you’ll need to verify that your Blink cameras meet specific Wi-Fi network requirements for reliable operation.
Check signal strength in the Blink app under Device Settings > General Settings > Connection to Wi-Fi.
You’ll want at least three signal bars displayed. Yellow or red indicators mean weak signals that’ll impair functionality.
Restart Network Equipment
Network connectivity issues often stem from temporary glitches in your internet equipment that can disrupt your Blink cameras’ performance.
Power cycle your modem first, then your router, and finally your Sync Module.
Wait at least 30 seconds between each restart to allow full stabilization.
This sequence clears IP conflicts and refreshes network connections for ideal camera functionality.
Optimize Router Placement
While restarting your network equipment resolves many connectivity issues, proper router placement and Wi-Fi configuration form the foundation for reliable Blink camera performance.
Position your router centrally, avoiding basements or enclosed cabinets.
Confirm your network operates on 2.4 GHz with DHCP enabled.
Maintain minimum 2 Mbps upload speeds and use WPA2 security protocols for peak connectivity.
Resolve Scheduling Conflicts in the Blink App
When multiple schedules overlap in your Blink app, the system prioritizes lower-numbered schedules over higher ones. This can create unexpected conflicts that prevent your cameras from arming or disarming as intended.
You’ll need to identify these interference patterns by reviewing your schedule settings and checking whether your motion detection configurations are working properly with your planned home schedule management.
These conflicts often manifest as cameras remaining armed when they should disarm, or failing to activate during designated monitoring periods.
Schedule Interference Detection
If your Blink cameras aren’t arming or disarming as expected, scheduling conflicts within the Blink app might be the culprit.
Check your app for active schedules that may override manual commands. Look for overlapping timeframes or contradicting arm/disarm settings.
Temporarily disable all schedules to test if manual arming works. This’ll help you identify schedule-related interference.
Motion Detection Settings
Schedule conflicts often stem from incorrectly configured motion detection settings that work against your intended camera behavior.
Check if motion detection is enabled in Device Settings—without it, your system won’t arm properly.
Verify motion sensitivity isn’t set too low, preventing trigger activation.
Review motion zones to make certain you haven’t excluded critical detection areas accidentally.
Home Schedule Management
Although multiple schedules can coexist within your Blink system, overlapping timeframes create conflicts that prevent proper camera operation.
Priority goes to the schedule with the lower number, which overrides others.
Delete and recreate conflicting schedules to restore functionality.
Clear old schedules before setting new ones, and verify times don’t contradict each other to avoid system confusion.
Enable Motion Detection on All Cameras
Guarantee your Blink cameras capture every important moment by verifying that motion detection is active across your entire system.
Tap “More” on each camera thumbnail, then select “Motion Detection” to toggle it on. You’ll see a “Running Man” icon appear next to armed cameras.
Don’t forget to arm your system—motion clips only save when armed.
Power Cycle Cameras and Remove Batteries

When your Blink cameras aren’t responding or seem frozen, power cycling them by removing and reinserting the batteries often resolves these issues quickly.
Remove all batteries and wait at least 10 seconds to guarantee complete power discharge.
Reinsert the batteries with correct polarity and check the status lights to confirm normal operation resumes.
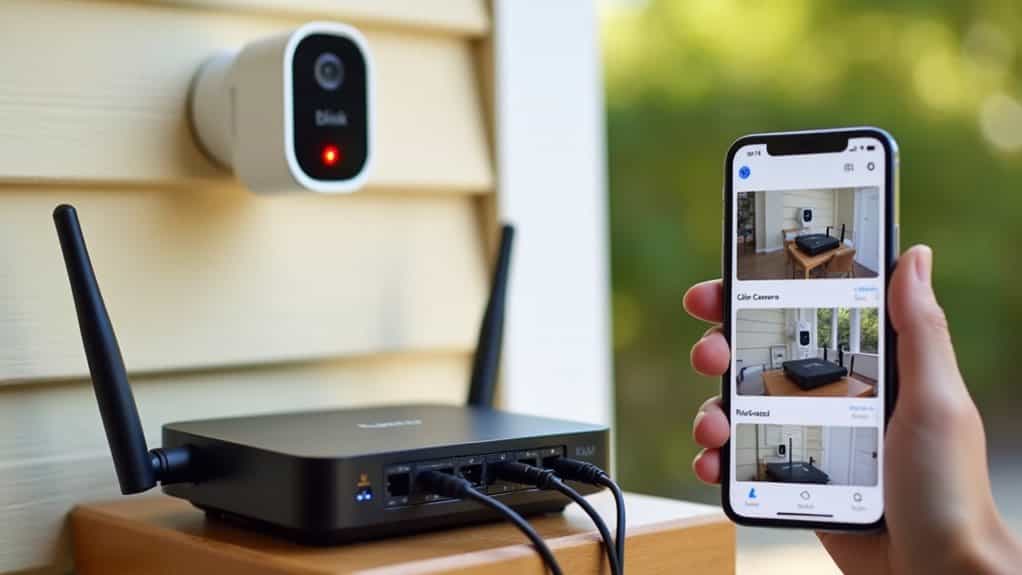
Reset the Sync Module and Network Equipment
If power cycling your cameras doesn’t resolve connectivity issues, the problem may stem from your Sync Module or network equipment.
Reset your Sync Module by pressing its back-mounted reset button for five seconds until the LED flashes red.
Next, power cycle your router and modem.
Finally, reconnect the Sync Module through your Blink app’s “Add Device” feature.
Update Blink App to Latest Version
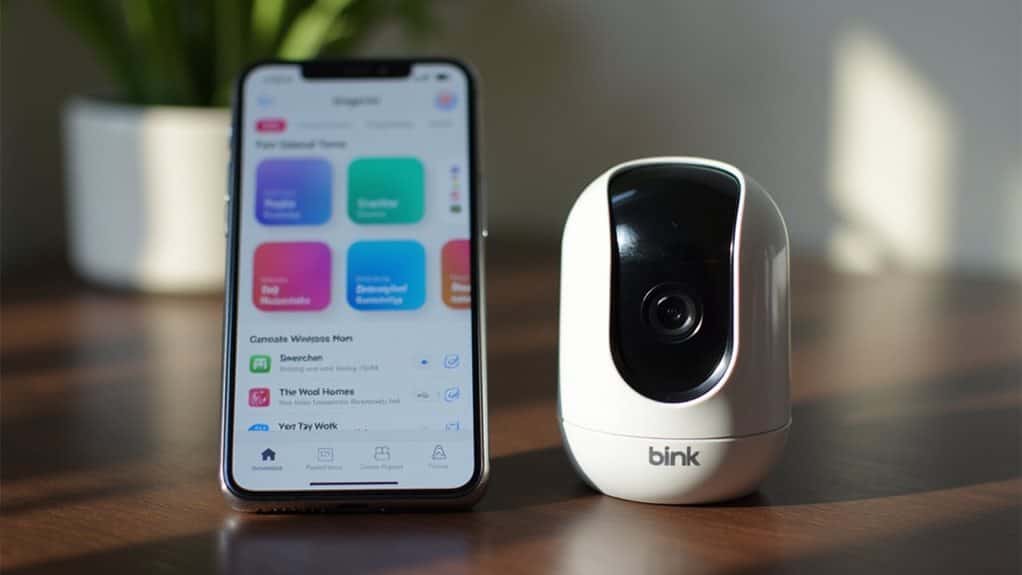
You should regularly check your device’s app store for Blink app updates, as the latest version includes essential bug fixes and compatibility improvements that can resolve camera arming issues.
Move to the Apple App Store or Google Play Store, search for “Blink Home Monitor,” and tap “Update” if a newer version is available.
Consider enabling automatic app updates in your device settings to guarantee you’re always running the most current version without manual intervention.
Check App Store Updates
Although Blink cameras can experience various technical issues, keeping your Blink app updated to the latest version often resolves common problems like arming failures and connectivity glitches.
Check your device’s app store regularly for Blink updates. Access the Apple App Store or Google Play Store, search for “Blink Home Monitor,” and install any available updates manually if auto-updates aren’t enabled.
Enable Automatic App Updates
While manually checking for app updates helps resolve immediate Blink camera issues, enabling automatic updates provides a more reliable long-term solution that keeps your app current without requiring constant attention.
On iOS, go to Settings > App Store and toggle “App Updates.”
For Android, open Google Play Store, tap your profile, select Settings > Auto-update apps.
Install Firmware Updates for Cameras and Sync Module
Keeping your Blink cameras and Sync Module updated with the latest firmware guarantees peak performance and access to new features.
Open the Blink app, guide to device settings, and check “Device Information” for current firmware versions.
Compare these with official Blink website versions.
Use “Check for Updates” or delete and re-add devices to trigger automatic updates.
Identify and Fix Offline Camera Issues
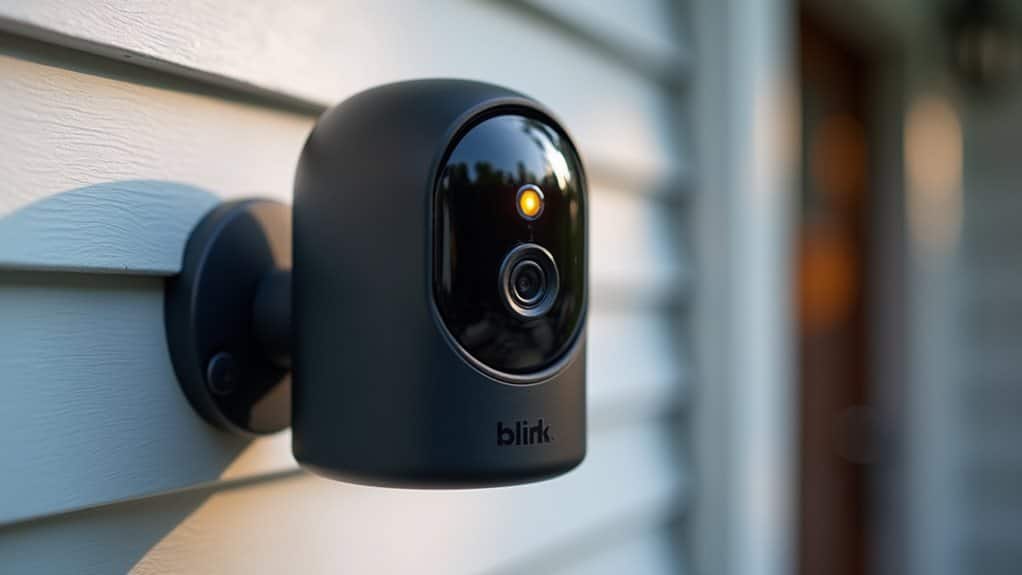
Even with the latest firmware installed, your Blink cameras can still go offline due to various connectivity and power-related issues.
Check your Sync Module’s LED status—solid green and blue indicate online connection, while solid blue with blinking green means it’s offline.
Verify camera power sources, guarantee 2.4 GHz Wi-Fi connection, and restart devices if necessary.
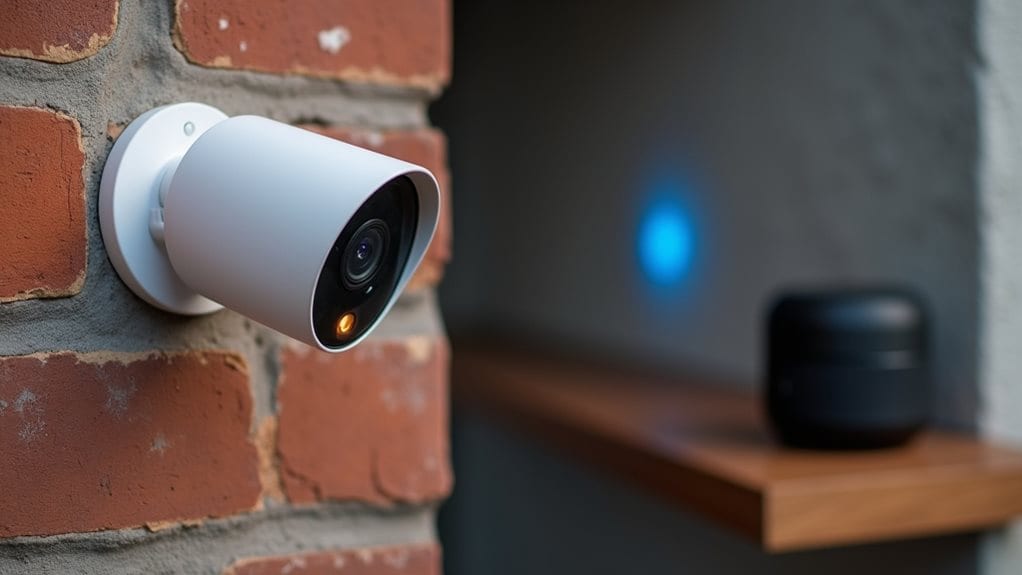
Move Cameras Closer to Improve Range
When your Blink cameras struggle with weak connectivity, moving them closer to your Sync Module often provides the most immediate improvement.
Keep cameras within 40-50 feet of your Sync Module for ideal performance. Check that signal strength shows at least three bars consistently.
Remove obstacles like furniture or walls between devices when possible to strengthen communication.
Troubleshoot Router and Internet Connection Problems
Sometimes moving your Blink cameras closer to the Sync Module won’t resolve connectivity issues if the underlying problem lies with your router or internet connection.
Check that all Ethernet cables are securely connected and verify your modem’s internet light shows an active connection.
Power cycle your modem and router, waiting one minute between restarts. Additionally, ensure that your camera is connected to a 2.4 GHz network for optimal performance.
Switch to 2.4 GHz Wi-Fi Band for Better Performance
If your Blink cameras still aren’t connecting reliably after addressing router issues, you’ll need to make certain they’re operating on the correct Wi-Fi frequency band.
Blink cameras require a 2.4 GHz network to function properly. The 2.4 GHz band offers better range and wall penetration than 5 GHz, ensuring reliable communication between your cameras and Sync Module throughout your home.
Wrapping Up
Following these troubleshooting steps should resolve most Blink camera arming issues. Start with signal strength checks and Wi-Fi connectivity, then move through scheduling conflicts and motion detection settings. If problems persist, power cycle your devices and verify they’re online. Don’t forget to check your router settings and switch to 2.4 GHz if needed. Most arming failures stem from connectivity issues that these methods will fix.