To change DNS on your Telstra router quickly, connect via Ethernet/Wi-Fi, open a browser, and go to http://mymodem or 192.168.0.1. Log in with the default credentials on the modem sticker, then go to Advanced > Network/LAN/DHCP to find DNS settings. Replace the default DNS with Cloudflare (1.1.1.1, 1.0.0.1) or CleanBrowsing (185.228.168.168, 185.228.169.169). Save changes and restart the modem. Test your DNS using tools like DNSLeakTest.com or DNSPerf.com to confirm the update. If issues pop up, check the modem’s IPv6 status or use a wired connection for stability. There’s more to tweak if you need deeper customization.
Quick Guide
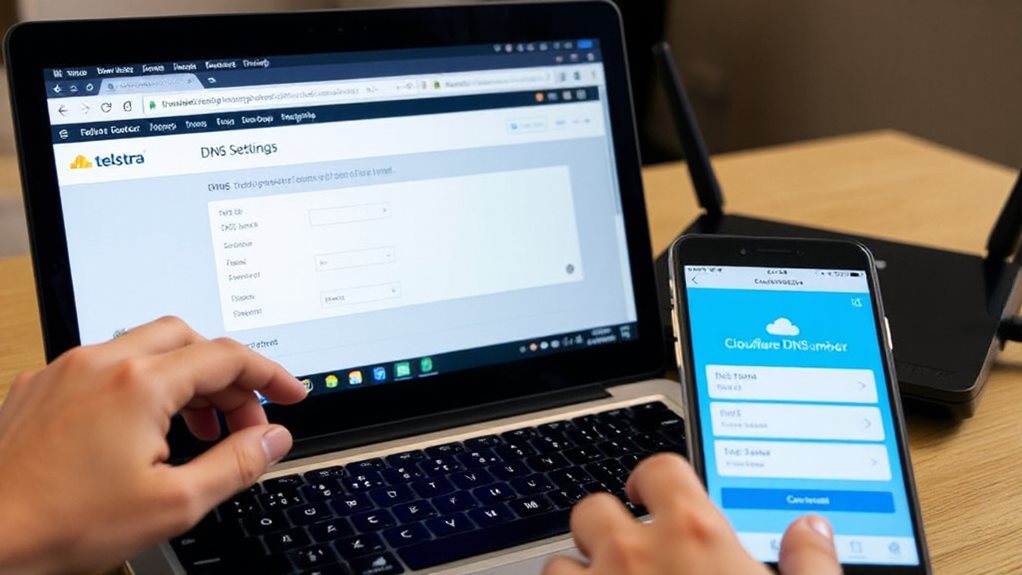
- Access Telstra modem admin panel via http://mymodem or 192.168.0.1 using default credentials.
- Navigate to Advanced > Network/Local Network to locate DNS settings.
- Replace default DNS with preferred servers (e.g., Cloudflare 1.1.1.1 or CleanBrowsing).
- Save changes and restart the modem to apply the new DNS configuration.
- Verify DNS functionality via speed tests (DNSPerf.com) or leak checks (DNSLeakTest.com).
Log In to Your Telstra Modem: Step-by-Step

Log In to Your Telstra Modem: Step-by-Step Start by locating the IP address and default login credentials on your Telstra modem’s sticker, then connect your device via Ethernet or Wi-Fi—ensuring the modem’s green activity light is on. Type http://mymodem or http://192.168.0.1 into your browser’s address bar, input the default *admin* username and password from the sticker, then click Login. Once inside, prioritize changing the default password to secure your network—you’re now ready to adjust advanced settings safely. For enhanced security, secure your passwords with NordPass to protect and manage your new credentials effectively. Consider testing the connection with an Ethernet cable to verify a stable wired link before making further changes.
Access DNS Settings on Telstra Routers (Gen 2/Gen 3)
After securing your Telstra modem’s admin access, you’ll need to access the DNS settings to proceed.
For Gen2, go to Advanced > Local Network via http://mymodem or 192.168.0.1.
Gen3 users might find DNS under Advanced > Network or LAN/DHCP sections.
Newer models restrict edits, so check IPv6 status or use admin credentials on sticker.
Save changes and reboot if options apply.
A soft reset can often resolve temporary issues before changing DNS, so try unplugging the router for 30 seconds and restarting it to perform a soft reset.
Set Custom DNS on Telstra Modems (Cloudflare or CleanBrowsing)
Now you’ve accessed the settings, pick a custom DNS provider like Cloudflare (1.1.1.1, 1.0.0.1) or CleanBrowsing (185.228.168.168, 185.228.169.169) and input them manually via the router’s advanced options or browser console tricks.
If your Telstra modem blocks direct edits, use workarounds like SSH commands or JavaScript hacks to enforce the new DNS rules. Once applied, restart the router and confirm the change by checking your device’s DNS settings to make sure they point to your chosen servers. You can also consider configuring DNS at the router level to protect all connected devices and bypass individual device limits by acting as a VPN router.
Select Dns Provider
When configuring your Telstra modem to use a custom DNS provider like Cloudflare or CleanBrowsing, start by traversing to the advanced settings of the router’s admin interface. You’ll need to choose between Cloudflare (1.1.1.1/1.0.0.1) for performance or CleanBrowsing for content filtering.
Both bypass ISP DNS, but Telstra’s firmware often locks this option—requiring workarounds like SSH access or developer console tricks. Opt for these providers to prioritise speed, privacy, or security, but prepare for router-specific quirks if your modem restricts direct DNS changes.
Enter Dns Addresses
Make your way to your Telstra modem’s admin panel by entering 192.168.0.1 or 192.168.1.1 in a browser, then log in with your credentials.
Go to Advanced settings, switch DNS mode to Manual under LAN/DHCP.
Input Cloudflare (1.1.1.1, 1.0.0.1) or CleanBrowsing (185.228.168.9, 185.228.169.9).
Save changes—let the modem reboot.
Verify via dnsleaktest.com or ‘nslookup’ in Command Prompt.
Newer models might need a factory reset for DNS to apply.
Apply DNS Changes & Restart Your Telstra Modem
Start by diving into the modem’s admin panel using a web browser, where you’ll enter the default IP address—typically 192.168.0.1 or 192.168.1.1—to access configuration settings.
Input preferred DNS addresses, manually switch DNS mode, save changes, and restart the modem.
Wait for it to resync online before testing connectivity.
Clear device caches, reconnect Wi-Fi, or restart gadgets for instant updates.
On newer Telstra mods with tight DNS controls, use a secondary router or tweak device-level settings to reclaim control.
If you experience connectivity issues after changing DNS, verify that your modem’s WAN settings and ISP DHCP requirements match what your Internet provider specifies.
Test DNS Performance With Online Tools

You’ve set up your new DNS on the Telstra router—now check if it’s performing as expected.
Start with tools like DNSPerf.com or DNSSpeedtest.online to measure query speeds and latency from global locations, using real-world metrics like A record lookups or DoH response times.
For deeper checks, run a DNS leak test via DNSLeakTest.com and compare results across platforms like GRC’s DNS Benchmark to confirm reliability and speed improvements.
DNS Speed Testing Methods
While selecting the right DNS servers for your Telstra router, testing their speed and reliability guarantees your network avoids unnecessary bottlenecks.
Tools like DNSPerf measure global lookup times, GRC DNS Benchmark compares server performance, and NameBench offers personalized recommendations.
Browser-based tests give real-world results using your local environment.
Use these methods to identify fast, trustworthy DNS providers—empowering you to optimize your internet freedom and connectivity without trial-and-error guesswork.
Online DNS Leak Checks
Validating DNS server performance through speed tests sets the groundwork—now it’s time to verify whether those servers actually handle your requests securely. Run online DNS leak checks using tools like BrowserLeaks or NordVPN’s test to confirm your DNS requests aren’t slipping to ISP servers.
These tests reveal which servers resolve your queries, exposing leaks if third-party DNS addresses appear. Don’t risk exposure; make certain your router’s DNS settings, encryption (DoH/DoT), or VPN routes traffic privately.
Free tools flag vulnerabilities, letting you lock down control over your browsing privacy before leaks compromise your digital freedom.
Performance Comparison Tools
Frequently, network diagnostics require more than checking for security leaks—you need actionable speed metrics to optimize DNS performance. Use DNSPerf.com to benchmark lookup times globally or test locally with DNSspeedtest.online’s browser-based DoH queries.
Tools like GRC’s DNS Benchmark analyze reliability across 200+ servers, while command-line options like DNSPERF automate scripted load tests. Monitoring platforms verify DNSSEC and latency, giving you full control to tweak Telstra router settings confidently for faster, secure resolutions.
Fix DNS Errors on Telstra Modems (No Internet or Blocked Access)
If your Telstra modem is blocking internet access or locking DNS settings, adjust configs via its admin panel. Access mymodem or 192.168.0.1, log in, switch to advanced mode, steer to DHCP settings, and set DNS manually.
If settings are fixed, use SSH commands or pair a secondary router. Verify changes at dnsleaktest.com. Reboot, clear caches, or override with developer tools if stuck—freedom’s yours.
Wrapping Up
Changing DNS settings on your Telstra router via its admin panel is simple: update your preferred DNS servers (like Cloudflare or CleanBrowsing), save changes, then restart the modem. Testing performance with tools like DNSPerf verifies reliability, while troubleshooting blocked access or errors involves rechecking inputs or resetting defaults. Proper setup enhances speed, privacy, and content filtering, making this adjustment a quick, effective way to optimize your network. Always confirm DNS functionality post-restart to guarantee seamless browsing.