You can change your TV input with a Roku remote by enabling HDMI-CEC on both your Roku device and TV. Go to Settings > System > Control other devices (CEC) and turn on 1-Touch Play. Once enabled, press the Home button on your Roku remote, scroll left to find the TV Inputs tile, highlight your desired input source, and press OK to switch immediately. The sections below cover setup requirements, troubleshooting steps, and alternative methods if your TV doesn’t support CEC technology.
Quick Guide
- Press Home, scroll left to the TV Inputs tile, select your desired input, and press OK to switch instantly.
- Enable HDMI-CEC on both your Roku and TV to allow the remote to control input switching automatically.
- Press the Home button to automatically switch the TV to your Roku input when CEC is enabled.
- Configure up to four input tiles at Settings > TV inputs > Manage inputs for quick home screen access.
- If switching fails, verify CEC is enabled, try a different HDMI cable, or power cycle all devices.
Understanding HDMI CEC and Roku Remote Compatibility
When you press a button on your Roku remote to change your TV’s input, you’re leveraging HDMI Consumer Electronics Control (CEC)—a protocol that converts your standard HDMI cable into a two-way communication channel between devices.
This single-wire bidirectional serial bus enables your Roku to send commands directly through the existing HDMI connection, allowing automatic input switching when you start playback without requiring separate wireless transmission or multiple remotes.
Streaming devices like Roku often enter standby mode when turned off, which affects HDMI-CEC behavior and requires waking the device by pressing any button on the Roku remote to send the proper HDMI-CEC signal to your TV.
If you experience unwanted activations, consider disabling HDMI-CEC settings or checking power connections to prevent automatic power-on.
Prerequisites for Input Switching With Your Roku Remote
Before you can switch TV inputs using your Roku remote, you’ll need to verify your TV supports HDMI CEC technology and that this feature is enabled in your TV’s settings menu.
HDMI CEC allows your Roku remote to communicate with your TV and control functions beyond the Roku interface, including input selection.
You’ll also need a compatible Roku remote—typically one with a dedicated Input button or voice control capabilities—paired properly with your Roku device.
If you have trouble after enabling CEC, try a system restart or clearing the system cache using the remote shortcut to resolve common issues with input switching and device control system cache.
HDMI CEC Must Be Enabled
Understanding HDMI CEC is essential if you want to change TV inputs using your Roku remote. This Consumer Electronics Control feature enables one remote to manage all HDMI-connected devices, including soundbars and gaming consoles.
You’ll need to activate CEC in your TV settings before functionality becomes available. Browse to Settings, then System Settings, and locate “Control other devices” to enable both OneTouch Play and System Standby options.
Compatible TV Required
Once you’ve enabled HDMI CEC on your television, the next requirement is verifying your TV model actually supports this technology.
Most modern smart TVs from Samsung, LG, Sony, TCL, and Hisense include HDMI CEC functionality. However, older or budget models may lack this feature entirely, preventing input switching via your Roku remote.
Roku TV models natively support input switching without requiring additional compatibility checks.
Enabling HDMI CEC on Your Roku TV
HDMI CEC converts your Roku TV into a central command hub that controls all your connected devices through a single remote.
To enable it, press Home on your Roku remote, go to Settings, then System, and select “Control other devices (CEC).” Check the boxes for “1-touch play” and “System Standby” to activate automatic source switching and power management across your HDMI-connected peripherals.
If the menu changes don’t take effect, try unplugging the TV and plugging it back in, then turning it on to refresh the system. Also inspect the HDMI cable and ports for physical damage to ensure reliable CEC communication.
Configuring System Audio Control and 1-Touch Play
System Audio Control lets your Roku automatically manage audio output through your connected receiver or soundbar, while 1-Touch Play streamlines device power and input switching via HDMI-CEC.
You’ll need to enable both features in your Roku’s settings to take advantage of seamless audio routing and simplified device control.
These settings work together to create a more integrated entertainment system where your Roku remote can control multiple aspects of your setup.
Power cycling your router and Roku can resolve connectivity issues and improve stability, especially if other devices are affected or there may be network interference.
Enable System Audio Control
To enable your Roku remote to control your TV’s volume and power functions, you’ll need to activate System Audio Control through both your Roku device and television.
Go to Home > Settings > System > Control other devices (CEC) on your Roku. Check the “System audio control” box.
Then access your TV’s settings menu to locate and enable HDMI-CEC, which may appear under different brand-specific names.
Activate 1-Touch Play Feature
Setting up 1-Touch Play streamlines your viewing experience by automatically switching your TV’s input to Roku whenever you press most buttons on the remote.
Go to “Settings” > “System” > “Control other devices (CEC)” on your Roku device. Select “1-Touch Play” and toggle it on, then confirm when prompted.
This feature requires HDMI-CEC enabled on both your Roku and TV to function properly.
Setting Your Default Roku Input Source
When you power on your Roku TV, you can choose exactly which input appears on your screen instead of defaulting to the home interface. Move to Settings > System > Power > Power On to access your options.
You’ll find Home Screen, Last Used Input, and individual HDMI ports. Select your preferred input and press OK—a checkmark confirms your choice, and changes apply immediately. You can also restart the Roku TV after changing settings to ensure the new configuration takes effect and clear any old account details (restart Roku TV).
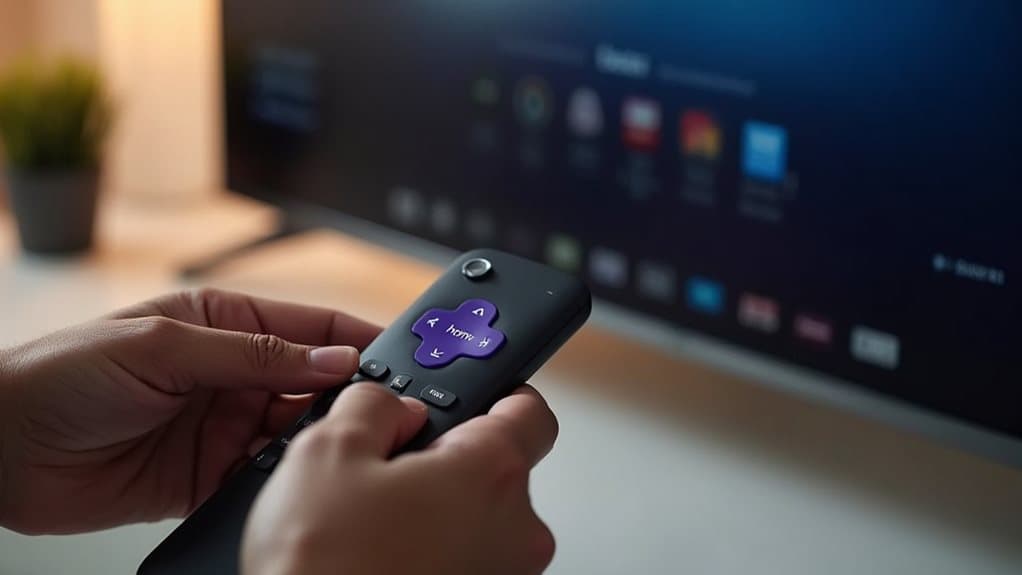
Using the Home Button for Automatic Input Switching
Your Roku remote’s HOME button can automatically switch your TV to the correct HDMI input, but this feature only works if your television supports HDMI-CEC (Consumer Electronics Control) technology.
You’ll need to enable the CEC feature in your TV’s settings menu before the automatic switching becomes active.
Once configured, pressing HOME on your Roku remote instantly changes your TV to the HDMI port where your Roku device is connected, eliminating the need to browse through input menus manually.
HDMI CEC Requirement Explained
For automatic input switching to work with your Roku remote’s Home button, HDMI CEC must be enabled on both your TV and Roku device.
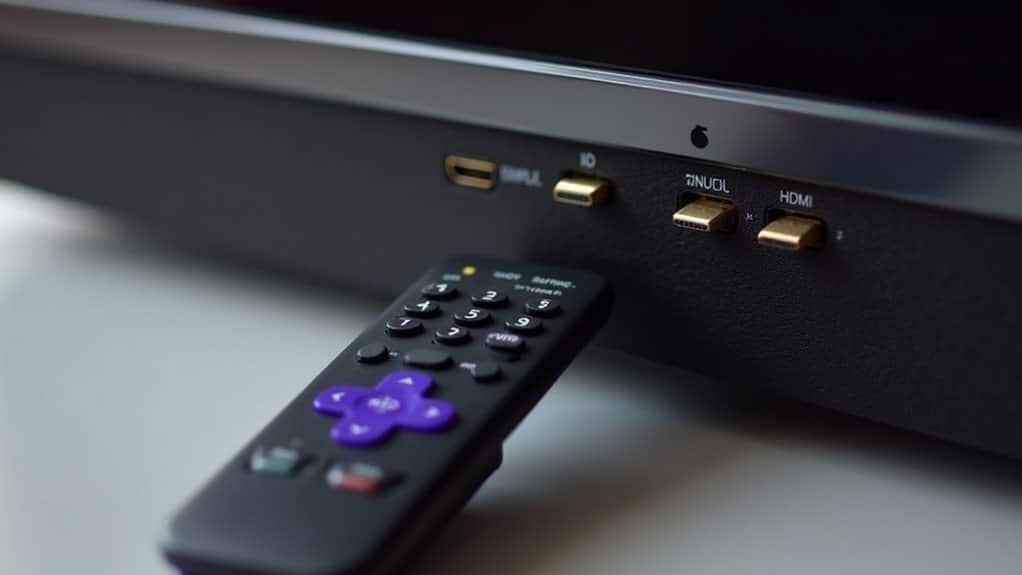
You’ll need to access your TV’s settings menu to activate this feature, which may appear under brand-specific names like Anynet+ (Samsung) or SIMPLELINK (LG). Additionally, make sure your HDMI cable supports CEC communication through proper pin 13 wiring for the function to operate correctly.
Automatic Switch Activation Process
With HDMI CEC properly configured, you can now set up your Roku remote’s Home button to automatically switch your TV to the correct input. Press the Home button, move to Settings, then scroll down to System.
Select Power and choose Power On, where you’ll find options to set your preferred input source. Select your desired HDMI port to enable automatic switching upon startup.
Setting Up Input Tiles for Easy Access
Once you’ve connected your external devices to your Roku TV, you’ll want to configure input tiles on your home screen for quick access.
Go to Settings > TV inputs > Manage inputs to select up to four inputs for display. Toggle “Show TV inputs on home screen” to activate the tile.
Custom input buttons will appear, enabling instant switching between your gaming consoles, cable boxes, and streaming devices.
Renaming Input Tiles for Better Organization
After setting up your input tiles on the home screen, you’ll likely want to give them recognizable names that reflect the actual devices connected to your TV.
Highlight the input tile, press the asterisk (*) button on your remote, and select “Rename input.” You’ll see preset options like Cable Box, Game Console, or Media Player. Choose the appropriate name, and it’s instantly applied to your tile.
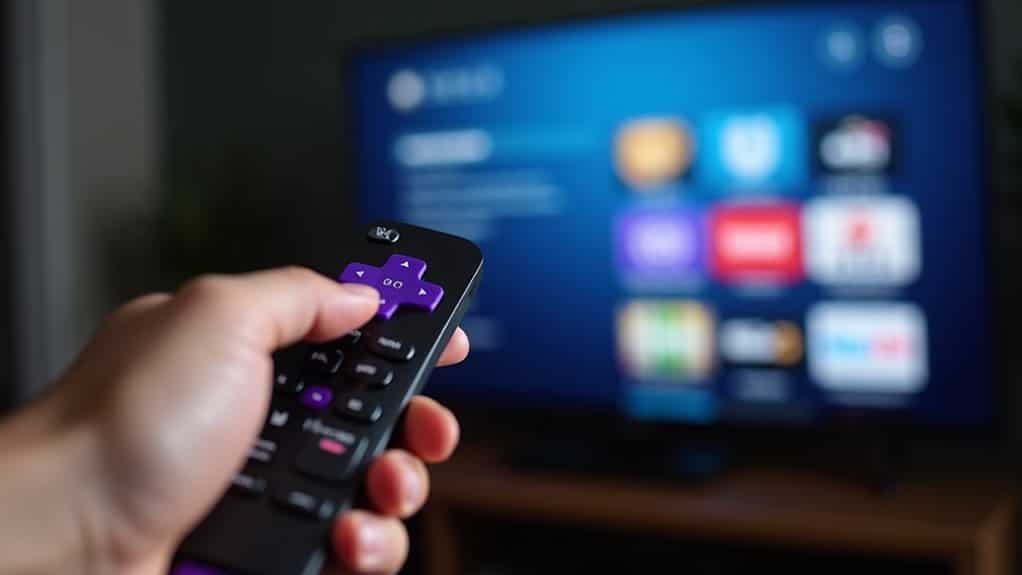
Switching Between Inputs From the Roku Home Screen
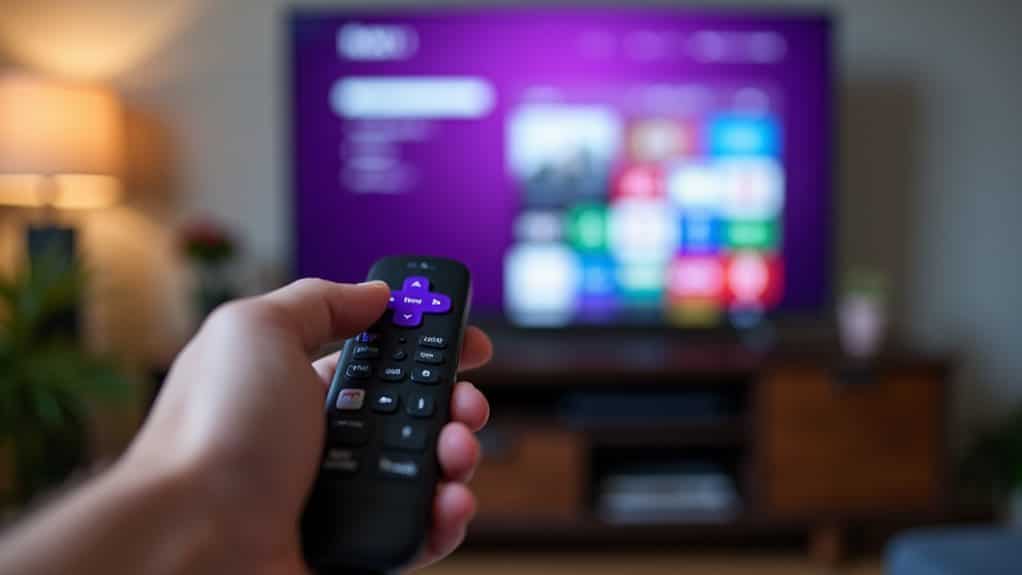
One of the most convenient features of a Roku TV is the ability to jump straight to any connected device without fumbling for a separate TV remote.
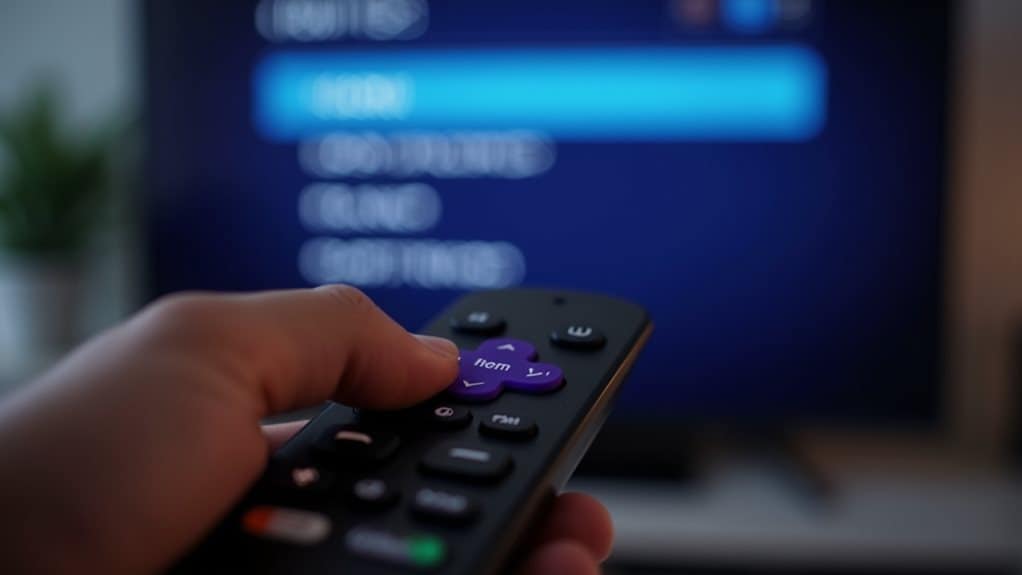
Press the *Home* button on your Roku remote to access the main screen. Move left to locate the “TV Inputs” or “Inputs” tile. Highlight your desired input source, then press *OK* to switch immediately.
Troubleshooting HDMI CEC Input Switching Issues
When HDMI CEC input switching stops working on your Roku TV, the issue typically stems from disabled settings, outdated firmware, or device conflicts.
Start by verifying CEC is enabled in both your TV and Roku settings. Power cycle both devices by unplugging them for one to two minutes. Update firmware on both systems, and try switching HDMI ports or using a different cable to resolve the problem.
Using Physical Controls as an Alternative Method
If your Roku remote isn’t switching inputs or you’ve misplaced it entirely, your TV’s physical buttons provide a reliable backup solution.
Most TVs feature an “Input” or “Source” button on the side, bottom, or back panel. Press this button to cycle through available inputs until you reach your Roku’s HDMI port.
Some models use a joystick or multifunction button for control instead.
Limitations of Input Switching on Non-CEC TVs
While Roku remotes offer convenient control for streaming content, they lack a dedicated button for switching TV inputs—a design choice that creates significant challenges for users with non-CEC televisions.
Without CEC compatibility, you’ll find your Roku remote can’t change inputs at all. Older TV models don’t support this technology, and even newer sets require manual activation in settings.
You’ll need your original TV remote or invest in a universal remote to switch between HDMI ports effectively.
Wrapping Up
Changing TV inputs with your Roku remote depends entirely on HDMI CEC compatibility. You’ll need to enable this feature on both your TV and Roku device, then configure the appropriate settings. Once activated, you can switch inputs directly from your Roku home screen. If your TV doesn’t support HDMI CEC, you’ll need to use your original TV remote or physical buttons instead. These methods guarantee seamless control over your viewing experience.