Unplug the TV, hold the power button for ten seconds, wait a couple of minutes for residual charge to drain, then plug it back in and power it on; this soft‑reset often stops the red LED from blinking. Verify the outlet is stable by testing a lamp in the same socket and inspect the power cord for damage or loose connections. Check HDMI cables and external devices, swapping cables or ports and disconnecting accessories one at a time. If the light persists, examine the internal power board and capacitors for bulging or leakage, and replace any faulty parts. Finally, update the firmware via Settings or a USB‑installed ZIP and perform a factory reset if needed; continuing will reveal deeper troubleshooting steps.
TLDR
- Power‑cycle the TV: unplug, hold the power button 10 seconds, wait 1–2 minutes, then reconnect and turn on.
- Verify the outlet and power cord: test the socket with another device, check for cuts, and ensure a snug connection.
- Inspect HDMI cables and external devices: disconnect all, power on the TV, then reconnect each cable/device individually to isolate faults.
- Examine the internal power board: look for bulging or leaking capacitors and measure 5 V standby and high‑voltage rails for proper voltage.
- Update firmware or perform a factory reset: install the latest OTA update or use a USB‑loaded ZIP, then reset the TV to default settings.
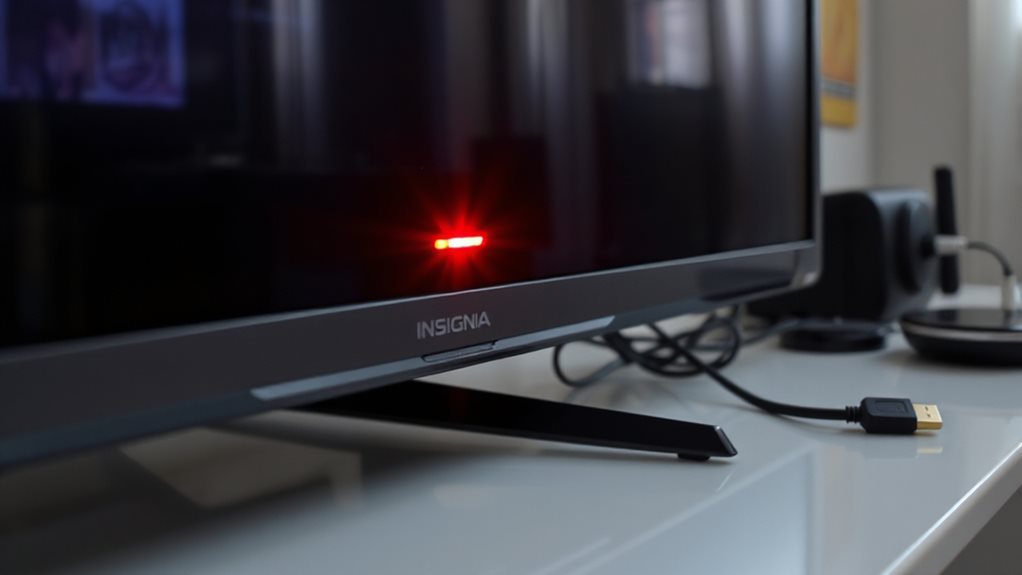
Power‑Cycle and Soft‑Reset to Stop the Blinking Red Light
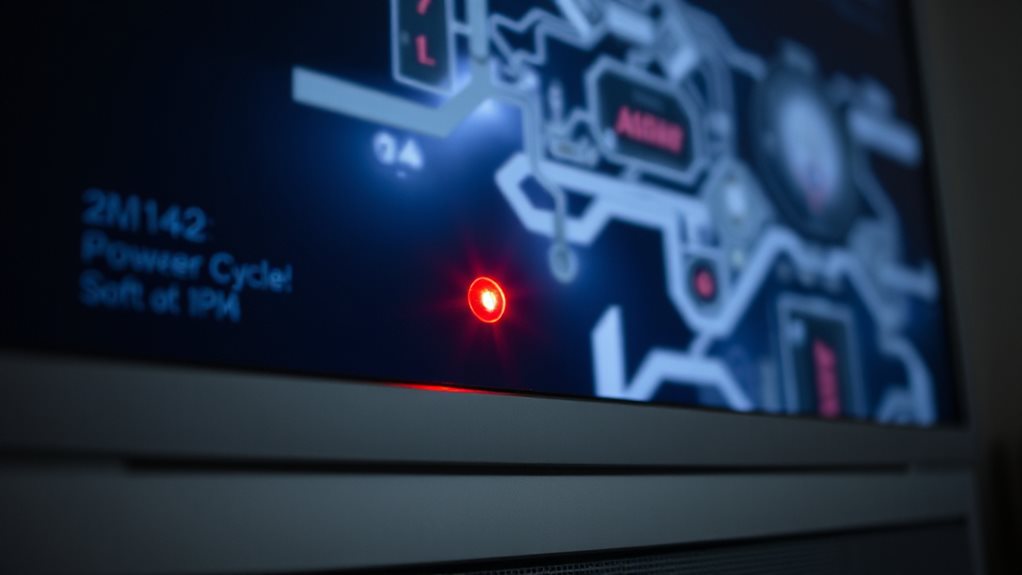
Power‑cycle and soft‑reset your Insignia TV to eliminate the blinking red light. Unplug the TV, then press and hold the power button for ten seconds.
Wait one to two minutes for residual charge to drain.
Plug the cord back in and power the TV on. This clears temporary glitches, restores Wi‑Fi, and resolves lag or freeze issues, freeing you to watch uninterrupted. A soft reset can also resolve minor performance issues without erasing your settings.
Power cycle and soft reset your Insignia TV to eliminate the blinking red light. Unplug the TV, then press and hold the power button for ten seconds.
Wait one to two minutes for residual charge to drain.
Plug the cord back in and power the TV on. This clears temporary glitches, restores Wi‑Fi, and resolves lag or freeze issues, freeing you to watch uninterrupted. network diagnostics can help identify connectivity issues that may contribute to performance problems.
Verify Outlet and Power Cord for Blinking Red Light Issues
If the red LED keeps blinking, start by confirming that the outlet and power cord are providing stable electricity.
Plug a lamp into the same socket; if it flickers, the outlet’s faulty.
Test another wall outlet, bypass surge protectors, and inspect the cord for cuts or kinks.
Make sure the cord plugs snugly into the TV and outlet.
Replace a damaged cord or call an electrician if needed.
Additionally, ensure the TV is receiving consistent power during a reboot; blinking red can occur if the device is not fully provisioning or encountering power fluctuations. outlet stability
Check HDMI Cables and External Devices Causing a Blinking Red Light
First, examine each HDMI cable for visible damage or loose connectors, then try a different cable or port to see if the red light stops.
Next, unplug all external devices and power the TV on with only the power cord attached; if the blinking ceases, reconnect each device one at a time to pinpoint the culprit.
Finally, reseat the cables firmly and test alternate ports, keeping an eye on any faulty peripherals that might be triggering the standby light.
Be aware that HDMI-CEC (BRAVIA Sync) or other connected devices can wake your TV unexpectedly; disabling HDMI-CEC may prevent wake signals from other gear. HDMI-CEC
Inspect HDMI Cable Condition
When the Insignia TV flashes a red light, a common cause is a loose or damaged HDMI cable, so start by checking every cable for visible wear.
Look for cuts, kinks, or exposed sections. Firmly reseat each connector at both TV and device ends.
If any cable shows damage, replace it. Then power‑cycle the TV to confirm the red light stops.
Test Alternate HDMI Ports
One practical step is to try a different HDMI port on the TV.
Each port connects to its own circuit on the main board, so swapping ports isolates the fault.
If the red light stops after you switch, the original port likely needs repair.
Test one device at a time, noting LED changes.
Document results to pinpoint whether the issue is a port or broader hardware problem.
Disconnect External Devices
If the red LED keeps blinking after you’ve tried a different HDMI port, the next step is to disconnect every external device and cable except the TV’s power cord.
Unplug HDMI, USB, and audio cables.
Power on the TV; if the light stops, reconnect each device one at a time.
Inspect cables for cuts, reseat firmly, and replace any damaged pieces.
This isolates the faulty connection.
Inspect Internal Power Board and Capacitors When the Red Light Blinks
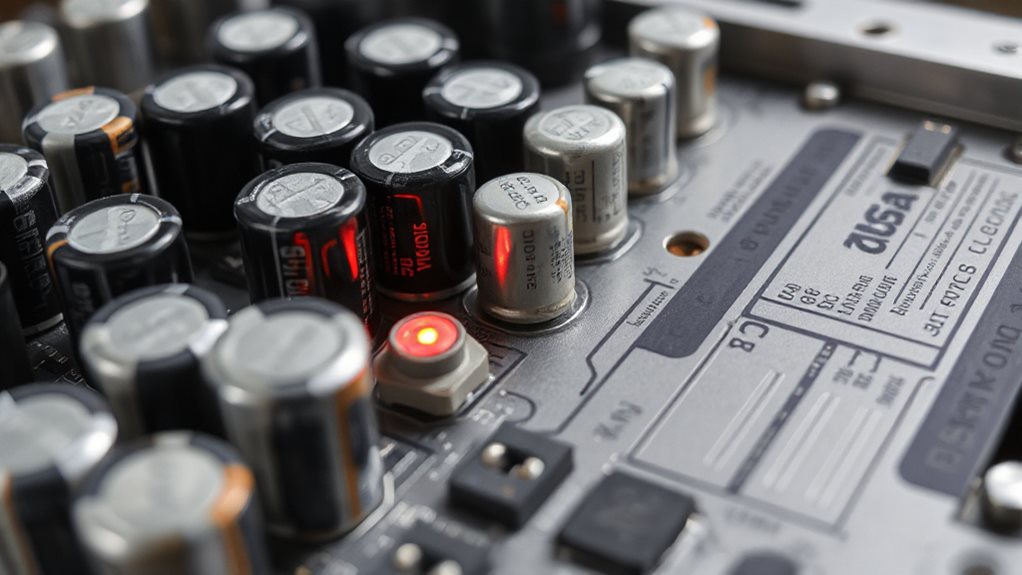
A blinking red light usually means the power board isn’t transmitting the proper voltages, so you need to check the internal board and its capacitors.
Locate the PSON or STB5V pins, short them with a screwdriver, and measure each rail.
Inspect electrolytic caps for bulging or leakage; replace any faulty ones with matching ratings.
Verify 5 V standby and high‑voltage rails; absence confirms a board defect.
Update TV Firmware and Run a Factory Reset for the Blinking Red Light
After checking the power board and capacitors, the next step is to make sure the TV’s firmware isn’t causing the red light to blink.
Open Settings, go to System or My Fire TV, select Software Update, and check for OTA updates.
If OTA fails, download the correct ZIP from insigniaproducts.com, copy it to a FAT32 USB, and install via System Update.
After updating, perform a factory reset in Settings > System > Reset, then power‑cycle the TV.
Decide When to Call Support or Replace the TV
When the blinking red light won’t stop after you’ve power‑cycled the TV, checked connections, and updated the firmware, it’s time to contemplate contacting support or replacing the unit.
Call 1‑877‑467‑4289, press 1 for TV repair, and have the model number ready.
If repair isn’t covered, exceeds value, or hardware fails, consider a replacement through Best Buy or Geek Squad. Power-related issues
And Finally
If the red light keeps blinking after you’ve power‑cycled, checked the outlet, inspected HDMI connections, examined the power board, and updated the firmware, it’s likely a hardware fault that simple resets can’t fix. At that point, contact Insignia support or a qualified technician for diagnosis. Should repairs be impractical or costly, consider replacing the TV to avoid ongoing issues.