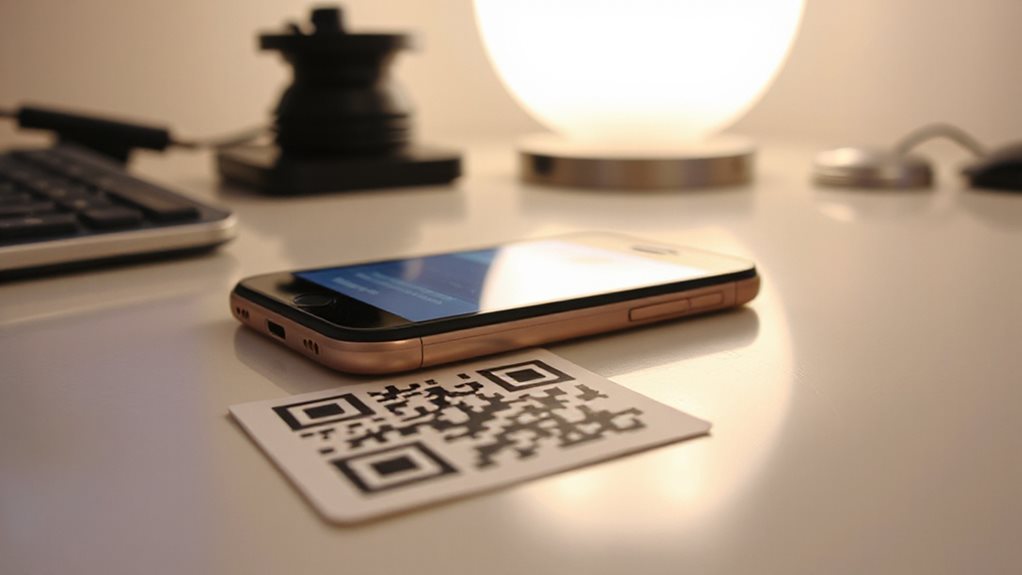
First, check that the QR code isn’t older than 24 hours and that you typed it exactly; a single typo or an expired code will block activation. Make sure your phone is unblocked, supports an embedded eSIM, and includes Verizon’s 5G bands—use the My Verizon app or the compatibility tool to verify the IMEI. Grant camera permission, clean the lens, and scan in bright, glare‑free light without zooming. If it still fails, restart the device, clear the camera cache, or use a third‑party scanner. You can also enter the EID and six‑digit confirmation code manually, or request a fresh QR or manual code from Verizon support. Continuing will show you additional troubleshooting steps.
TLDR
- Verify the QR code isn’t older than 24 hours; request a fresh code in the My Verizon app if it is.
- Ensure the device is factory‑unlocked, supports eSIM hardware, and is compatible with Verizon’s 5G bands via the compatibility tool.
- Scan in bright, glare‑free lighting with a clean lens, holding the phone steady at arm’s length without zoom.
- Restart the phone, clear camera cache (Android) or reset network settings (iOS), then try scanning again.
- If scanning still fails, use manual entry of the EID and 6‑digit code or contact Verizon support for a new QR/activation assistance.
Confirm the QR Code Isn’t Expired or Mistyped
Is the QR code you’re scanning still valid, or has it expired or been mistyped? First, check the timestamp—Verizon QR codes last only 24 hours.
If you’re past that window, request a new one in the My Verizon app or on the website.
Verify you entered the characters correctly; a single typo can break the link.
Ensure your camera permission is on, then scan again. Technical glitches can also cause the QR code to become unrecognizable.
To verify the VPN guidance alignment, you can also perform a quick check of your connection security by confirming that your DNS requests are being routed through the VPN provider’s servers and that there are no leaks during the setup process. DNS safety
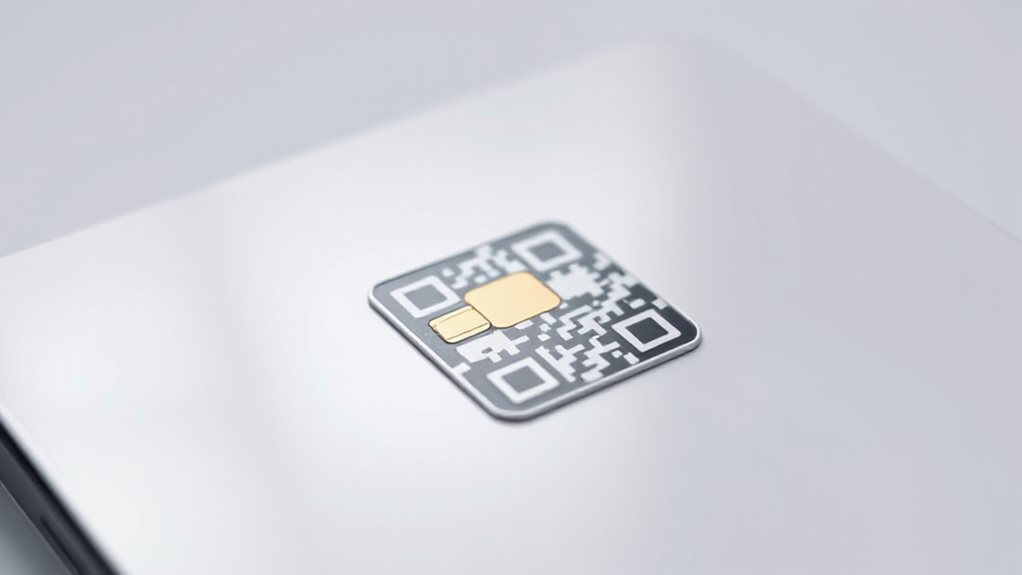
Verify Device Compatibility With Verizon eSIM Plans
Before you start the eSIM activation, make sure your device is compatible with Verizon’s eSIM plans. Check that it’s factory‑open (unlock), has an embedded eSIM, and supports Verizon 5G bands.
Use the Verizon compatibility tool or My Verizon app to enter your IMEI; a clean, open (unlocked) status confirms eligibility.
Provide (Ensure) your firmware is up‑to‑date and Wi‑Fi is active.
In addition, consider checking for network coverage or signal issues that could affect eSIM compatibility or activation, as these factors can impact connectivity once the eSIM is provisioned. Signal coverage
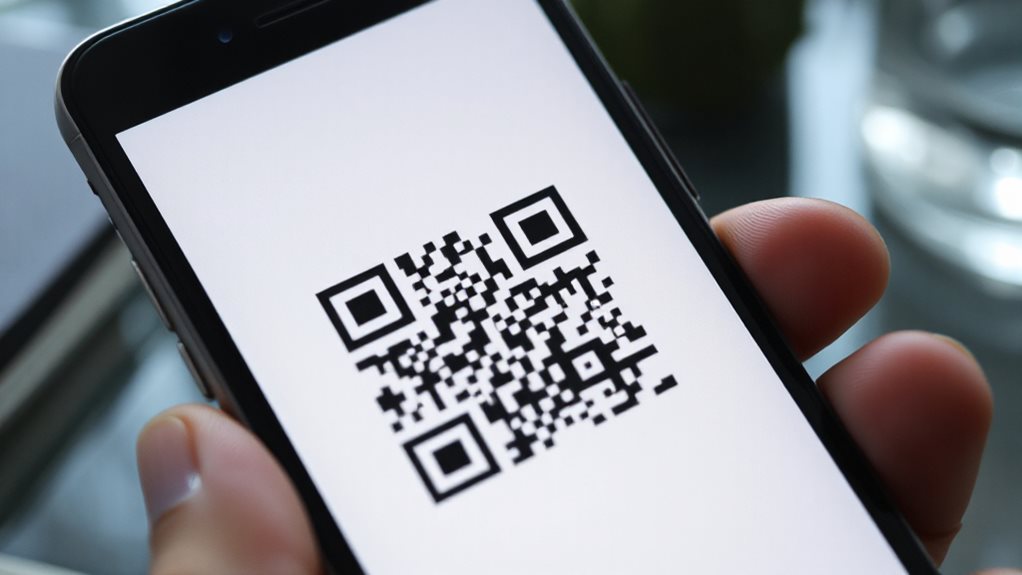
Optimize Camera Permission and Lighting for Verizon eSIM Scanning
Ensuring your camera permission and lighting are optimized can prevent most eSIM QR‑code scan failures.
Brighten the screen, eliminate glare, and work in a well‑lit room.
Keep the lens clean, hold the phone arm’s length, and frame the QR code without zooming.
Stable positioning and steady focus complete the setup.
Live View supports remote monitoring and real-time access to feeds when you have an stable internet connection.
Restart Phone and Clear Cache to Improve Verizon eSIM Scan
Even with perfect lighting and camera permissions, a lingering glitch can still make Verizon’s eSIM QR code appear invalid. Restart your phone to clear temporary glitches and refresh the network.
On Android, go Settings > System > Reset Options > Restart; on iOS, hold volume up/down then side button.
Then clear the camera app cache (Android) or reset network settings (iOS). Scan again.
Restarting the device can also help re-establish a stable connection after the reset. network diagnostics can guide you through a quick check of connectivity before rescanning.
Run a Third‑Party QR Scanner as a Temporary Workaround
Pick a reputable QR scanner and make sure its camera focus and lighting settings are optimized for clear reads.
While you’re scanning, keep your data or Wi‑Fi connection stable so the app can retrieve the full eSIM payload.
If the code still won’t decode, double‑check that the app is up‑to‑date and that your device isn’t in airplane mode.
Additionally, consider using a trusted website security tool to verify that the source of the QR code or the related domain isn’t flagged as malicious by reputable providers web security checks.
Choose Reliable QR App
Looking for a quick fix when your i’s native scanner rejects the eSIM QR code? Install a trusted third‑party scanner like Gamma Play for instant reads, or TeaCapps for history and export.
Choose Trend Micro for safety checks, or TapMedia if you’re on iOS only.
These apps bypass the native error, let you scan the QR, and keep your setup moving.
Adjust Camera Settings
If a third‑party scanner didn’t solve the issue, tweaking your phone’s camera settings can often make the QR code readable.
Clean the lens with a microfiber cloth, then avoid touching it.
Scan in bright, diffused light and set screen brightness to max.
Hold the phone 6‑12 inches away, tap to focus, and keep it steady for a few seconds.
Adjust exposure if needed.
Verify Network Stability
Ensuring a stable network connection before you scan Verizon’s eSIM QR code can prevent many “invalid QR” errors. Keep Wi‑Fi active, toggle Airplane Mode, and verify at least 5 Mbps download speed.
Restart your device to clear glitches and avoid peak‑traffic hours.
If problems persist, run a third‑party scanner like Google Lens, extract the activation code, and manually enter it in Settings > Cellular > Add eSIM.
Reset Network Settings to Support Verizon eSIM Activation
When your Verizon eSIM won’t activate, resetting the network settings often clears the hidden configuration glitches that block the process.
Go to Settings > General > Transfer or Reset iPhone > Reset > Reset Network Settings (or Android’s System > Reset options > Reset Wi‑Fi, Mobile & Bluetooth).
This erases corrupt carrier data, forces re‑registration, and restores default APN.
Reconnect to Wi‑Fi, toggle Airplane Mode, and verify the eSIM is enabled.
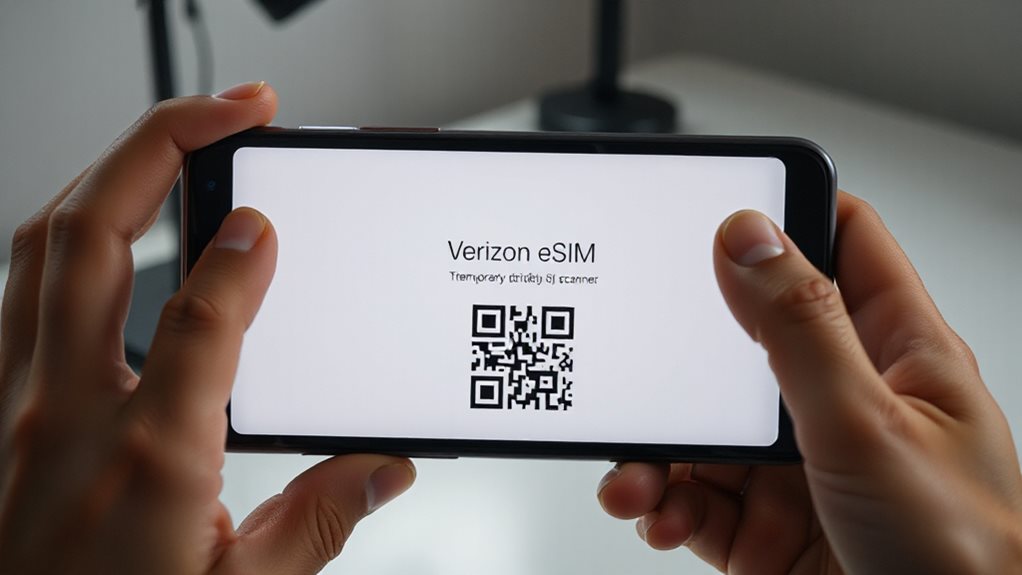
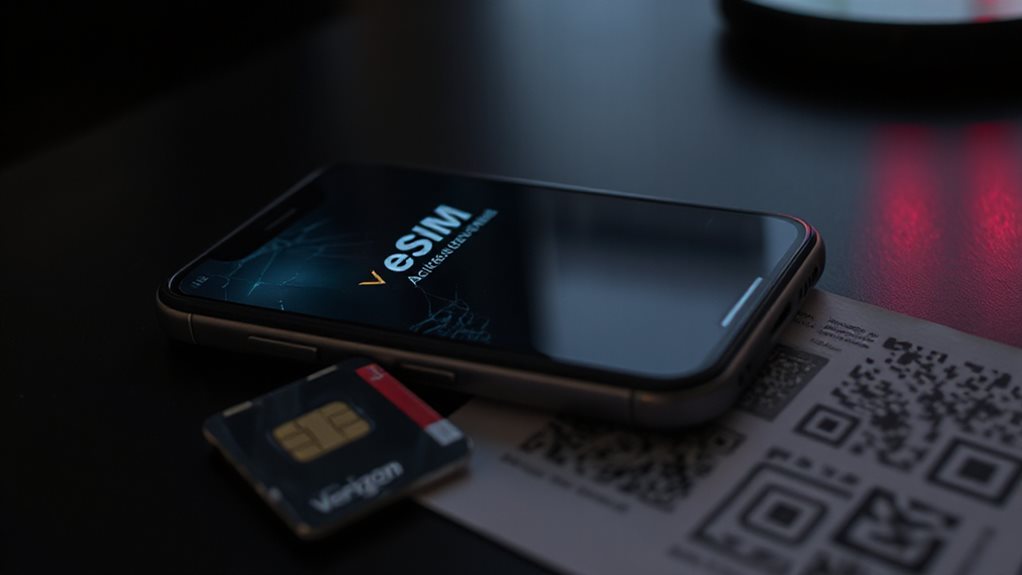
Enter Activation Details Manually When QR Scanning Fails
Even if the QR code won’t scan, you can still activate your Verizon eSIM by entering the details manually.
Open Settings, go to Cellular (iPhone) or Connections → SIM Card Manager (Android), tap “Add Cellular Plan” or “Add Mobile Plan.”
Input the EID and 6‑digit confirmation code when prompted.
Follow on‑screen prompts, restart the device, and verify the carrier registration completes. Ensure that the registration is possible by confirming that your device and plan support eSIM activation on your carrier’s network and that you are connected to the internet during setup EID and activation.
Update Pixel/Samsung Firmware and OS for Reliable eSIM Activation
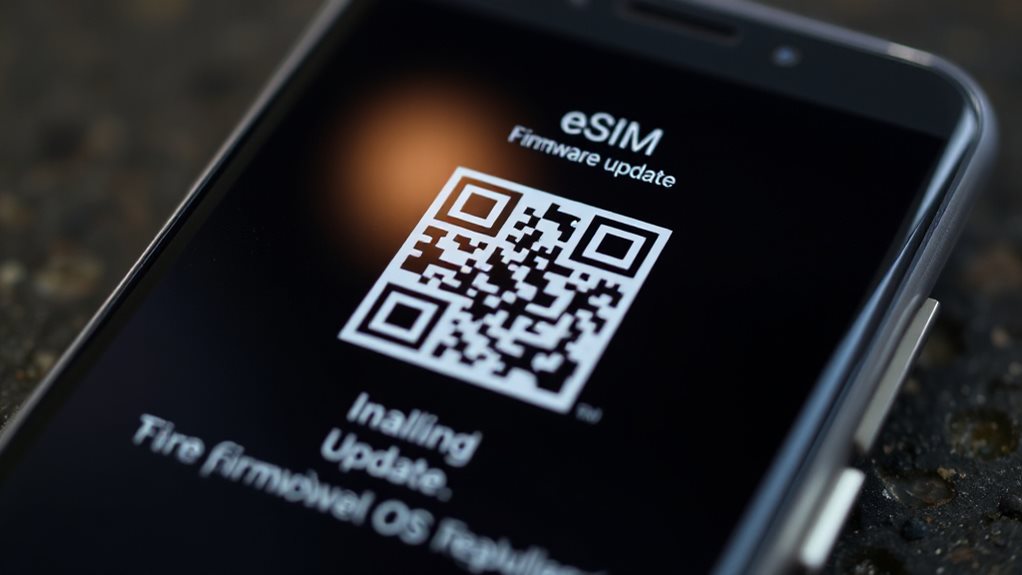
If the QR code won’t scan, you can still activate your Verizon eSIM by entering the details manually.
First, back up data, then connect to stable Wi‑Fi and charge your Pixel or Samsung to at least 75 %.
Open Settings, then go to System > Software updates (Pixel) or Software update (Samsung), download and install the latest firmware.
Restart, then re‑scan the QR code or enter the activation info again.
Additionally, verify your account status in My Verizon to ensure active service and no outstanding balances or pending port requests that could affect eSIM activation. Verizon account status
Get a Fresh QR or Manual Code From Verizon Support
Even though the original QR code didn’t work, you can still obtain a fresh one or a manual activation code directly from Verizon.
Open the My Verizon app, go to Devices, choose Activate or Switch, select eSIM, and request a new QR.
Or log into the website, replace the SIM with eSIM, and generate a code.
If you prefer, call 1‑800‑922‑0204, verify your account, and receive the code via text or email.
Use the 6‑digit manual code if the QR fails.
Ensure you complete a successful eSIM activation by verifying the activation status in your account or the My Verizon app activation status.
Leverage Verizon’s eSIM Activation Troubleshooter and Community Forums
You can start by running Verizon’s eSIM Activation Troubleshooter, which walks you through compatibility checks and network settings in just a few minutes.
If the tool doesn’t fix the issue, head to the Verizon Community Forums where members share step‑by‑step guides and alternative activation tricks.
Following these resources usually resolves QR‑code problems without needing a support call.
Use Troubleshooter Tool
Kick off the troubleshooting process by opening Verizon’s eSIM Activation Troubleshooter on the support page.
Verify Wi‑Fi, power on your device, and follow the wizard.
The tool checks SIM manager settings, confirms the new MDN, and differentiates pSIM from eSIM activation.
If the QR code still fails, the troubleshooter offers manual entry and, if needed, connects you to a live representative.
Join Community Forums
When the eSIM QR code still won’t scan, head to Verizon’s Community Forums for peer‑to‑peer help.
Search threads for your device model; users often share APN resets, USSD code ##4636##, or manual activation steps that bypass QR issues.
If solutions fail, follow forum advice to contact Tier 2 support for remote reactivation, saving time and preserving your freedom.
Follow Step‑by‑Step Guides
If the QR code won’t scan, start with Verizon’s eSIM Activation Troubleshooter; the online tool walks you through Wi‑Fi checks, device restarts, and quick diagnostics that often resolve the issue in under five minutes.
Follow the step‑by‑step guide for Android or iPhone, toggle Airplane Mode, and verify activation in Settings.
If problems persist, consult community forums for tips and request a fresh eSIM profile.
And Finally
If the QR code still won’t scan, double‑check that it’s correct and not expired, then confirm your device supports Verizon eSIMs. Adjust lighting, grant camera permission, and restart the phone. Use a third‑party scanner or enter the activation details manually as a backup. Keep your OS and firmware up to date, and contact Verizon for a fresh code or to run their activation troubleshooter. These steps should resolve most eSIM activation issues.