First, replace the remote’s batteries and make sure the IR sensor has a clear line‑of‑sight to the TV. Next, unplug both TV and cable box, wait a minute, then hold each power button for 10‑60 seconds before plugging them back in—TV first, then box. After they boot, run a full channel scan in the TV’s settings and verify tuner mode. If the problem persists, perform a factory reset from the system menu. Finally, test the TV without the cable box to isolate the source; the next steps will guide you further.
TLDR
- Power‑cycle TV and cable box: unplug both, wait 60 seconds, hold each power button 10‑60 seconds, then plug TV first, box second.
- Verify remote IR functionality: replace batteries, clean emitter/sensor, ensure line‑of‑sight, and test up/down buttons directly on the TV.
- Perform a full channel scan: set source to TV/Antenna, run Auto Program, and wait for the scan to complete.
- Reset the TV’s software: use Settings → System → Factory Reset or press the recessed reset button for ~10 seconds.
- Test signal isolation: disconnect the cable box, scan for OTA channels, and reseat HDMI or try a different input if no signal appears.
Fix TV Channel‑Changing Problems in 5 Quick Steps
If your TV keeps staying on the same channel, start by checking the remote control. Replace its batteries, then point it at your phone camera to see the IR flash. Clean the emitter and TV sensor. Test the up/down buttons directly on the TV.
Finally, verify the remote is programmed for your specific model. Also, if your TV supports WPS-based setup for smart devices, you can try using WPS to ensure your router is correctly communicating with your smart TV and other connected devices, which can help with any network-related control issues affecting channel updates. WPS setup
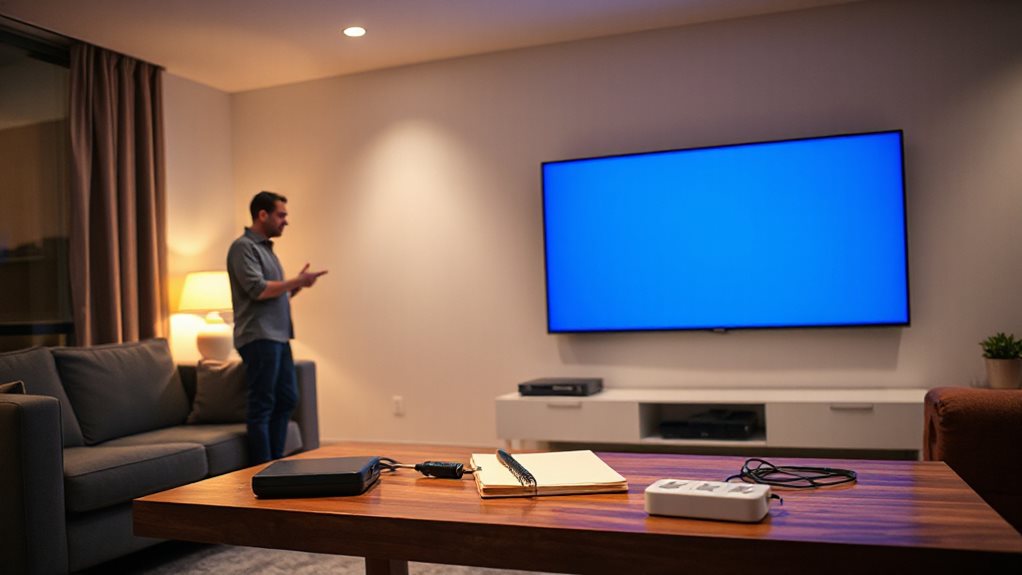
Power‑Cycle the TV and Cable Box Correctly
First, unplug the TV and cable box and wait at least 60 seconds so any residual power drains. While they’re still disconnected, press and hold each device’s power button for 10–60 seconds to discharge any lingering charge. Then plug everything back in, turn the devices on, and test the channels to see if the issue is resolved. Running a quick network diagnostic on your router can help confirm if there’s a broader connectivity issue network diagnostics that might be affecting streaming.
Unplug and Wait
When your TV stays stuck on a single channel, a proper power‑cycle can clear the glitch. Unplug the TV and any cable box while they’re on.
Wait at least sixty seconds for the TV, thirty‑to‑sixty seconds for the box. Plug the TV back in, then the box.
Allow up to five minutes for the box to boot, then confirm channels change normally.
Press Power While Unplugged
Pressing the TV’s power button while it’s unplugged forces a hard reset that drains any residual charge left in the circuitry.
Unplug the TV, disconnect devices, then hold the power button for ten to twenty seconds, or up to a minute if possible.
Release, wait sixty seconds, plug back in, and power on.
Do the same with the cable box, holding its button for fifteen seconds before reconnecting.
This clears glitches and restores functionality.
Reconnect and Test Channels
Power‑cycling the TV and cable box correctly restores normal channel browsing.
Unplug the TV, wait at least 60 seconds, then reconnect and turn it on.
Do the same with the cable box, leaving it unplugged 30‑60 seconds.
After both devices power up, set the TV input to the cable source and flip channels.
Verify each channel loads smoothly; if not, repeat the cycle.
Check Remote Batteries and IR Line‑of‑Sight
A weak or dead battery often masquerades as a remote‑control problem, so start by checking the power source before hunting for other faults.
Open the back cover, pry it with a fingernail or coin, and replace both AAA (or AA) carbon‑zinc cells, matching polarity.
Make sure the IR emitter has a clear line‑of‑sight to the TV sensor, free of obstacles, dust, or glare.
Test the remote instantly.
Using low‑drain chemistry ensures optimal performance for everyday remotes.
Run a Full Channel Scan and Adjust Tuner Settings
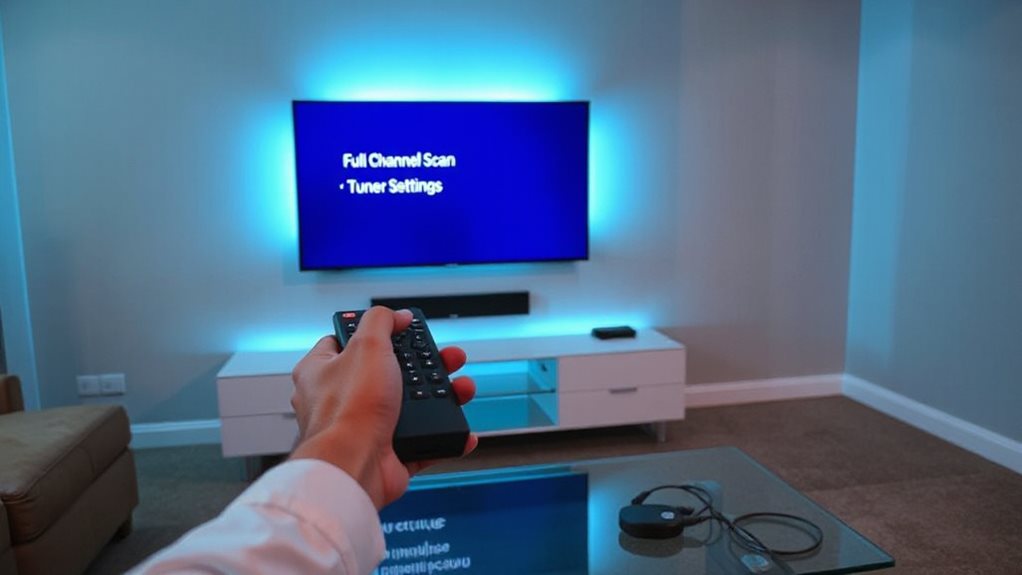
After confirming the remote’s power and line‑of‑sight, turn your attention to the TV’s tuner.
Set the source to TV or Antenna, then open Settings → Channels → Auto Program.
Choose Antenna/Air mode, confirm, and start a full scan.
Wait one to two minutes.
When finished, verify multiple channels, then close the menu and enjoy unrestricted viewing.
Also note that some streaming options for certain shows may require a premium subscription or a VPN setup for regional access. What to Watch
Perform a Factory Reset to Clear Software Glitches
First, find the reset button or proceed to Settings → System → Reset and choose “Factory Reset.” Then follow the on‑screen prompts to confirm the reset, making sure you’ve backed up Wi‑Fi passwords and account info beforehand.
After the TV restarts, verify the reset succeeded by checking that all apps and settings are cleared before you begin reconfiguring.
Be aware that a factory reset can resolve issues caused by software glitches but may require re-installing apps and re-entering account details. If restarts or glitches continue after the reset, consider checking for power supply stability and ventilation to prevent overheating power supply.
Locate Reset Button
Where can you find the reset button that initiates a factory reset and clears software glitches? Look on the back or side panel near the HDMI ports; it’s a tiny recessed hole.
Use a paperclip or flat‑head screwdriver, press and hold for about ten seconds.
Some models hide it beneath a logo on the front below the brand mark.
Check your manual if you’re unsure.
Use Menu Reset
If the reset button isn’t handy, you can still clear software glitches by using the TV’s on‑screen menu.
Power off, unplug for a minute, then plug back in.
Press Menu, go to System → Reset, select Factory Reset, enter the default PIN (0000 or 1234), and confirm.
Wait the progress bar, let the TV restart, and you’ll regain full channel freedom.
Verify Reset Success
How can you be sure the factory reset actually cleared the glitch?
After the reset finishes, check that the default home screen appears and all apps are missing.
Re‑enter your Wi‑Fi password and log into streaming services; if they connect without error, the reset succeeded.
Verify display and sound settings are back to default.
If any previous issue reappears, repeat the reset or contact support.
Test the TV Without the Cable Box to Isolate Issues
Ever wondered why your TV shows a blank screen when the cable box is unplugged? Unplug the box, then run a CATV/DTV channel scan on the TV.
If no channels appear, test the coax with a known‑good TV or touch the middle copper wire—live signals feel stronger than a 9 V battery.
Connect an OTA antenna and scan again.
This isolates the outlet and confirms whether the issue lies with the box or the wall connection.
Verify Cable‑Box Output Resolution and Connection Integrity
After confirming the coaxial line works, the next step is to verify the cable‑box’s output resolution and the integrity of its connection to the TV. Press the info button while an HD channel plays to see the current setting.
Choose 720p in the box’s video menu—Rogers, Xfinity, or cable spectrum—to avoid 1080i deinterlacing.
Ensure the HDMI cable is HD‑certified (category 2+).
If the TV shows no signal, reseat the cable and power‑cycle both devices.
In addition, regularly checking for firmware or software updates on both the cable box and TV can help prevent compatibility issues that lead to signal problems. HDMI cable
Use TV‑Specific Diagnostic Tools and Model Forums
A handful of built‑in diagnostic menus and community resources can quickly pinpoint why your TV stays on a single channel. Use Samsung’s Self Diagnosis, Sony’s Home ? > Customer Support, or LG’s Self Assessment to test image, sound, and signal info.
Pair these with a multimeter for power rails, an oscilloscope for signal integrity, and a panel tester for display faults.
Then browse iFixit, TVpartsToday, and YouTube forums for model‑specific tips and cable adapters.
This combo lets you diagnose and fix the issue yourself.
And Finally
By following these five steps, you’ll quickly pinpoint why your TV stays on one channel and restore normal operation. Power‑cycle devices, verify remote and IR sight, run a full channel scan, reset to factory defaults, and test without the cable box to isolate the problem. Check cable‑box output resolution and connections, then use model‑specific diagnostics if needed. This systematic approach resolves most channel‑changing issues efficiently and reliably.