Your Xfinity remote’s green-then-red light pattern indicates it’s registering button presses but failing to communicate with your set-top box. This typically happens due to dead batteries, lost pairing connections, or signal interference from nearby devices. Start by replacing the batteries and ensuring you’re within 50 feet of your set-top box without obstructions. If the issue persists, you’ll need to re-pair your remote using specific button combinations and setup codes to restore full functionality.
Quick Guide
- Green-then-red flashing indicates the remote recognizes button presses but fails to transmit signals to the set-top box.
- Low or dead batteries are the most common cause of this light pattern and require immediate replacement.
- Re-pair the remote by holding A and D buttons, then entering “981” on the keypad to restore connection.
- Ensure you’re within 50 feet of the set-top box and remove any physical obstructions blocking the signal path.
- Contact Xfinity support if the issue persists after battery replacement, re-pairing, and checking signal range and obstructions.
Understanding the Green and Red Light Pattern

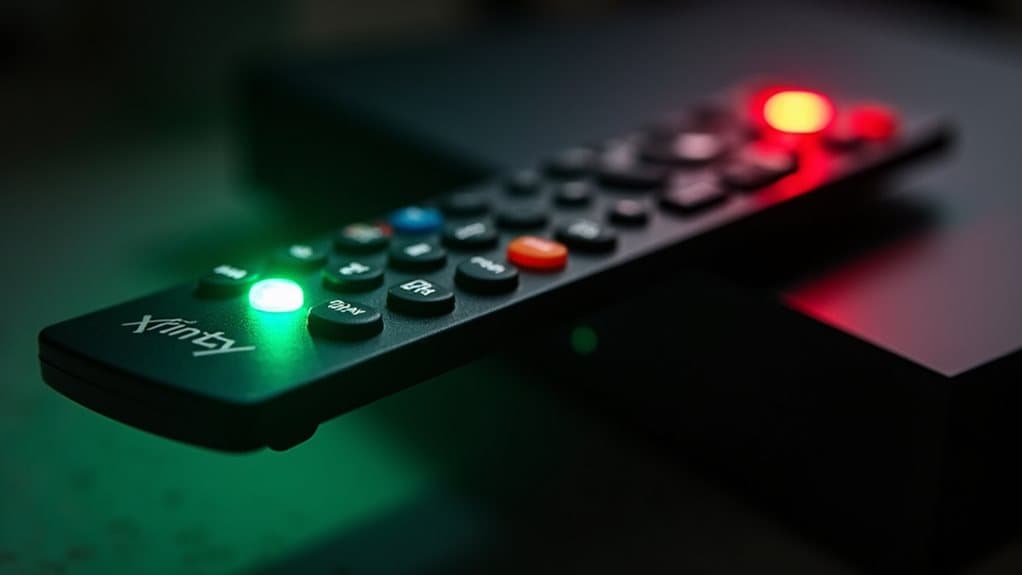
When your Xfinity remote displays different colored lights, it’s communicating essential information about its operational status and connection health.
A green light confirms your button press registered and signals are transmitting.
Red indicates communication failures or low batteries.
The green-then-red pattern specifically means your remote recognizes button presses but can’t complete signal transmission to your set-top box. This connectivity issue can occur when your remote is positioned beyond 50 feet from the set-top box, exceeding the effective operating range.
Common Causes Behind the Flashing Lights
While the green-then-red flashing pattern indicates a specific communication breakdown, several underlying factors can trigger this frustrating issue with your Xfinity remote.
You’ll typically encounter this problem due to lost pairing connections, physical obstructions blocking signals, wireless interference from nearby devices, firmware glitches in your set-top box, or internal hardware faults within the remote itself. Additionally, low battery conditions can cause erratic LED behavior, as checking your remote’s power level using the setup button should be your first diagnostic step.
Battery Replacement and Power Issues

When your Xfinity remote starts flashing green followed by red lights, you’re likely dealing with low or dead batteries that need immediate replacement.
You’ll need to locate the battery compartment on the back of your remote, remove the old batteries carefully, and insert fresh AA or AAA batteries with proper polarity alignment.
If your remote still won’t function after battery replacement, you may have power connection issues that require cleaning the battery contacts or ensuring the compartment cover is properly secured.
Low Battery Warning Signs
Battery warnings on your Xfinity remote serve as an early alert system, appearing as on-screen pop-up messages when power levels drop to critically low levels, typically below 10% capacity.
You’ll notice a red battery icon in your TV screen’s upper corner.
These warnings appear before complete remote failure, giving you time for preemptive battery replacement.
Proper Battery Replacement Steps
Once you’ve received the low battery warning, replacing your Xfinity remote’s batteries requires a systematic approach to guarantee proper functionality.
Locate the battery cover’s indentation on the back, apply downward pressure to release it, and slide it off.
Remove old batteries from the spring end, insert fresh AA or AAA batteries matching polarity markings, and securely replace the cover.
Power Connection Troubleshooting
If battery replacement doesn’t resolve your remote’s connectivity issues, power-related problems with your Xfinity set top box may be the underlying cause.
Disconnect your set top box from its power outlet completely, wait 30 seconds, then reconnect it.
Verify power cables are firmly connected and replace any damaged cords.
Test your outlet’s functionality using another device.
Re-Pairing Your Remote With the Set-Top Box
When your Xfinity remote stops responding to commands or becomes unresponsive after battery replacement, you’ll need to re-pair it with your set-top box.
The factory reset process varies depending on your remote model, but it typically involves pressing specific button combinations to activate pairing mode.
You can also use setup codes like 981 or A-D 891 to restore the connection between your remote and device.
Factory Reset Process
After you’ve tried other troubleshooting methods without success, performing a factory reset on your Xfinity remote can resolve persistent pairing issues and restore proper functionality.
Press and hold the A (triangle) and D (diamond) buttons simultaneously for three seconds until the LED changes from red to green.
Then enter “981” on the keypad.
Setup Code Entry
Once your remote has been factory reset, you’ll need to re-establish the connection between your remote and set-top box through the setup code entry process.
Press and hold the Xfinity and Mute buttons simultaneously for five seconds until the LED changes from red to green.
Then enter the first five-digit code displayed on-screen.
Factory Reset Process and Recovery
Before attempting a factory reset, understand that this process will completely erase your remote’s memory and return it to its original out-of-the-box state.
You’ll lose all device pairings and custom settings.
Hold the A (triangle) and D (diamond) buttons simultaneously until the LED turns green, then enter 9-8-1 on your keypad to complete the reset.
RF Vs IR Mode Switching Problems

Sometimes the issue isn’t with your remote’s basic functionality but rather with how it communicates with your devices.
Your XR15 remote primarily uses RF for the Xfinity box, which doesn’t require line-of-sight. However, switching to IR mode often fails when you enter codes like “987” or “981,” and some models can’t switch modes at all.
Hardware Damage and Button Inspection
While communication problems often stem from software glitches, hardware damage represents a more serious threat to your Xfinity remote’s functionality.
Persistent blinking lights, cracked casing, and unresponsive buttons after cleaning indicate internal damage. Check for sticky buttons, worn membranes, or loose components.
Battery leakage can corrode contacts, while moisture damage affects circuits.
Professional replacement becomes necessary when troubleshooting fails.
When to Contact Xfinity Support

How do you know when your Xfinity remote problems require professional assistance rather than DIY solutions?
Contact Xfinity support when persistent blinking lights continue after battery replacement, factory resets fail, pairing procedures don’t work, or buttons remain unresponsive.
You’ll also need help when signal range drops below 15 feet or unusual light patterns appear after troubleshooting attempts.
Wrapping Up
Your Xfinity remote’s green-then-red light pattern typically signals battery, pairing, or mode issues. You’ve learned to replace batteries, re-pair with your set-top box, perform factory resets, and switch between RF/IR modes. If these troubleshooting steps don’t resolve the problem, inspect for physical damage or stuck buttons. When all else fails, contact Xfinity support for professional assistance or remote replacement. Most lighting issues stem from simple fixes you can handle yourself.


