Make sure the power cord is firmly plugged into a working outlet and test the outlet with a lamp or charger. Slide the switch fully up until you feel a click and see the LED light up; a half‑slide won’t power the unit. Verify the mains voltage matches the label (110 V for US, 220‑240 V for Europe) and that the cord isn’t damaged. Clean and dry the filter completely, then unplug the device for at least thirty seconds to reset it. Try a different outlet to rule out a power issue, and watch for any flashing lights that indicate a fault. If it still won’t turn on, the next steps will guide you further.
TLDR
- Verify the power cord is securely plugged into a working outlet and test the outlet with another device.
- Ensure the switch is fully slid upward until it clicks and the handle‑base LED lights.
- Clean and completely dry the filter; a dirty or wet filter can prevent the unit from powering on.
- Perform a full reset by unplugging the unit, waiting at least 30 seconds, then reconnecting and starting on low settings.
- Check the indicator lights: a flashing white light means filter cleaning is needed; a red flash after cleaning indicates a fault that requires contacting Dyson support.
Check That the Airwrap Power Cord Is Firmly Plugged Into a Working Outlet
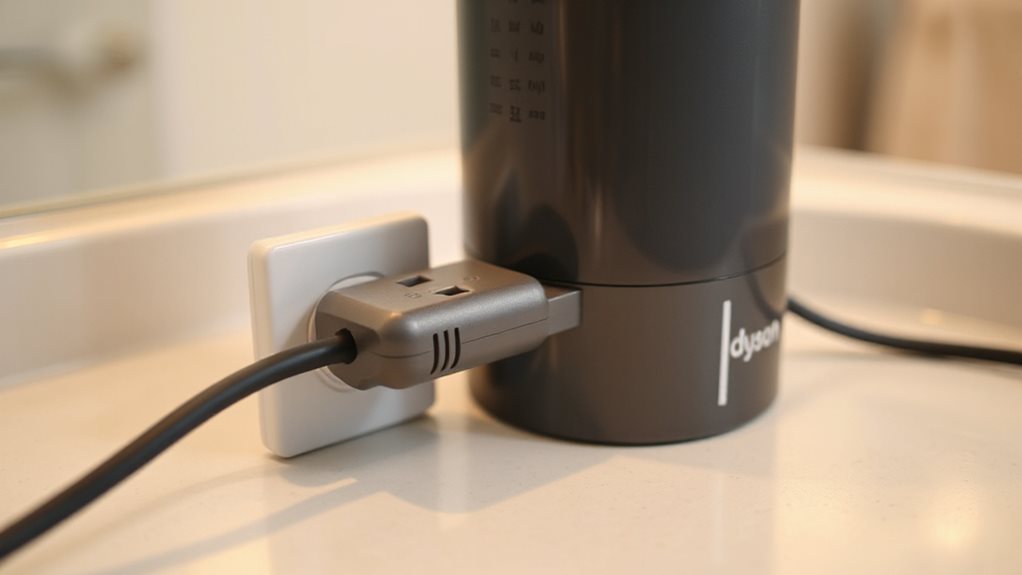
If the Airwrap won’t turn on, start by confirming the power cord is firmly plugged into a working outlet. Test the outlet with a lamp or charger, and use an outlet tester to verify correct voltage. Make sure the cord’s prongs aren’t bent or corroded, and that it seats snugly without wiggle. Avoid power strips initially; re‑plug the cord several times to reseat connections. Serial number lookup can help confirm the unit’s identity before troubleshooting. Overheating protection can also prevent startup if the device has recently been used for extended periods; allow it to cool and then try again. Filter maintenance is essential to prevent future red light issues that can accompany startup problems.
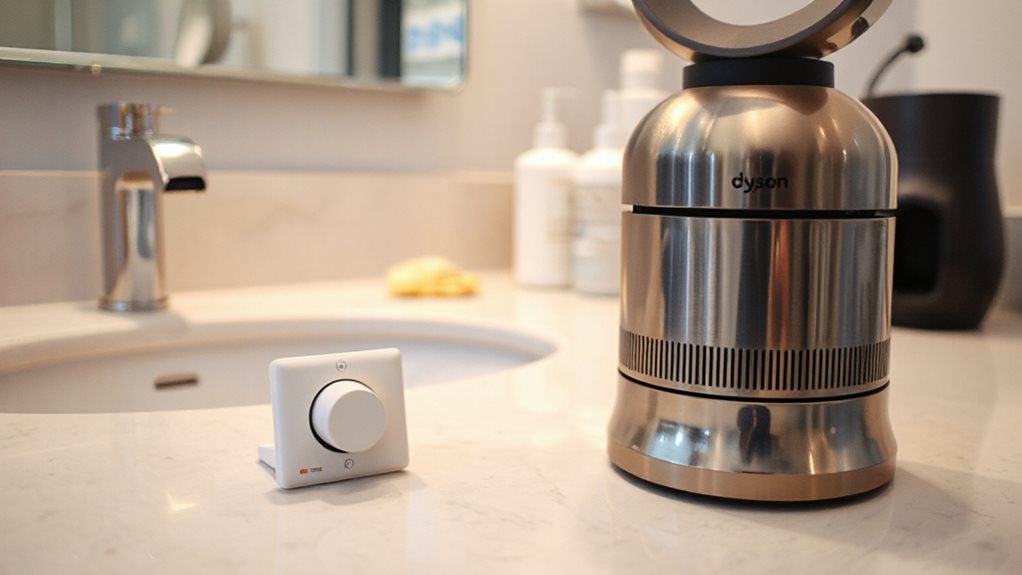
Turn the Airwrap Power Switch to the ON Position
Slide the switch up until you feel it click, then check that the LED at the base of the handle lights up, confirming the Airwrap is receiving power.
If the light stays off, make sure nothing is blocking the switch’s movement and that the filter cage is clean.
Once the indicator glows, you’re ready to move on to the next troubleshooting step.
Switch Position Confirmation
Where exactly is the power switch on your Dyson Airwrap, and how do you make sure it’s in the ON position?
The slider sits in the middle of the handle’s front side. Push it upward firmly, then release.
You’ll feel a click and the LED will react instantly.
Avoid holding it too short or staying in the middle; only a full upward slide powers the device.
Power Indicator Light Check
After confirming the switch is fully slid upward, turn your attention to the LED indicator on the handle.
If the light stays dark, check the power cord’s connection and test the outlet with another device.
Inspect the cord for cuts and confirm the voltage switch matches your supply.
Clean the filter; a blockage can suppress the light.
If flashing persists, contact Dyson support.
Set the Voltage Selector to the Correct Mains Voltage
Before you plug in your Dyson Airwrap, make sure the device matches the mains voltage of the outlet you’ll use.
Identify the model’s rating plate: US units show 110 V, European units 220‑240 V.
No selector switch exists, so you must use the correct regional outlet or a proper 2000 W converter.
Using the wrong voltage can overheat the motor, cause permanent damage, and void the warranty.
Understanding that appropriate voltage handling is essential for safe operation and long-term reliability, ensure you verify the outlet’s voltage compatibility and, if needed, use a suitably rated converter or adapter to support proper voltage alignment. Voltage compatibility
Examine the Power Cord for Cuts, Fraying, or Loose Connections
Choosing the correct mains voltage is only half the battle; the next step is to inspect the power cord itself.
Look for cuts, frayed insulation, or exposed wires along the length.
Check the plug and socket for loose connections and make sure the fuse is intact.
If hair or debris blocks the entry point, clean it gently.
Contact Dyson support immediately if any damage is found.
Clean and Fully Dry the Airwrap Filter to Prevent Overheating
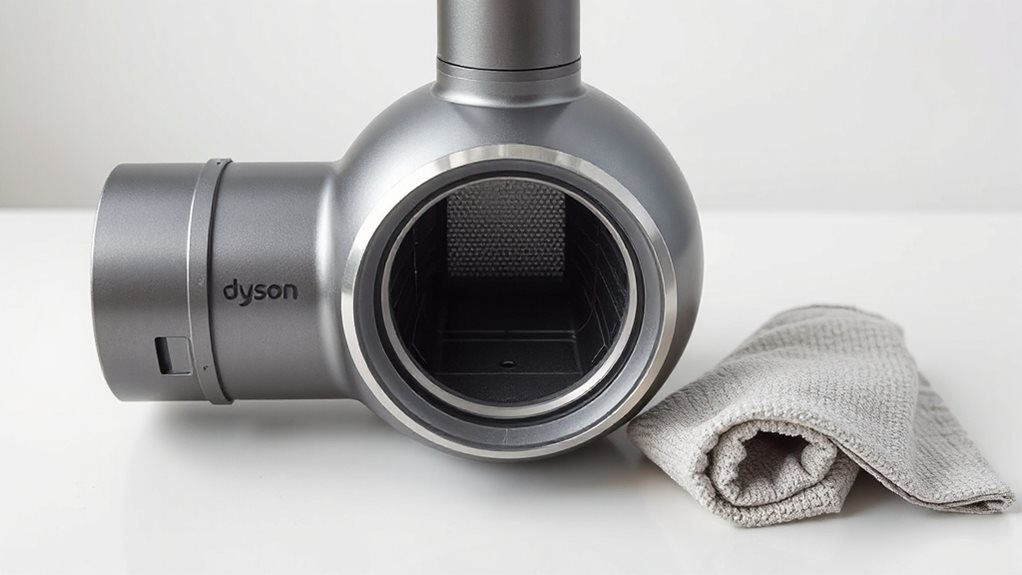
First, remove the filter and give it a quick rinse to wash away dust and hair that can choke airflow.
Next, shake off excess water, pat the parts dry with a paper towel, and let them air‑dry completely before you put them back.
Only when the filter is fully dry should you reassemble the Airwrap, ensuring the motor won’t overheat.
Filter Removal and Rinse
A clogged filter can cause the Dyson Airwrap to overheat and shut down, so cleaning it thoroughly is essential.
Unplug the unit, let it cool, then slide the C‑brush over the power cord into the filter cage. Rotate the cage anti‑clockwise, pull it away, and detach any accessories. Rinse the cage and brush under warm water, using a pea‑sized shampoo if needed.
Shake off excess water, then dry the cage with a paper towel before reassembly.
Complete Drying Before Reassembly
If you’ve rinsed the Dyson Airwrap filter, you must dry it completely before putting it back together; any remaining moisture can block airflow and cause the motor to overheat.
Shake off excess water, pat it dry with a paper towel, then air‑dry until it’s transparent in the light.
Verify dryness, then snap the cage back into place, aligning the dots.
This prevents overheating and restores full performance.
Secure All Attachments and Clear Any Airflow Blockages
Double‑check that each attachment is firmly pushed onto the Airwrap until you hear the audible click that signals a secure fit; any loose piece will trigger the safety shut‑off and stop the motor.
Verify arrows point the correct way, twist flyaway tops to lock modes, and clear hair or dust from vents.
Push barrels fully, confirm clicks, and test airflow before powering on.
Finally, run a quick security check on your device by scanning for malware using reputable tools to ensure your browsing environment is safe when researching fixes malware scanning.
Perform a Full Reset by Unplugging and Allowing the Unit to Cool
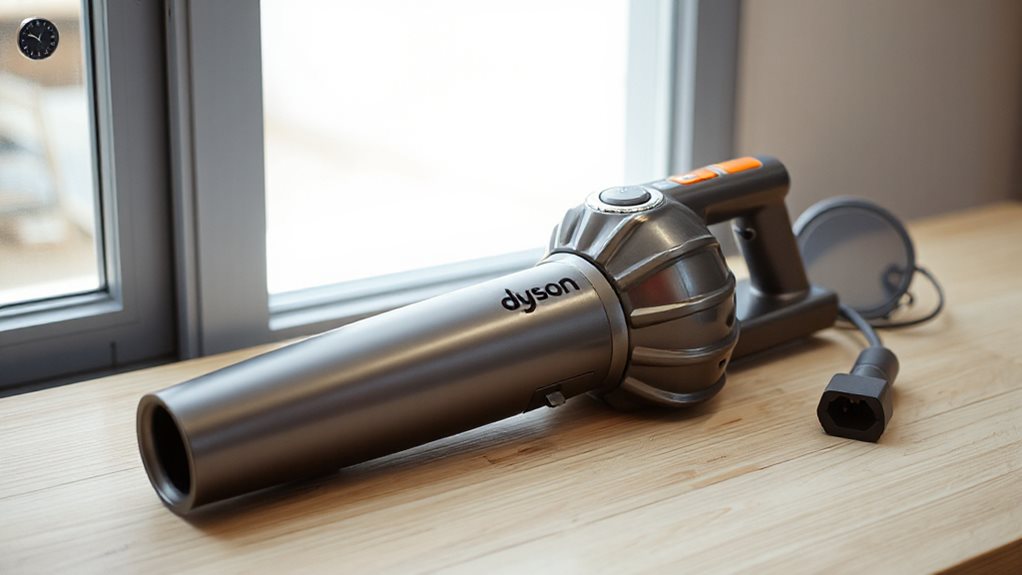
When the Airwrap won’t power up, the most reliable way to reset it’s to unplug the unit completely and give it time to cool.
Let it sit for at least thirty seconds, preferably up to a minute, while the motor and heating system dissipate heat.
Clean the magnetic filter, dry it thoroughly, then reconnect and start on low settings to confirm normal operation.
If you continue to experience issues after a full reset, consider checking the power outlet or try a different outlet to ensure the problem isn’t power-related. Power considerations
Test the Airwrap in a Different Outlet to Confirm Power Delivery
Plug your Airwrap into a different wall outlet and see if it powers on; this quickly tells you whether the original socket is transmitting electricity.
Before you do that, test the outlet with a simple device like a lamp or phone charger to confirm it’s working.
If the Airwrap runs in the new outlet, the problem lies with the first outlet’s power supply.
Also ensure you power cycle the Airwrap’s power base by unplugging it for a few seconds and then plugging it back in to rule out a temporary power glitch. outage monitoring
Verify Outlet Power Supply
If the Airwrap won’t turn on, start by testing it in another outlet to verify that power is actually reaching the device.
Check the outlet’s voltage matches the Airwrap’s rating—110 V in North America, 220 V elsewhere.
Inspect for damage, loose plugs, or discoloration.
Try a kitchen or bathroom circuit; success there points to a faulty original outlet.
If all outlets fail, reset breakers or GFCI switches before contacting a licensed electrician.
Test With Alternate Device
After confirming that the outlet supplies power, move on to testing the Airwrap in a different socket.
Plug it into a kitchen or living‑room outlet on another circuit.
If the LED lights and motor run, the original socket is faulty.
Note which locations work, record voltage readings, and share the data with Dyson support for fast resolution.
Look for Error Lights or Indicator Codes That Signal Specific Faults
When your Dyson Airwrap shows an indicator light, that signal tells you exactly what’s wrong and what to do next.
A white flash means the filter needs cleaning; clear it and prevent lint buildup.
A red flash after cleaning signals a deeper fault—contact support.
Solid blue confirms MyDyson™ app pairing; flashing blue shows you’re ready to connect.
Check these cues before troubleshooting further.
The green blinking light example from the Nest guide can inform you about ongoing system processes and the importance of a stable power supply to avoid misinterpretation of indicator signals. stable power
How to Get Dyson Airwrap Shutdown Support and What They’Ll Need From You?
What you need to know before contacting Dyson support for a shutdown issue is simple: gather your reference code, model and serial numbers, and a brief description of the problem.
Call 1‑866‑693‑9766 (press 2 then 3, hair‑care 1) or use the 24/7 chat icon.
Provide filter status, recent maintenance, and your contact details for shipping repairs.
And Finally
If your Dyson Airwrap won’t turn on, verify the cord is securely plugged into a functional outlet, the power switch is on, and the voltage selector matches your mains. Inspect the cord for damage, clean and dry the filter, and let the unit cool before a full reset. Test another outlet and note any error lights. If the problem persists, contact Dyson support with the model number, serial number, and a description of the steps you’ve already taken.