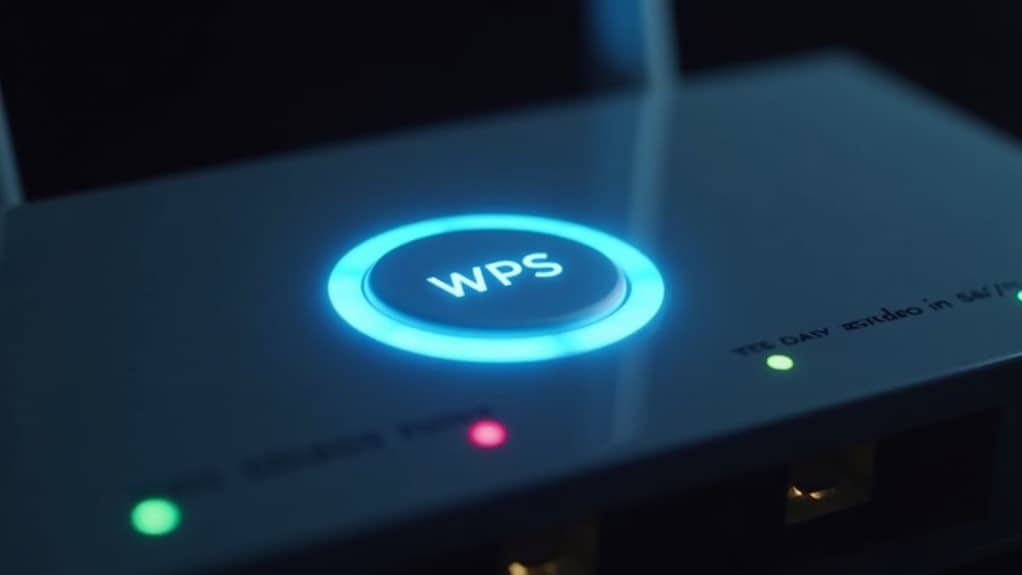
To use your Spectrum router’s WPS button, locate it on the back panel near the Ethernet ports – it’s typically marked with “WPS” or a Wi-Fi Protected Setup logo. Press and hold the button for three seconds until the light activates, which opens a 120-second window for connecting devices. On your wireless device, select your network and press its WPS option to pair automatically. This quick-connect method works for most modern smart devices, though understanding additional features can enhance your network arrangement.
Quick Guide
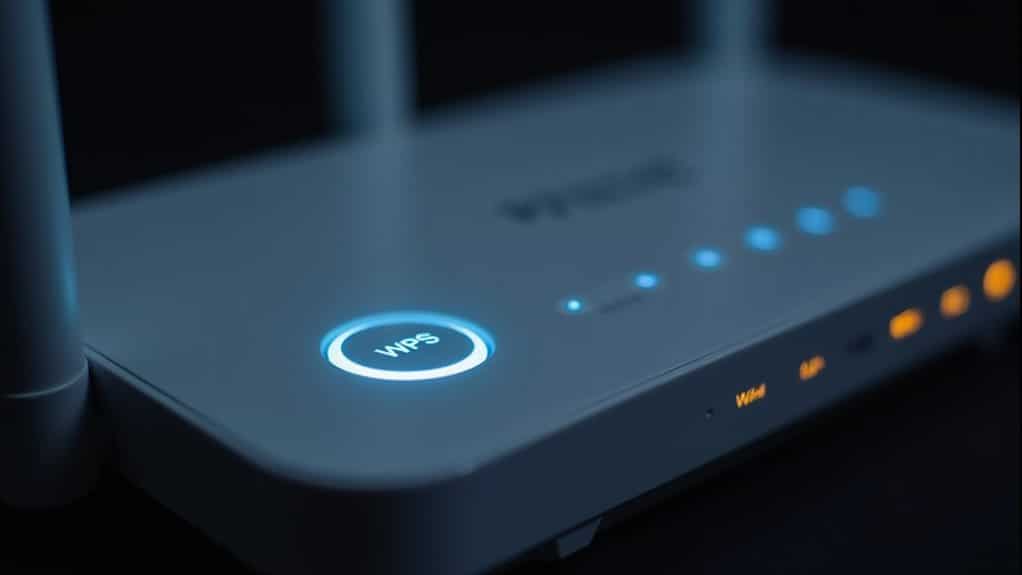
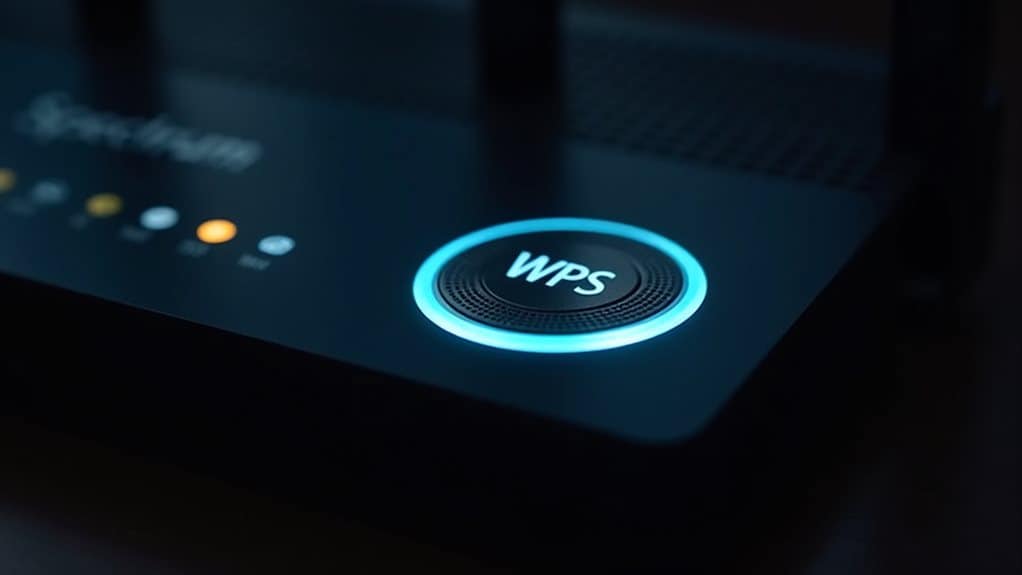
- The WPS button is located on the back of your Spectrum router, usually near the Ethernet ports and labeled “WPS.”
- Press and hold the WPS button for three seconds until the light indicator activates to begin the pairing process.
- After activating WPS, you have 120 seconds to connect your device by pressing its corresponding WPS button or entering settings.
- WPS eliminates the need to manually enter network passwords, allowing quick connection of compatible devices to your network.
- If connection fails, restart both devices, verify WPS is enabled in router settings, and ensure devices are within range.
What Is WPS and Why It Matters
WPS (Wi-Fi Protected Setup) simplifies the process of connecting your devices to a secure wireless network.
You’ll find this feature on most modern routers, including range’s, offering quick connection methods through a push-button or PIN entry system.
It’s particularly useful when you’re setting up multiple devices like smartphones, printers, or smart home gadgets without typing long passwords. The system provides rigorous testing standards to ensure compatibility between different Wi-Fi products and brands.
Finding Your WPS Button on Spectrum Routers
Now that you understand what WPS is, locating the button on your range router is your next step.
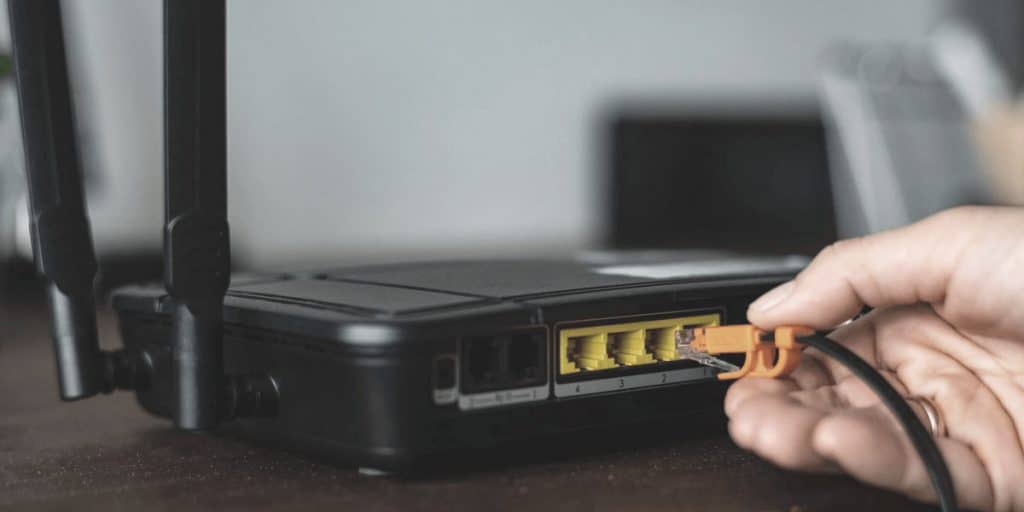
You’ll typically find the WPS button on the back of your network router, near the Ethernet ports. Look for either a “WPS” label or the Wi-Fi Protected Setup logo.
If you can’t locate a physical button, check your router’s manual, as some models use virtual WPS settings instead. Remember that WPS functionality provides built-in encryption to help secure your connection during the setup process.
Step-by-Step Guide to WPS Activation
While activating WPS on your range router might seem challenging, the process is straightforward when you follow the right steps.
First, locate the WPS button on your router’s back panel. Press and hold it for three seconds until the light activates. You’ll have 120 seconds to connect your device.
If there’s no physical button, you can access WPS through your router’s web interface.
Connecting Smart Devices Using WPS
You’ll find connecting smart devices to your Range router using WPS is a straightforward process that starts with pressing the WPS button on both your router and device.
Smart home gadgets like security cameras, thermostats, and smart plugs can quickly join your network through WPS, eliminating the need to manually enter passwords.
If you’re experiencing connection issues, make certain both devices are within range and that your smart device is WPS-compatible before attempting the pairing process.
Easy Device Connection Steps
Connecting smart devices to your range router using WPS takes just a few simple steps.
First, press the WPS button on your network router, typically located on the back near the Ethernet ports.
Then, within 120 seconds, activate WPS on your device through its settings or dedicated button.
The devices will automatically pair, establishing a secure wireless connection without requiring password entry.
Smart Home Device Setup
Setting up smart home devices becomes remarkably simple when your router supports WPS functionality.
You’ll find the process especially convenient for smart speakers, TVs, and home automation devices. Just press the WPS button on your range router and the corresponding button on your smart device.
They’ll connect automatically within minutes, without requiring you to enter network passwords or complex settings.
Troubleshoot WPS Connection Issues
While WPS simplifies device connections, it can sometimes present challenges that require troubleshooting.
If you’re having trouble with WPS, start by restarting both your router and device.
Check that WPS is enabled in your router’s settings and ascertain there’s no physical damage to the WPS button.
If issues persist, update your router’s firmware and verify your device supports WPS functionality.
Common WPS Connection Problems and Solutions
If you’re having trouble with your WPS button not responding, first check that it’s enabled in your router settings and try a quick power cycle to restore functionality.
When dealing with signal range issues, you’ll need to confirm your device is within 20 feet of the router during the WPS connection process.
To address device compatibility problems, verify that both your router and connecting device support WPS technology, as older devices or those using WEP security won’t work with this feature.
Physical Button Not Working
When your Range router’s physical WPS button isn’t responding, several common issues could be causing the problem.
Check if the button’s stuck or damaged, and guarantee your router’s firmware is up to date.
Try restarting your router, as this often resolves connectivity issues.
If these steps don’t work, you can use alternative methods like PIN-based connection or manual Wi-Fi setup.
Signal Range Issues
Beyond physical button issues, signal range problems can greatly impact your WPS connection success.
If you’re too far from your router or there are walls blocking the signal, your WPS connection might fail.
You’ll need to evaluate repositioning your router centrally, using Wi-Fi extenders strategically, or checking for interference from other devices like cordless phones and Bluetooth equipment.
Device Compatibility Problems
Device compatibility issues represent one of the most common obstacles you’ll face when using WPS connections.
If you’re experiencing problems, first verify that your device supports WPS and check if WPS is enabled on your router.
You’ll also need to guarantee both devices use compatible encryption methods, like WPA2.
Remember to complete the connection process within two minutes to avoid timing failures.
Security Considerations When Using WPS
Although WPS offers convenient network connectivity, its security vulnerabilities pose significant risks to your router and network.
You’ll need to watch out for brute-force attacks that can crack your WPS PIN in just 4-10 hours.
Keep your router in a secure location to prevent unauthorized physical access, and remember that even disabled WPS features might retain vulnerabilities.
Regular firmware updates are essential for protection.
Best Practices for WPS Management
Proper WPS management practices can help offset the security risks while maintaining the convenience of easy device connections.
You’ll want to regularly update your router’s firmware and monitor network activity for unauthorized connections.
Keep your WPS settings in check through the router’s web interface, and combine WPS with strong network passwords for ideal security.
Consider using Ethernet when configuring WPS settings.
Wrapping Up
You’ve now learned how to effectively use your range router’s WPS button for quick device connections. While WPS offers convenience, remember to balance this with security by using it sparingly and only with trusted devices. If you encounter issues, try the troubleshooting steps outlined above. For maximum network protection, consider using traditional password methods for most connections and reserving WPS for occasional use.