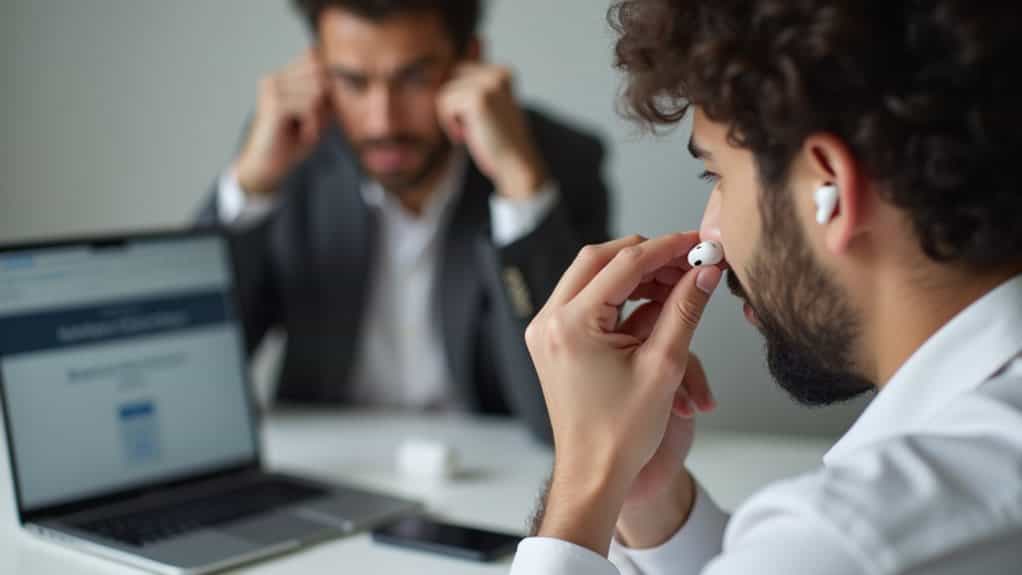
People hear your AirPods because they’re not sealing properly in your ear canal, allowing sound to escape outward. The main culprits are improper fit, high volume levels, debris blocking the speaker mesh, or worn ear tips. Start by lowering your volume, cleaning the speaker grilles with a lint-free cloth, and trying different-sized ear tips for a tighter seal. If these quick fixes don’t resolve the issue, adjusting your noise cancellation settings or contacting Apple Support for potential hardware problems can help you achieve better sound isolation.
Quick Guide
- Sound leaks when AirPods don’t seal properly in your ear canal due to wrong ear tip size or poor fit.
- High volume levels are the primary cause of audible leakage that others can hear around you.
- Earwax and debris blocking the speaker mesh can redirect sound outward instead of into your ear.
- Worn or damaged ear tips compromise the seal, allowing audio to escape even at moderate volumes.
- Clean speaker grilles gently, replace ear tips, lower volume, and ensure proper fit to reduce leakage.
What Causes AirPods to Leak Sound?
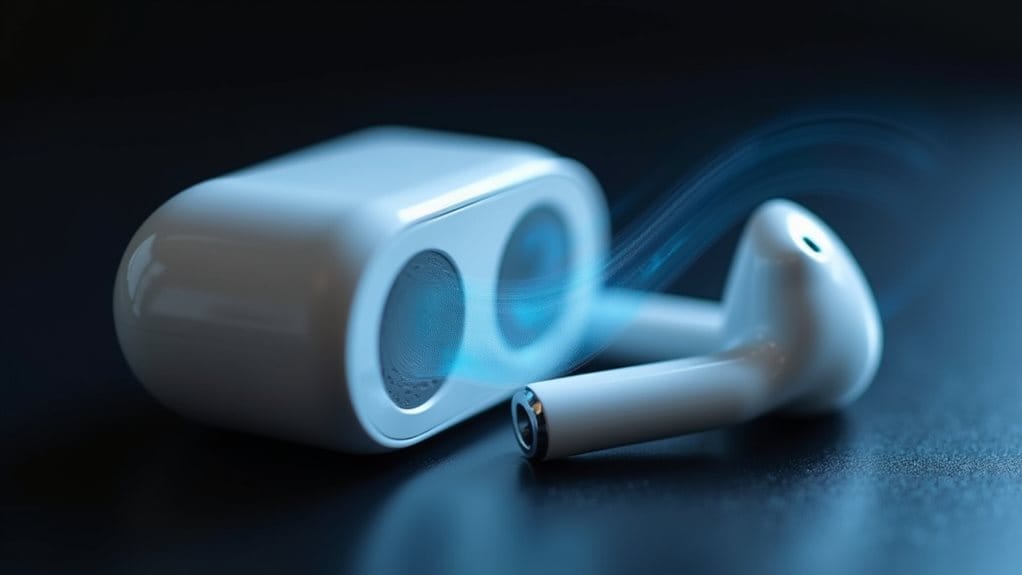
Sound leakage from AirPods occurs when audio escapes from the earbuds instead of directing fully into your ear canal. This happens due to improper fit, high volume levels, or design limitations in certain models. Earwax and debris blocking the speaker mesh can also cause sound to escape outward. Additionally, worn ear tips, outdated firmware, and hardware defects may contribute to noticeable leakage that others can hear. Some users report extreme sound leakage on newer AirPods models that makes audio audible across rooms even at low volumes. Over-ear models like the AirPods Max may also leak sound if they do not form a proper seal during movement, especially during high-intensity exercise.
How to Identify the Source of Your Sound Leakage Problem
Understanding why your AirPods leak sound requires a systematic approach to pinpoint the exact cause.
Start by performing an Ear Tip Fit Test to check for air gaps compromising the seal.
Test each AirPod individually at different volumes across multiple devices to isolate hardware or software issues.
Inspect ear tips for proper sizing and examine speaker grilles for debris accumulation that affects sound direction and containment.
Check the audio balance settings to ensure volume distribution between left and right AirPods hasn’t been accidentally adjusted, as imbalanced output can cause perceived leakage from the louder side.
Also verify that your AirPods are selected as the active audio output in Control Center to rule out incorrect device routing.
Quick Fixes You Can Try Right Now
Before diving into complex troubleshooting, you’ll want to tackle the most common culprits behind AirPods sound leakage with simple solutions that take just minutes to implement.
Start by lowering your volume to a moderate level, as excessive loudness is the primary cause of audible leakage.
Next, clean your AirPods’ speaker mesh using a dry, lint-free cloth to remove earwax and debris blocking sound output.
Finally, make sure proper earbud fit by adjusting or replacing ear tips.
Also, if your AirPods have been exposed to moisture, power them down and allow the charging area to dry to prevent corrosion before using them again.
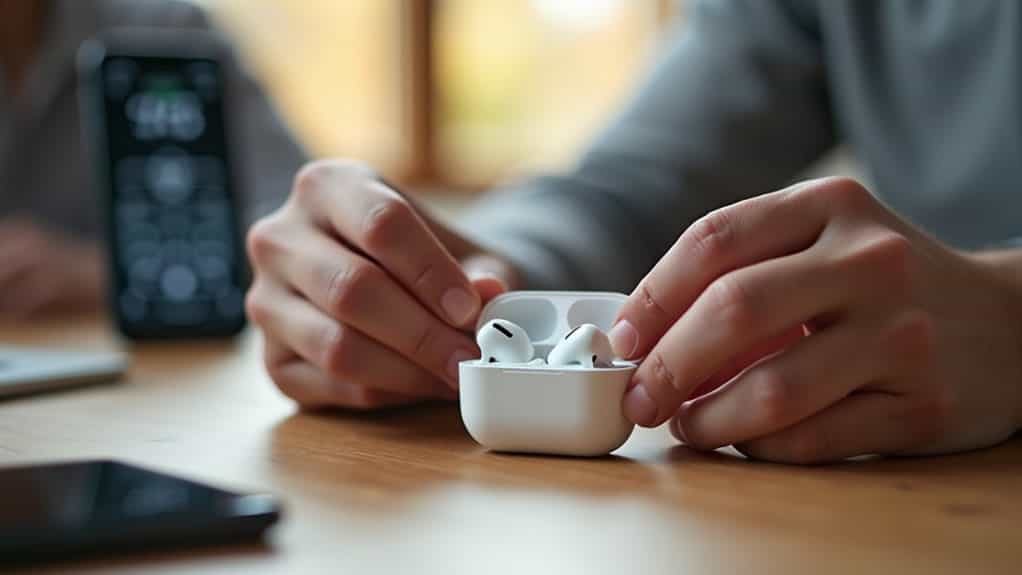
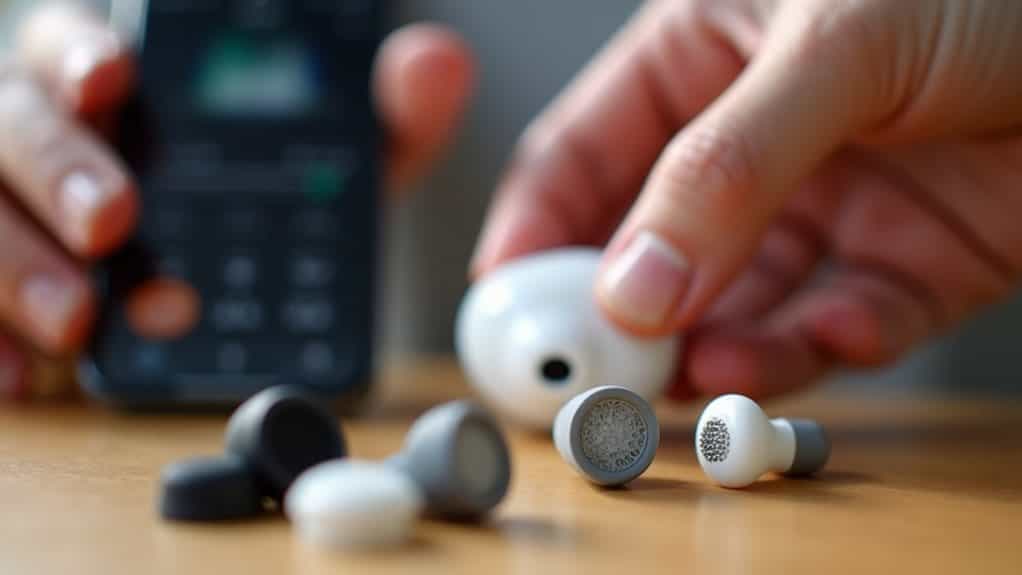
Proper Ear Tip Selection and Fitting Techniques
With the right ear tip size and proper insertion technique, you’ll dramatically reduce sound leakage and improve your overall listening experience.
Start with the pre-attached medium tip, then test smaller or larger sizes. Insert the AirPod into your ear canal and rotate the stem toward your face until you achieve a secure seal. Run Apple’s Ear Tip Fit Test to verify proper sealing and peak noise cancellation performance.
Cleaning Your AirPods to Reduce Leakage
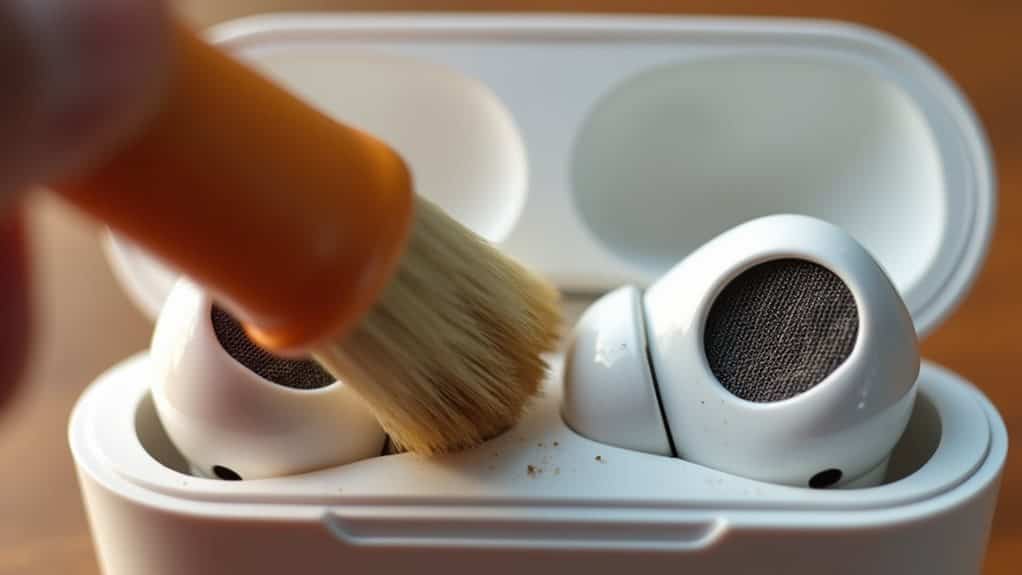
Regular cleaning of your AirPods requires the right tools to effectively remove debris without causing damage.
You’ll need a soft-bristled toothbrush, lint-free cloths, cotton swabs, and isopropyl alcohol to safely clean the speaker mesh, ear tips, and exterior surfaces.
Following a systematic cleaning process guarantees you maintain sound quality while preventing potential leakage caused by wax and dirt buildup.
Proper Cleaning Tools Required
Keeping your AirPods in pristine condition calls for the right cleaning tools, not just whatever you’ve got lying around your house.
Specialized kits like the Belkin AirPods Cleaning Kit include soft-bristled brushes, microfiber cloths, and safe cleaning solutions designed specifically for delicate meshes and components.
These tools effectively remove earwax buildup without damaging speaker membranes, helping restore acoustic performance and reduce sound leakage.
Step-by-Step Cleaning Process
Because accumulated debris directly impacts your AirPods’ acoustic performance, following a systematic cleaning process is essential for reducing sound leakage.
Remove ear tips and rinse them under running water without soap. Use a soft-bristled brush to gently clean mesh grilles, avoiding pushing debris deeper. Wipe the body with a slightly dampened cloth, then dry thoroughly with a lint-free cloth.
Allow complete drying for two hours before use.
Adjusting Active Noise Cancellation Settings
Active Noise Cancellation works by using microphones to detect external and internal sounds, then counters them with anti-noise to eliminate unwanted ambient noise.
You can switch between ANC, Transparency, and Adaptive Audio modes by pressing and holding your AirPods’ stem until you hear a chime. Alternatively, adjust these settings through Control Center on your iPhone by pressing and holding the volume slider, then tapping the Noise Control icon.
Advanced Customization Options for Better Sound Isolation
Beyond switching between standard noise control modes, your AirPods offer several advanced customization features that can markedly improve sound isolation and reduce audio leakage.
Custom Transparency Mode lets you adjust amplification levels, balance, and tone to suit your hearing preferences.
Headphone Accommodations in Accessibility settings enable frequency-specific amplification and audio balance control.
You can also activate noise cancellation in just one earbud for flexible isolation while maintaining partial environmental awareness.
Understanding the Limits of In-Ear Earbuds
While AirPods and other in-ear earbuds offer impressive portability and sound quality, they’re inherently limited by their design when it comes to preventing audio leakage.
Unlike over-ear headphones that cover your entire ear, in-ear models depend entirely on creating a physical seal within your ear canal. If this seal isn’t perfect—due to ear anatomy, tip size, or debris—sound will escape, particularly bass frequencies that easily bypass gaps.
When to Contact Apple Support for Repairs or Replacement
If you’ve ruled out fit issues and tried all the standard troubleshooting steps without success, it’s time to reach out to Apple Support for a professional assessment.
Persistent sound leakage combined with low volume often indicates hardware failure. Apple may run diagnostics and determine if you’re eligible for repair or replacement under warranty. Check your AppleCare coverage before scheduling a Genius Bar appointment or initiating mail-in service.
Wrapping Up
You’ve now learned the common causes of AirPods sound leakage and multiple solutions to fix it. Start with proper ear tip sizing and regular cleaning, then adjust your volume and ANC settings as needed. If these fixes don’t resolve the issue, your AirPods may have a hardware defect requiring professional repair. Remember that some sound leakage is normal at high volumes, but excessive leakage shouldn’t be ignored.