You’re hearing your AirPods because the seal isn’t tight, ANC or Transparency is on unintentionally, or a hardware fault lets sound escape. First, run the Apple Store fit test and pick the right ear‑tip size for a snug seal, then clean the mesh and ear tips with isopropyl alcohol. Next, check Control Center to confirm ANC is active and Live Listen is off, and reset the pods by forgetting them and re‑pairing. Finally, inspect the drivers for damage and, if needed, claim warranty or replace the units. Continue for deeper troubleshooting steps.
TLDR
- Ensure a snug fit by selecting the correct ear‑tip size and running Apple’s fit test.
- Verify ANC, Transparency, or Live Listen aren’t unintentionally enabled in Control Center or Settings.
- Clean the mesh and ear tips, then reset and re‑pair the AirPods to clear any firmware glitches.
- Check for hardware damage (cracks, wear, debris) that could cause sound to leak from the drivers.
- Update firmware, adjust Bluetooth codec, and confirm the AirPods are the active output device.
Stop AirPods Sound Leakage Now
To stop AirPods sound leakage now, start by ensuring a proper seal with the right ear‑tip size.
Run the Apple Store fit test, pick S, M, or L for a tight fit, then clean the mesh and ear tips with isopropyl alcohol.
Reset the pods, forget and re‑pair them, and verify ANC is active.
Test with bass‑heavy tracks to confirm silence.
If the issue persists, consider that a AirPlay/Band may be delivering unbalanced sound.
Identify Hardware Faults That Cause AirPods Sound Leakage
After you’ve secured a proper seal, the next step is to check whether a hardware fault is behind the leakage.
Inspect ear tips for foam wear, cracks, or swelling.
Look for driver or microphone damage, especially after drops.
Clean debris from mesh and grilles.
Test with fresh firmware; if static persists, the hardware likely needs replacement.
Check ANC, Transparency, and Live Listen Settings for AirPods Audio Leak
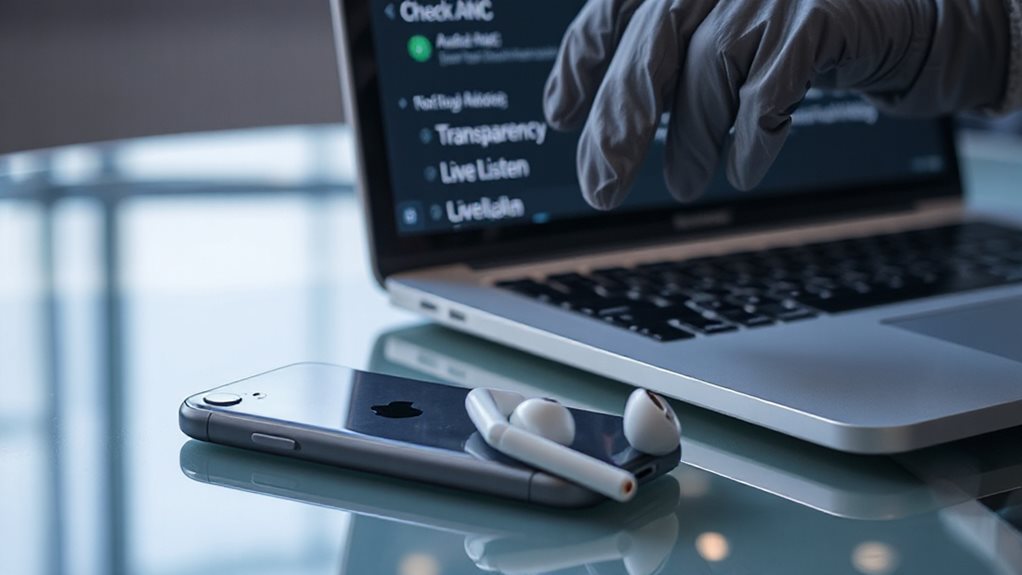
If you suspect that a settings issue is causing your AirPods to leak sound, start by confirming which listening mode is active.
Open Control Center, tap the volume slider, and check Noise Control.
Confirm ANC, Transparency, or Adaptive Audio isn’t unintentionally engaged.
Verify Live Listen is off in Settings ▶ Accessibility ▶ AirPods.
Adjust mode or disable it, then test for leakage.
Also ensure that the AirPods are the active output in both Control Center and the system’s audio settings, and consider restarting the device if leakage persists. Active output
Fix Bluetooth Routing That Creates AirPods Sound Leakage
Once you’ve confirmed the listening mode isn’t the culprit, the next step is to address the Bluetooth routing that can cause AirPods to leak sound.
Unpair them, restart the device, then re‑pair to clear corrupted data.
Adjust the codec to AAC or SBC, and minimize 2.4 GHz interference by staying close and disabling nearby Wi‑Fi.
Turn off Automatic Ear Detection for added stability.
Clean and Reset AirPods to Stop Audio Leakage
You should start by gently cleaning the speaker ports with a soft brush and a little micellar water, then let them dry for at least two hours before using them again.
After the hardware is dry, reset your Bluetooth settings by forgetting the AirPods on your device and holding the setup button for 15 seconds until the LED flashes.
This two‑step process removes both physical debris and any corrupted pairing data that can cause audio leakage.
When you’re done, you can review your iPhone’s Bluetooth permissions and connections to ensure that no other devices are automatically reconnecting to your AirPods, which can help prevent future leakage. Privacy controls
Clean Speaker Ports
Cleaning the speaker ports is essential to stop audio leakage and restore clear sound. Use a dry cotton swab to clear surface debris, then gently brush with a soft‑bristled lint brush in circular motions for fifteen seconds.
For stubborn wax, probe crevices with a toothpick, followed by a lint‑free cloth wipe.
If needed, apply isopropyl‑saturated brush, blot, rinse with distilled water, and let the earbuds air‑dry for at least two hours before reinserting.
Reset Bluetooth Settings
Typically, you’ll need to unpair your AirPods before resetting them to stop audio leakage.
Open Settings → Bluetooth, tap the info icon next to your AirPods, and choose “Forget This Device.”
Then, in Find My, remove them from your Apple ID.
Place the AirPods in the case, close the lid, wait 30 seconds, press the setup button for 15 seconds (or double‑tap the front three times for newer models), and watch the light flash amber then white.
Re‑pair by opening the case near your iPhone and tapping Connect.
Is It Time to Claim Warranty or Get a Replacement?
When your AirPods start leaking sound, the first step is to determine whether the issue falls under Apple’s limited warranty or if a replacement is the better route.
Check your purchase date; if it’s within a year, a defect may be covered.
Otherwise, compare AppleCare+ fees ($29 per incident) against out‑of‑warranty costs ($69‑$89).
Gather serial numbers and proof of purchase, then visit a store for diagnostics.
Choose the option that restores freedom quickly. Warranty coverage
And Finally
You’ve pinpointed the cause, adjusted settings, and cleaned your AirPods. If leakage persists, reset them and re‑pair to your device. Should the problem remain, it likely indicates a hardware fault—contact Apple Support or use your warranty for a replacement. Following these steps helps your AirPods stay private and functional.