Check your IP via a Google “what is my IP” search before and after connecting your VPN—mismatched results mean a leak. Use tools like Ipleak.net or BrowserLeaks.com to spot hidden DNS or IPv6 issues. Enable your VPN’s kill switch to block traffic if the connection drops, and force DNS queries through your VPN’s secure servers. Disable IPv6 in your OS or via tools like TunnelGuard, and block WebRTC leaks with browser extensions like uBlock Origin. Test weekly and after config changes to guarantee ongoing protection—learn steps to test your setup and patch vulnerabilities effectively.
Quick Guide
- Use a trusted VPN with DNS leak protection and DNS-over-HTTPS to block ISP DNS requests.
- Enable a kill switch to halt internet traffic if the VPN connection drops unexpectedly.
- Disable WebRTC in browsers or use extensions to prevent IP exposure via peer connections.
- Force-disable IPv6 or enable IPv6 leak protection in your VPN client to block protocol bypasses.
- Regularly test for leaks with tools like BrowserLeaks.com or Ipleak.net post-VPN configuration updates.
Why Your IP Leaks Even With a VPN

While you’re using a secure connection, your IP can still leak due to flaws in how your device communicates online. DNS leaks send requests through your ISP’s servers, WebRTC vulnerabilities expose your IP via browsers, and misconfigured IPv6 traffic bypasses VPN encryption. Additionally, IPv6 transition protocols like Teredo can tunnel DNS queries outside the encrypted tunnel, creating unintended exposure points. Split tunneling routes data outside the VPN, and connection drops leave you exposed. Even trusted apps or plugins might bypass protections, unknowingly exposing your real IP. Stay vigilant—check settings, disable risky features, and test regularly to guarantee your digital freedom stays intact. Packet sniffers can still detect some metadata on local networks, so consider using network monitoring tools to spot anomalies.
Find IP Leaks in 2 Clicks (Google Search Method)
Start by searching “What’s my IP” on Google before connecting to your VPN—record the IP, location, and ISP details.
Activate your VPN, then search again; mismatched IPs confirm a leak.
This quick comparison reveals exposure risks without needing technical jargon or tools.
For extra assurance, also run an extended DNS test to check whether DNS requests are being routed through your VPN provider.
Check IP Before Vpn
A quick Google search gives you an instant read on your public IP address—type “what is my IP” into the search bar, and your IPv4 or IPv6 address appears at the top of the results, along with location details like city, country, and ISP.
Disconnect your VPN first to confirm your real IP. This two-click check guarantees you’ve got a baseline: if your IP stays the same after reconnecting your VPN, you’ve got a leak.
Keep your freedom intact by verifying early.
Repeat After Connecting
Connect your VPN and run the same Google search again—type “what is my IP” into the search bar. If the result matches your initial check, your real IP’s still exposed. A different IP means the VPN works.
This quick comparison catches leaks fast, letting you secure browsing freely without complex tools.
Confirm Exposure Through Search
Check your exposure in seconds by Googling “what’s my IP” before and after connecting your VPN. Jot down results pre-connection, then reconnect and search again in a new window.
Real IP showing? You’re exposed. Only the VPN IP visible? Covered. This simple test confirms your freedom online stays intact without leaks.
Detect Hidden Dns/Ip Leaks With Trusted Tools
Hidden DNS or IP leaks mightn’t scream for attention, but finding them before others do safeguards your privacy from unintended breaches.
Use trusted tools like AstrillVPN, Surfshark, or Ipleak.net to run standard and extended leak tests. Confirm only your VPN’s DNS servers appear, activate DNS-over-HTTPS, and make certain tools detect no ISP resolvers.
Regular checks keep your online activity shielded, enabling you to control what stays hidden.
If you have trouble accessing streaming services, try switching servers or contacting support to find streaming-capable servers that still work with Netflix.
Activate Your VPN’s Kill Switch Immediately
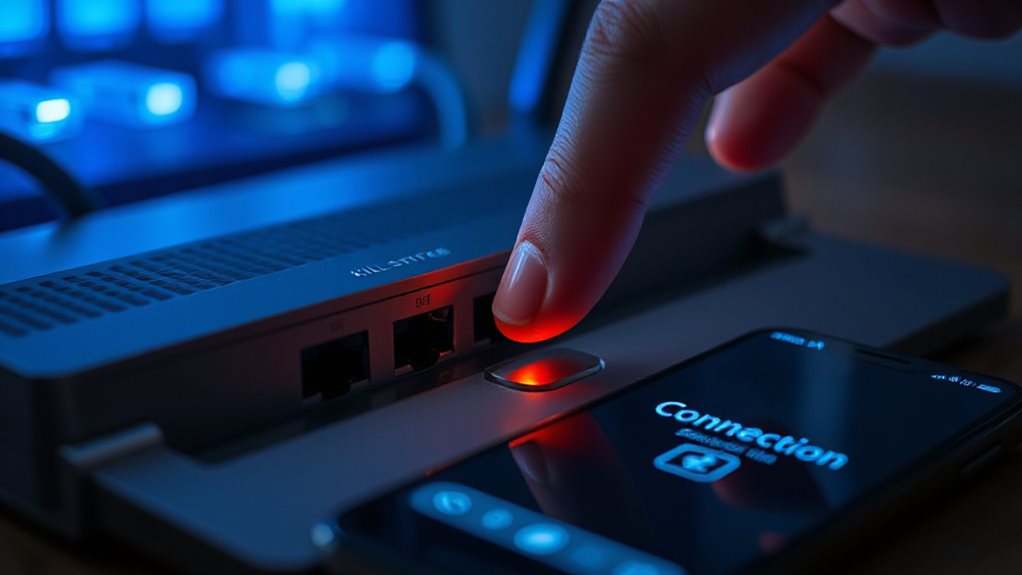
While your DNS and IP might stay protected during normal VPN operation, a sudden connection drop can expose your real identity to the internet. Activate your kill switch immediately—this vital feature cuts your internet if the VPN drops, shielding your IP and data.
Enable system-level blocking for total freedom or customize app-specific rules. You’ll stay protected during outages, ensuring no leaks.
Check settings: most providers enable it by default, but manual verification is key. Don’t risk accidental exposure—secure your connection now.
Secure DNS Traffic With Leak-Proof Servers
Even if your VPN encrypts internet traffic, insecure DNS requests can still expose your browsing habits. Use providers like ProtonVPN with private DNS servers to route queries through encrypted tunnels.
Force your device to purge DNS caches and rely solely on your VPN’s servers. Disable conflicting browser settings or security tools that hijack DNS. Regularly test leak protection via dnsleaktest.com.
Prioritize services like Mullvad that block leaks unless misconfigured. Keep DNS locked down—your digital freedom depends on it. Many reputable VPNs also include a Kill Switch to protect connections during unexpected drops.
Plug WebRTC Holes That Expose Your IP
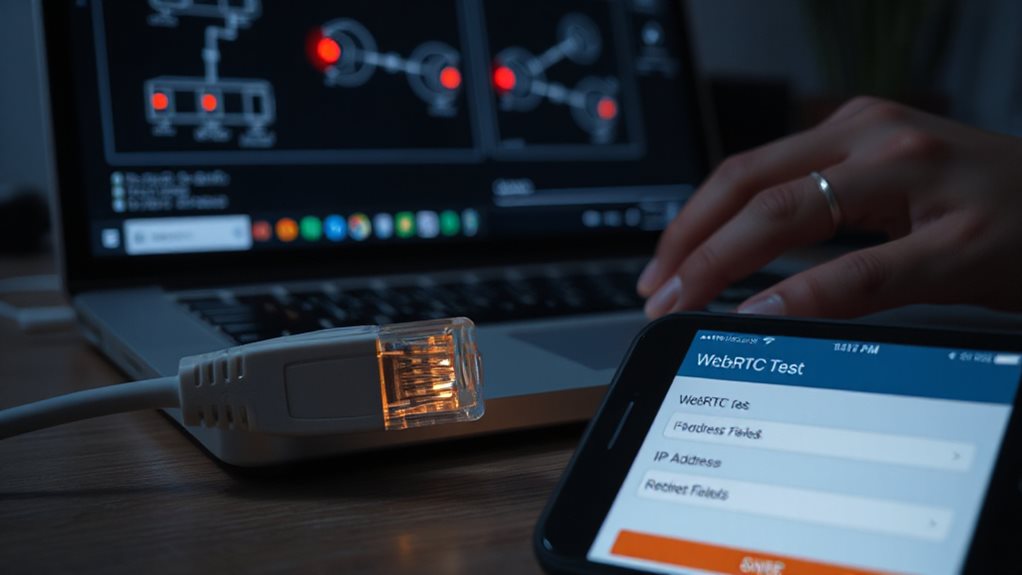
Your DNS might be locked down, but WebRTC vulnerabilities still risk exposing your real IP address. Enable uBlock Origin’s “Prevent WebRTC leaks” setting or use WebRTC Protect to block leaks. Firefox users: disable WebRTC via *about:config*. Brave blocks non-proxied UDP by default. Chrome lacks a toggle, so rely on extensions. Verify protection via BrowserLeaks.com after updates—Safari and IE sidestep leaks entirely. Prioritize browser controls first, extensions second, and recheck regularly to stay secure.
Block IPv6 IP Exposure in 3 Steps
You mightn’t realize IPv6 traffic can bypass your VPN, exposing your real address.
Start by enabling IPv6 leak protection in your VPN client—look for settings like “Disable IPv6” or “IPv6 tunneling” to force traffic through the secure tunnel.
Next, disable IPv6 directly on your device via OS settings to block potential escape routes at the system level.
Enable Ipv6 Leak Protection
While some VPNs automatically block IPv6 leaks, manually configuring protection guarantees maximum security.
Check your provider’s settings—ExpressVPN, NordVPN, and Surfshark offer built-in IPv6 leak protection.
Enable features like kill switches to halt traffic if the VPN drops.
Test your setup with an IPv6 leak checker; disable Teredo or 6to4 tunnels via OS commands if real IPs surface.
Prioritize dual-stack support or full IPv6 tunneling for seamless safety without sacrificing speed or privacy.
Disable Ipv6 On Device
Manual configuration of IPv6 leak protection helps, but cutting IPv6 off at the source eliminates vulnerabilities tied to its legacy adoption.
Run `sudo sysctl net.ipv6.conf.all.disable_ipv6=1` to temporarily disable it.
Permanently lock it down by adding that line to `/etc/sysctl.conf`.
Apply changes with `sudo sysctl -p` and reboot.
Verify via `ip addr`—no IPv6 addresses should appear.
Shrinks attack surface, blocks leaks, guarantees your real IP stays hidden behind your VPN.
Harden Your Existing VPN Against Leaks
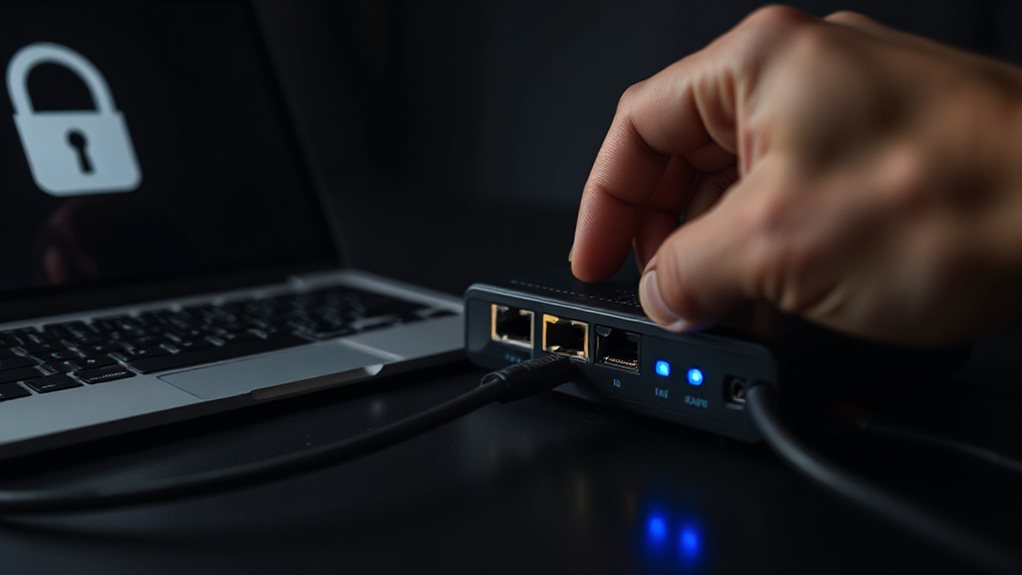
Where securing remote access remains a priority, ensuring your existing VPN isn’t exposing sensitive data requires proactive steps. Keep all software updated—you’re patching vulnerabilities exploited by attackers.
Enable MFA and strong passwords, use AES-256 encryption. Disable unnecessary services, limit access, and monitor logs for unauthorized changes. These steps prevent leaks and protect your digital freedom.
Test Regularly to Prevent Future Leaks
Once you’ve secured your existing configuration, ongoing checks keep vulnerabilities from slipping through.
Test DNS, IP, WebRTC leaks weekly with tools like BrowserLeaks or IPleak.net.
Don’t ignore IPv6—ensure it routes through your VPN.
Clear cache/retest, cross-verify results across platforms.
Run Wireshark for traffic analysis if leaks appear.
Stay proactive; your digital freedom depends on flawless shielding.
Wrapping Up
You now know how IP leaks happen and how to stop them. Test your VPN regularly with tools like DNS Leak Tester to catch vulnerabilities. Enable the kill switch to block traffic if your connection drops. Secure DNS by using trusted servers, and patch IPv6 leaks by disabling it unless required. Fix WebRTC flaws in browser settings, and harden your VPN with updated protocols. Don’t skip tests—consistent checks prevent future risks. By following these steps, you’ll keep your IP hidden and your online activity private.