A VPN on your PlayStation in Australia cuts ping, bypasses ISP throttling, and hides your IP from DDoS attacks, letting you game smoother and access geo‑blocked titles. Choose a provider with fast Australian servers—ExpressVPN, NordVPN, or Surfshark all offer low‑latency routes and strong encryption. Install the VPN on your router or share a PC connection, then set up manual DNS or port forwarding if needed. Follow the steps and you’ll secure your console, improve performance, and unlo ck more content. Keep going for deeper setup details.
Quick Guide
- Choose a VPN with Australian servers (e.g., ExpressVPN, NordVPN) to lower ping, avoid ISP throttling, and protect against DDoS attacks.
- Install the VPN on your router or share a VPN‑connected PC to route PlayStation traffic securely and bypass geo‑restrictions.
- Use protocols like WireGuard or Expressway for optimal speed and latency, aiming for sub‑30 ms ping and high download rates.
- Enable split tunneling or manual DNS (Smart DNS) to keep gaming traffic fast while accessing region‑locked content.
- Verify NAT type and port forwarding settings after connecting to ensure stable multiplayer performance and compliance with service terms.
Why Use a VPN on PlayStation in Australia
Why use a VPN on your PlayStation in Australia? You cut ping and dodge ISP throttling, so games run smoother. Your IP stays hidden, protecting you from DDoS attacks and unwanted kicks. You access geo‑restricted titles and streaming services, accessing content early. Encryption masks your traffic from ISPs, hackers, and public Wi‑Fi snoops, providing privacy and stable, low‑latency play. VPNs can also reduce lag by routing traffic through optimized servers. US server presence can improve access to region‑locked content and services.
Compare Top VPNs for Australian PlayStation Gamers (2026)
You’ll notice that ExpressVPN, NordVPN, Surfshark, and Proton VPN all tout low latency and fast speeds, but their Australian server footprints differ.
ExpressVPN covers six cities, while the others each serve five major locations, giving you varying options for nearby connections.
Compare their speed test results and server distribution to pick the service that keeps your PlayStation gaming smooth and responsive. ACR helps explain why some devices send data even when idle, reinforcing the need for privacy-focused choices. A stable connection can also benefit from regular maintenance like restarting the TV and keeping firmware up to date to avoid compatibility issues with VPN apps. network stability
Speed and Latency
Ever wondered how a VPN impacts your PlayStation performance in Australia? ExpressVPN’s 10 Gbps Lightway servers keep latency around 30 ms, delivering blistering speeds. CyberGhost’s WireGuard setup loads games in under four seconds, while NordVPN’s NordLynx maintains 249 Mbps downloads. Proton VPN hits 1,521 Mbps with Accelerator tech, and PrivateVPN offers stable pings across 63 countries. Choose the one that matches your speed and latency needs.
Server Coverage in Australia
After reviewing latency and speed, the next factor to weigh is where the VPN places its servers across Australia. ExpressVPN offers six locations with 40 Gbps streams, while NordVPN spreads 190+ servers over five cities and adds global reach. Surfshark and CyberGhost each cover five and three cities respectively, with 140+ and 200+ nodes. ProtonVPN provides five locations but routes through SecureCore for extra security. Choose the spread that matches your gaming freedom.
Decide Which VPN Wins for PS5: NordVPN, ExpressVPN, or PureVPN?

If you want the best PS5 experience in Australia, compare NordVPN, ExpressVPN, and PureVPN on speed, latency, and stability. NordVPN tops performance with 950 Mbps peaks, 4–9 ms ping, and 190 Australian servers. ExpressVPN offers consistent 750 Mbps speeds, low fluctuations, and Lightway stability. PureVPN lags in speed, limits upload rates, and provides fewer gaming-focused features. Choose the service that aligns with your freedom-driven gaming priorities. In Australia, access to AnimeLab content can influence your choice due to regional availability and geo-restrictions. Keeping your connection secure during online gaming is essential for protecting your data and reducing lag, especially when using public networks or shared consoles. Access speeds can vary by server location and time of day, so testing different servers may help optimize your PS5 experience.
Install a VPN on PS4/PS5 via Router (Australia)
Sign up, download config files, then log into your router’s dashboard. Enter server, username, password, and upload the file if needed. Enable the VPN client, reboot, and connect your PS4/PS5 via Wi‑Fi or LAN, selecting “Do Not Use a Proxy Server.” Test the connection to confirm the new IP and stable speeds. Firmware updates may be ongoing, so ensure your modem/router firmware is current to prevent compatibility issues with the VPN setup. OpenVPN requires appropriate configuration files and may benefit from dedicated hardware acceleration where available.
PC‑Sharing VPN Setup for PlayStation (Windows & macOS)
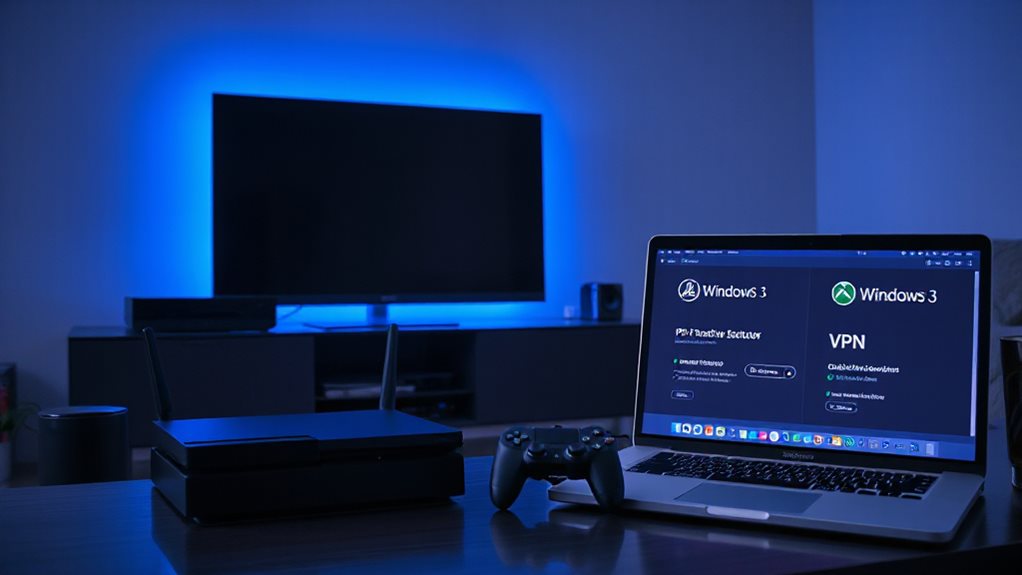
You’ll first enable network sharing on your PC, then configure the VPN connection, and finally hook up your PlayStation via Ethernet.
By turning on the sharing option for the VPN adapter and selecting the hotspot or Ethernet interface as the home network, the VPN traffic routes through your computer.
Once the PC is connected to the VPN, your console will use that protected link automatically.
Geo-blocking restricts access to the US library, making a US-based IP appear from your PC to the PlayStation when the VPN is active.
Enable Network Sharing Settings
Once your VPN is connected on the PC, you can share that secure connection with your PlayStation by configuring the appropriate network‑sharing settings. On Windows, enable Mobile Hotspot, set a name and password, and choose Wi‑Fi as the sharing method. For Ethernet, open Network Connections, allow sharing on the VPN adapter, and bind it to the Ethernet port.
On macOS, turn on Internet Sharing from System Preferences, select the VPN as the source, and enable Wi‑Fi output. Then connect your PlayStation using the Easy method, selecting the PC‑created network and skipping any proxy.
Configure VPN Connection on PC
Now that your PlayStation can connect to the PC‑hosted hotspot, you need to set up the VPN on the computer itself. Download and install your provider’s app, then log in. Choose a server—Australia, UK, or US East Coast—and connect. Open Network Connections (ncpa.cpl), locate the VPN adapter, enable Sharing, select the Wi‑Fi hotspot as the home network, and apply. Verify the PS5 receives a 192.168.137.x address.
Connect PlayStation via Ethernet
How can you get a PlayStation online through a PC‑hosted VPN without relying on Wi‑Fi? Plug an Ethernet cable from your PC to the PS5, then share the VPN connection.
On Windows, enable sharing on the VPN adapter and select Ethernet as the home network.
On macOS, turn on Internet Sharing from VPN to Ethernet.
Configure the PS5 wired LAN, choose Easy, skip proxy, and test the connection.
Mobile Hotspot VPN for PlayStation Gaming (Every Proxy)
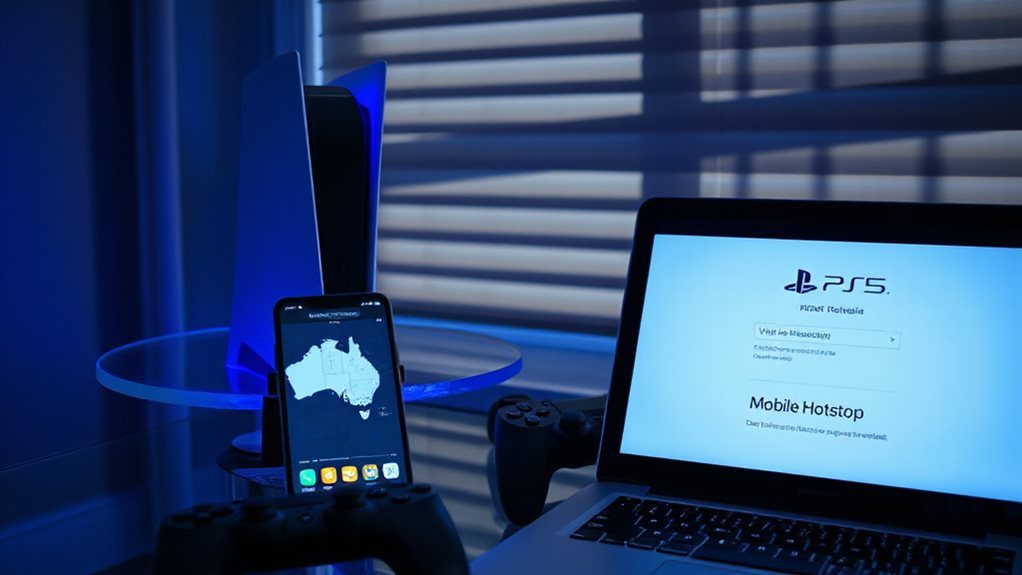
Ever wondered how to keep your PlayStation traffic private while using a mobile hotspot?
Install a VPN app on your phone, connect to a server, then enable the hotspot.
On the PS5, go to Settings → Network → Set Up Internet Connection, select Wi‑Fi, choose your phone’s hotspot, and enable the HTTP proxy with the phone’s gateway IP and port 8080.
Test the connection; your gaming data now tunnels securely through the VPN. The process also mirrors how streaming platforms like SBS On Demand manage regional access for shows such as The New Pope, Party of Five, Shrill, Dublin Murders, and The Bureau when accessed through different networks. VPN coverage can help maintain consistent privacy across devices.
Smart DNS Setup for PlayStation Region Switching
You’ll start by entering the DNS settings under Network → Settings → Set Up Internet Connection and switching to Manual DNS, then input the provider’s primary and secondary addresses.
Once the Smart DNS is active, you can change your console’s region to access games and services that aren’t available in Australia, giving you a broader library and lower latency for foreign servers.
Remember to restart the PS5 and verify the connection status to ensure the new DNS is working correctly.
DNS Configuration Steps
Where do you start when setting up a Smart DNS on your PS5? Open Settings → Network → Settings → Set Up Internet Connection, press Options for Advanced Settings, choose Manual DNS, and enter the primary and secondary DNS from your provider (e.g., 185.37.37.37 and 185.37.39.39).
Set IP to Automatic, MTU to Automatic, skip proxy, confirm OK, then restart the console.
Verify status in Network → View Connection Status.
Region Switching Benefits
After configuring your DNS, you can use the same Smart DNS profile to switch your PlayStation’s virtual region. This lets you snag cheaper games in Turkey or Argentina, grab titles that launch earlier elsewhere, and unlock region‑exclusive libraries. Smart DNS also bypasses geo‑blocks for streaming services, delivering faster, lower‑latency connections without encryption overhead. Enjoy broader content and cost savings effortlessly.
Choose Low‑Latency Servers for PS5 Gaming
Choosing a low‑latency server is essential for smooth PS5 gaming. Pick a nearby server—ExpressVPN’s Lightway or Surfshark’s WireGuard can give you 9 ms ping and 10 Gbps speeds. Australian options like CyberGhost (254 Mbps) or PIA (231 Mbps) work well. Use wired Ethernet, enable split tunneling, and set DNS manually to cut overhead. Test ping in‑game to confirm optimal performance.
Set Up Port Forwarding for PS3/PS4 Multiplayer
Enable port forwarding on your router to give your PS3 or PS4 a direct path for multiplayer traffic and achieve NAT Type 2. Reserve a static IP for the console, then log into the router and locate the Port Forwarding section. Add rules for TCP 80, 443, 3478-3480 and UDP 3478-3479 (or 3074). Save, reboot, and confirm NAT Type 2 in the network test.
Fix Common VPN Problems on Your PlayStation
Port forwarding gives your console a direct route, but VPNs can still introduce issues that disrupt gameplay. Fix NAT by selecting a nearby VPN server, enabling UPnP or DMZ, and adjusting PS network settings.
Reduce timeouts with Ethernet, limit devices, and restart the VPN.
Resolve sign‑in errors by changing servers or repositioning the router.
Update the client, switch protocols, and use split tunneling for speed.
Legal & Safety Tips for Using a VPN on Sony Consoles
Wondering whether a VPN is safe to use on your PlayStation? You’re legal in Australia, but you may violate service contracts.
Stick to streaming, not torrenting, and avoid false address claims that could trigger fraud accusations.
Use reputable providers, keep VPN software up‑to‑date, and respect age‑verification rules.
Wrapping Up
A VPN keeps your PlayStation secure, lets you bypass geo‑restrictions, and can improve connection stability when you choose low‑latency servers and set up port forwarding. Pick a reputable service—NordVPN, ExpressVPN, or PureVPN—based on speed, server coverage, and ease of router or PC sharing installation. Follow the step‑by‑step setup guides to configure your PS4/PS5 correctly. By staying informed about legal considerations and troubleshooting common issues, you’ll enjoy a safer, smoother gaming experience in Australia.