When your Ecobee won’t cool to the set temperature, start by verifying you have a properly connected C-wire for continuous 24VAC power—missing or loose C-wires cause intermittent shutdowns. Confirm the cooling mode is active with a snowflake icon and your set point sits below room temperature. Check that your system type matches your actual equipment in Installation Settings, inspect all wire connections for security, and clear any blocked condensate drain lines that trigger safety shutoffs. The steps below walk you through each diagnostic procedure systematically.
Quick Guide
- Verify cooling mode is active with snowflake icon and set point is below current room temperature.
- Check C wire connection at thermostat and furnace to ensure continuous 24VAC power supply is maintained.
- Confirm correct system type selected in Installation Settings matches your HVAC equipment configuration.
- Replace dirty air filters and inspect evaporator coils for ice buildup that restricts airflow.
- Listen for outdoor unit humming and inspect capacitor for bulging or damage requiring professional replacement.
Check Your Thermostat Power Supply and C-Wire Connection

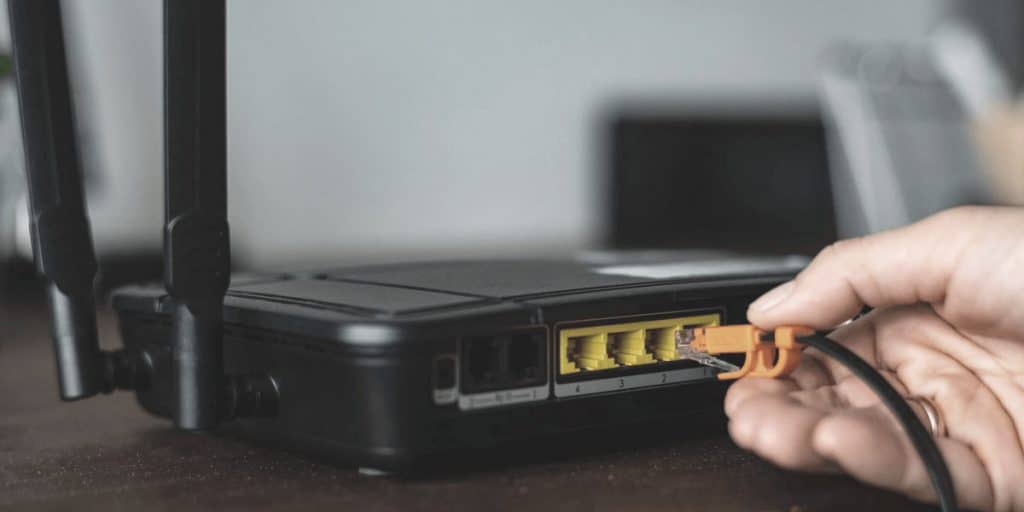
One of the most common reasons your Ecobee isn’t cooling to the set temperature is an inadequate power supply or faulty C-wire connection. Your thermostat requires a continuous 24VAC supply through the C wire to function properly. Without it, you’ll experience intermittent operation or complete shutdowns during cooling cycles. Check that your C wire is securely connected to the C terminal at both the thermostat and furnace control board. If your home doesn’t have a C wire, the ecobee Power Extender Kit provides a solution by combining Y and G functionality to free up a wire for the C connection. Also verify the thermostat’s 24VAC supply and that the R and C terminals are delivering proper voltage to avoid power-related cooling failures.
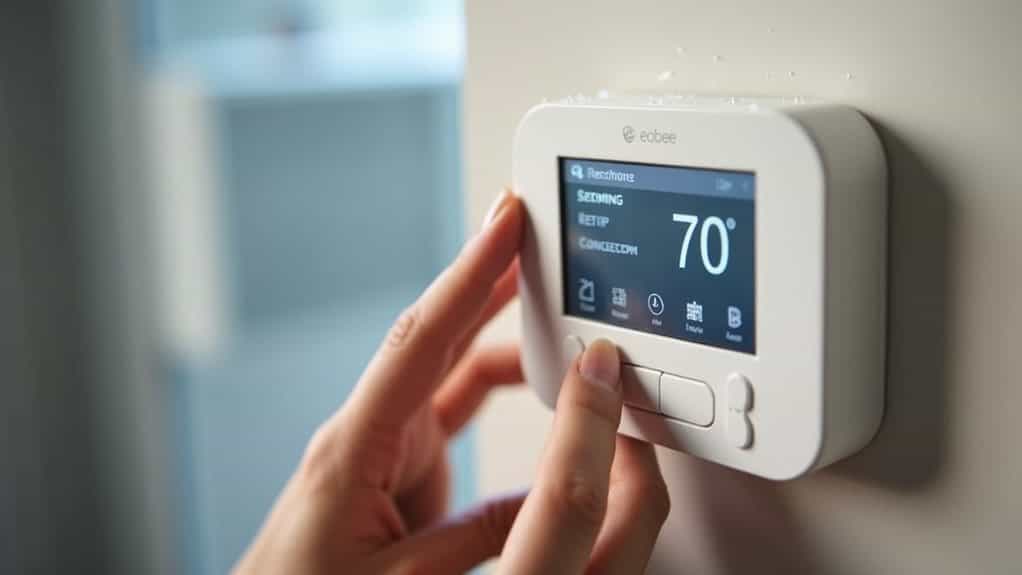
Verify Cooling Mode and Temperature Settings
Before troubleshooting complex mechanical issues, you’ll want to eliminate the simplest explanation: incorrect thermostat settings.
Access your Ecobee’s touch screen and confirm the snowflake icon appears, indicating cooling mode is active.
Tap the center temperature display to verify your set point is below the current room temperature.
Go to Settings > Thresholds and make sure “Auto Heat Cool Enabled” is configured properly for your system’s capabilities.
If the thermostat is unresponsive or behaving oddly, check for power or wiring issues such as a missing C wire to ensure stable power delivery.
Inspect System Type Configuration

Your ecobee’s system type configuration directly affects how it activates cooling equipment, and selecting the wrong type during setup can prevent proper temperature control.
You’ll need to verify whether your thermostat is configured for a heat pump, conventional HVAC system, or fan coil unit, as each requires specific terminal assignments and control logic.
Mismatched system types cause the thermostat to send incorrect signals to your equipment, resulting in failed cooling calls or improper compressor operation.
Also check that the thermostat has a reliable C-wire connection to ensure it has continuous power for proper operation.
Verify Heat Pump Settings
Incorrect heat pump configuration in your Ecobee thermostat can prevent your system from cooling effectively, even when all physical components are functioning properly.
Access Equipment Settings and confirm you’ve selected the correct system type (1-stage or 2-stage heat pump).
Verify the heat pump type matches your installation—”Air to Air” for standard units or “Geo” for geothermal systems.
Check that reversing valve settings align with your equipment’s specifications to enable proper cooling mode operation.
Conventional System Configuration
When troubleshooting cooling problems, confirming that your Ecobee is configured for a conventional system becomes essential if you have separate heating and cooling equipment—typically a gas or oil furnace paired with a standalone air conditioner.
Go to Menu > Settings > Installation Settings > Equipment and verify “Conventional” is selected.
Incorrect system type selection—like choosing “Heat Pump”—prevents proper air conditioner activation, causing cooling failures despite correct wiring and thermostat calls. System compatibility issues can arise when the Ecobee isn’t properly matched to your HVAC configuration, leading to unreliable temperature control even when all other settings appear correct.
Correcting Mismatched System Types
If your Ecobee displays the wrong system type in its configuration menu, the thermostat won’t send appropriate signals to your cooling equipment regardless of proper wiring or accurate temperature readings.
Go to Menu → Settings → Installation Settings → Equipment to verify the displayed system type matches your actual HVAC equipment—heat pump, conventional, or dual fuel.
Compare this setting against your furnace or outdoor unit documentation, then correct any discrepancies before adjusting other settings.
Examine Thermostat Wiring and Connections
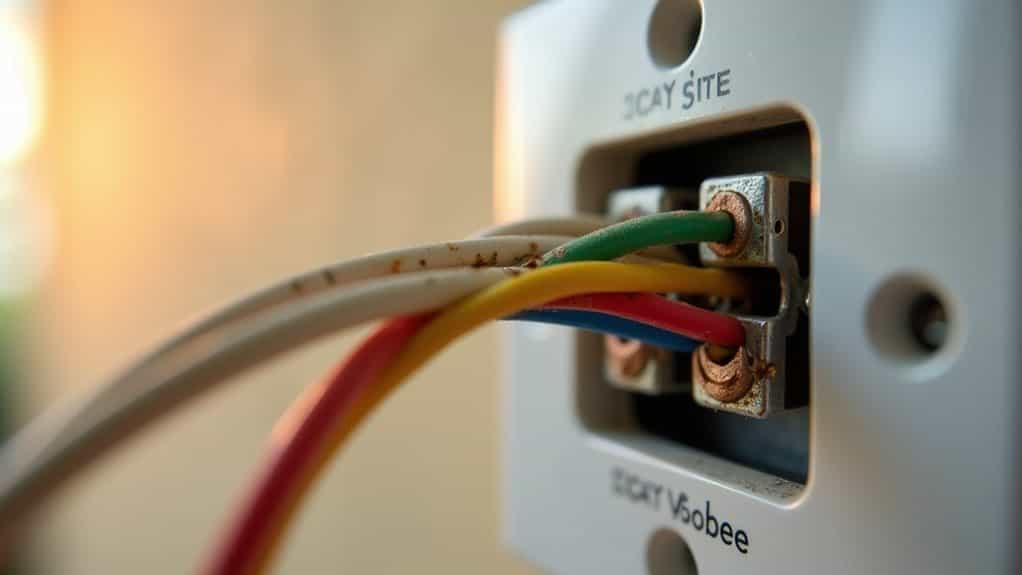
Thermostat wiring problems rank among the most common culprits when an Ecobee fails to cool your home to the set temperature. Check that all wires are fully inserted into terminal blocks and tug gently to confirm secure connections.
Verify your R wire connects to the Rc terminal and that wire labels match your system’s configuration. Loose connections cause intermittent operation, while incorrect terminal assignments prevent cooling calls from reaching your equipment. Recovery mode can also affect how and when your system reaches the set temperature, so consider whether recovery mode is active and adjust settings if needed.
Test Your Wi-Fi Signal and Network Connectivity
Although faulty wiring often causes cooling failures, network connectivity issues can prevent your Ecobee from receiving critical firmware updates, syncing schedules, and communicating with remote sensors that inform temperature decisions.
Check your Wi-Fi signal strength by observing the bars displayed on your thermostat’s screen. Strong signals show more solid bars, while weak signals indicate positioning problems.
For precise measurements, use Wi-Fi analyzer apps to identify dead spots requiring router repositioning or additional access points.
Press the router’s WPS button for three seconds to simplify pairing with devices and improve connectivity to smart thermostats like Ecobee by enabling easier network setup and device joining with a WPS push-button method.
Review Error Messages and Alert Notifications

Your thermostat’s error messages and alert notifications serve as your first line of defense in diagnosing cooling problems.
Check the main menu’s “Messages” section or your mobile app for active alerts. Common codes like E1/E2 indicate sensor issues, while E4 points to wiring faults.
Address warnings about equipment runtime, temperature extremes, or maintenance needs promptly.
Persistent errors require professional diagnosis.
Replace or Clean Your Air Filters
One of the most frequently overlooked causes of inadequate cooling is a dirty or clogged air filter.
Replace pleated filters every three months and basic fiberglass filters every one to two months.
For reusable filters, vacuum loose debris, wash gently with soapy water, rinse thoroughly, and allow complete air drying before reinstalling.
Clean filters improve efficiency by 5–15% and enhance cooling performance.
Check for Frozen Evaporator Coils
When your Ecobee thermostat isn’t cooling your home to the desired temperature, frozen evaporator coils could be the culprit.
Turn off your AC immediately and inspect the coils for ice buildup. Insufficient airflow, low refrigerant levels, or dirty coils typically cause freezing.
Allow complete thawing before restarting.
If ice reappears, you’ll need professional service to diagnose underlying issues like refrigerant leaks or airflow restrictions.
Clear Blocked Condensate Drain Lines
A blocked condensate drain line can prevent your Ecobee system from cooling properly, as trapped moisture causes the evaporator coils to freeze or triggers safety shutoffs.
You’ll need to locate your drain line—typically a PVC pipe near the indoor air handler—and check for visible signs like water pooling, musty odors, or reduced airflow.
Once you’ve identified a blockage, you can clear it using a wet/dry vacuum, plumbing snake, or vinegar flush to restore proper drainage and cooling performance.
Locate the Drain Line
Before you can clear a blocked condensate drain line, you’ll need to find it first.
Look near your indoor air handler or furnace for a PVC pipe, typically 3/4 inch in diameter.
It connects to the evaporator coil’s drip pan and exits through a wall, floor, or ceiling.
Check for a removable access panel at the air handler’s connection point.
Signs of Blockage
Once you’ve located your condensate drain line, knowing what to look for can help you identify a blockage quickly.
Watch for water pooling near your indoor unit, reduced cooling performance, or musty odors from vents.
You might notice ice forming on evaporator coils, increased humidity levels, or your system triggering automatic shutdowns.
Water stains on nearby floors and walls also indicate drainage problems.
Cleaning Methods and Tools
Clearing out a clogged condensate drain line doesn’t require professional know-how if you have the right tools and methods at your disposal.
You can use a wet/dry vacuum to suction out blockages, pour equal parts vinegar and water to dissolve buildup, or insert a plumbing snake for stubborn clogs.
Always turn off your AC system before starting any maintenance work.
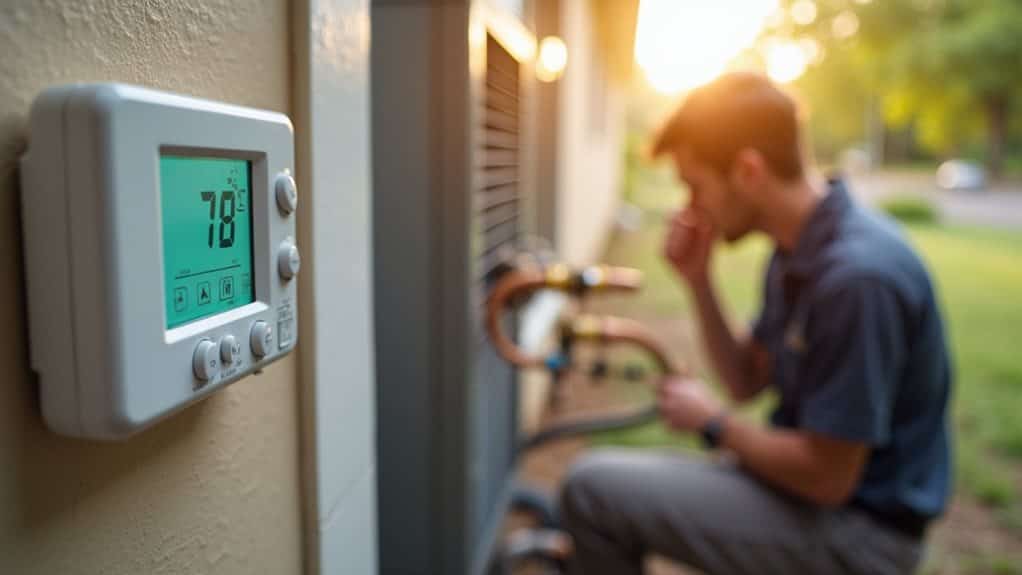
Evaluate Your AC Capacitor and Compressor Function
When your Ecobee thermostat displays the set temperature but your home remains uncomfortably warm, a failing capacitor or malfunctioning compressor often lies at the heart of the problem.
Listen for humming noises from your outdoor unit or notice if the system struggles to start.
Inspect the capacitor for bulging, leaking oil, or discoloration.
These visual signs indicate failure requiring immediate replacement to restore proper cooling.
Perform a Factory Reset on Your Ecobee
If you’ve tried other troubleshooting steps without success, a factory reset can resolve persistent cooling issues by clearing corrupted settings or configuration errors.
You’ll need to access your thermostat’s Settings menu, select the Reset option, and choose “Factory Reset” or “Reset All” to restore the device to its original state.
Keep in mind that this process erases all your schedules, Wi-Fi connections, and system configurations, so you’ll need to set everything up again from scratch.
When to Reset
A factory reset should be your last resort for resolving issues with your Ecobee thermostat, but there are specific situations where it’s not just helpful—it’s necessary.
Reset when moving out or selling your home to erase personal data. If you’ve moved into a home with an existing Ecobee, reset it to remove the previous owner’s information. Consider resetting after persistent troubleshooting failures or major HVAC system changes.
Factory Reset Steps
Before diving into the reset process, you’ll need to understand that performing a factory reset on your Ecobee thermostat is a straightforward but irreversible action.
Wake your device and tap the Menu icon.
Proceed to Settings, then scroll to Reset.
Select “Reset All” or “Factory Reset.”
Confirm when prompted.
The process takes approximately one minute, after which your thermostat displays the welcome screen, erasing all configurations, schedules, and account links.
Post-Reset Configuration Tips
Once your Ecobee completes the factory reset and displays the welcome screen, you’ll need to rebuild your thermostat’s configuration from scratch.
Start by reconnecting to Wi-Fi and linking your Ecobee account through the app.
Next, go to Installation Settings to configure your HVAC equipment type and reversing valve settings for heat pumps.
Finally, establish new temperature preferences, recreate schedules, and test both heating and cooling cycles to verify proper operation.
When to Call an HVAC Professional
While many Ecobee cooling issues can be resolved through basic troubleshooting, certain situations demand professional HVAC know-how.
Call a technician if your thermostat displays persistent error codes, your system blows warm air despite showing “Cool On,” or you’ve exhausted standard fixes without success. Complex electrical repairs, capacitor replacements, and refrigerant diagnostics require specialized tools and expertise that guarantee safety and prevent costly damage.
Wrapping Up
When your ecobee won’t cool to the set temperature, you’ll typically find the issue stems from simple configuration errors, wiring problems, or maintenance needs. Work through these troubleshooting steps systematically, starting with the easiest solutions first. Most problems you can resolve yourself within minutes. However, if you’ve exhausted these options without success, don’t hesitate to contact a licensed HVAC technician. They’ll diagnose complex issues like refrigerant leaks or compressor failures that require professional skill.