If “Preview Not Available” appears, first check the Wi‑Fi RSSI in the Ring app and aim for ‑40 to ‑60 dBm (70 dBm or higher is ideal). Update the Ring app and grant camera, network, and storage permissions, then restart your phone. Verify firmware is up‑to‑date in Device Health and, if needed, force a reinstall by plugging the camera into power near the router for an hour. Adjust router settings—use 2.4 GHz, enable UPnP, and avoid VPNs. Test Live View in the web portal to isolate app issues, and if it still fails, power‑cycle or hard‑reset the camera. Continue for detailed steps.
TLDR
- Verify Wi‑Fi signal strength in the Ring app; aim for RSSI ‑40 to ‑60 dBm (≈ ‑70 dBm or higher) for reliable preview.
- Ensure the Ring app is updated to the latest version and grant camera, network, and storage permissions.
- Check Device Health: confirm firmware is “up to date,” battery level is sufficient, and no pending alerts.
- Power‑cycle the camera (remove battery or unplug for 10 seconds) and, if needed, perform a hard reset by holding the setup button 20‑30 seconds.
- Test Live View on the Ring web portal; if it works, the issue is app‑related—reinstall the app or contact Ring Support if it still fails.
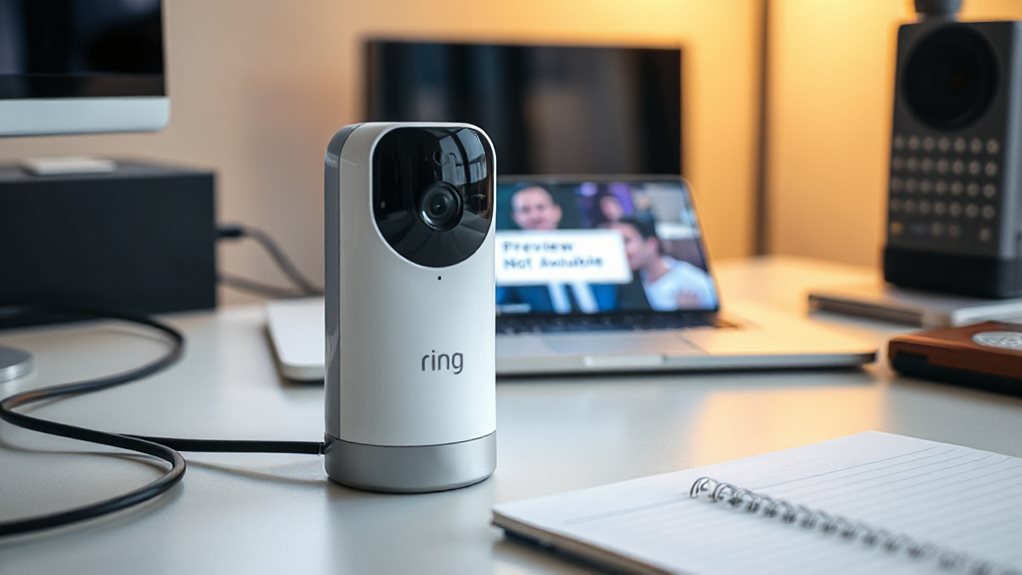
Why Your Ring Camera Shows “Preview Not Available” and How to Fix It
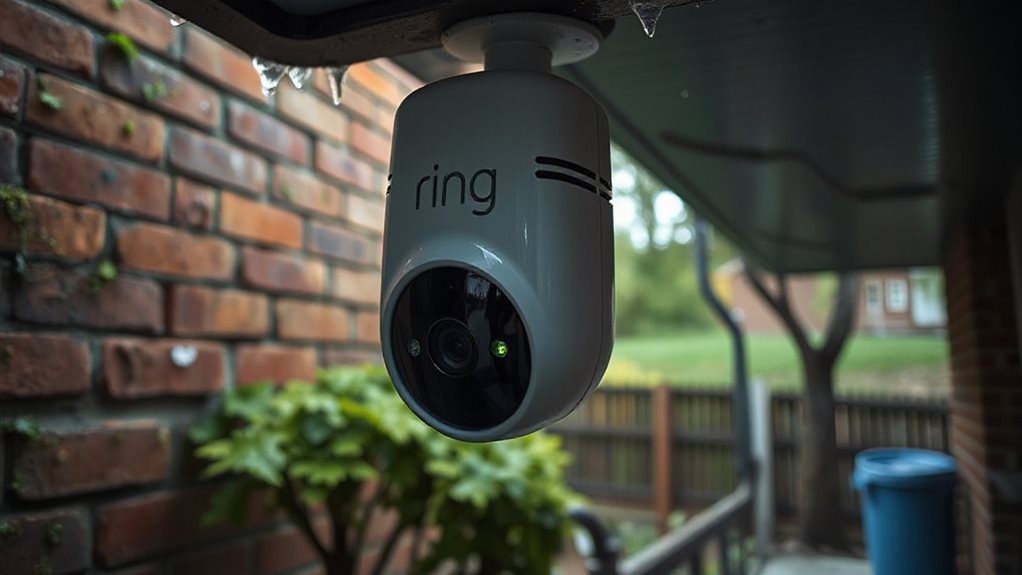
If your Ring camera shows “Preview Not Available,” it’s usually a sign that the device can’t maintain a strong Wi‑Fi connection.
Check the RSSI in the app; aim for 70 dBm or higher.
Power‑cycle the camera and reboot via the app.
Update firmware if available, then restart your router.
Test the live view and make sure the camera sits within range.
Staff have confirmed that a weak Wi‑Fi signal is the most common cause of the preview issue.
Update the Ring App to Resolve “Preview Not Available” Errors
When your Ring camera shows “Preview Not Available,” the problem often stems from a weak Wi‑Fi link, but an outdated Ring app can also block the live feed. Open your app store, check for the latest Ring version, and install it.
Grant camera, network, and storage permissions, then restart your phone.
If the preview still fails, uninstall and reinstall the app for a clean start.
Ensure a stable network connection and consider updating firmware for compatible devices to reduce buffering and improve feed reliability stable network.
Check Ring App Device Health for Firmware & Permission Status
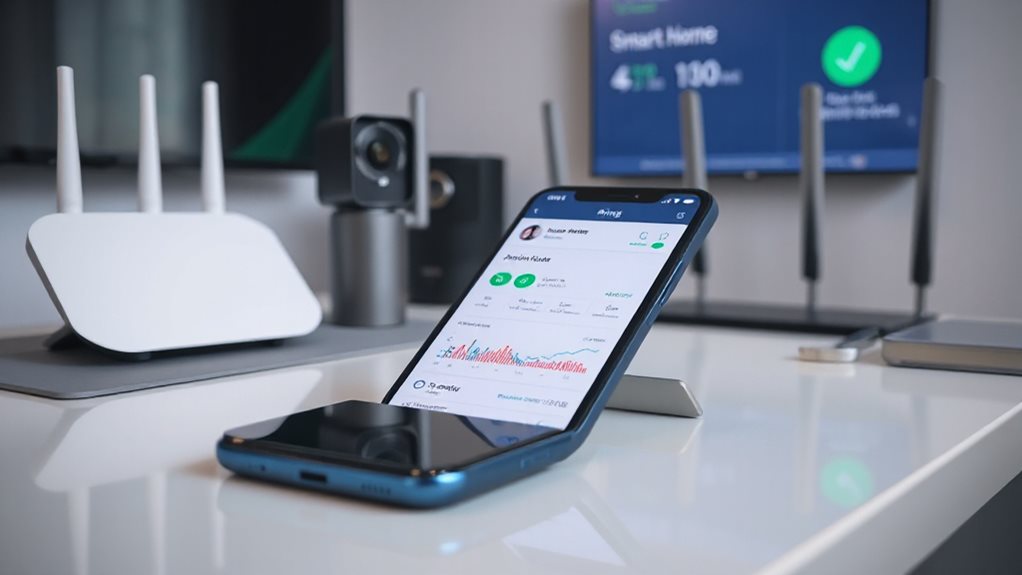
Open the Ring app, tap the three‑dot menu on the camera, select Settings, then Device Health.
Check the Firmware status under Device Details; it should read “up to date.”
Review Power Source, Battery Level, and Network signal to ensure no alerts.
If anything shows pending, address it before proceeding.
Additionally, verify that your Blink Live View settings align with your Ring monitoring needs to ensure seamless remote viewing across platforms. Live View
Fix “Preview Not Available” by Updating Camera Firmware
First, check your camera’s firmware status in the Ring app and verify it’s not stuck on an older version.
If it is, force a firmware reinstallation by plugging the camera into a power source near your router for about an hour, then reboot the device.
After the update, confirm the preview works via the Ring web portal or app.
Check Firmware Status
If your Ring camera shows “Preview Not Available,” start by checking its firmware status—an outdated version often blocks the live view.
Open the Ring app, tap the Alarm tile, then Firmware Update. Look for the device name; a green check means it’s current.
If it shows pending, schedule the update, guarantee a stable 2.4 GHz Wi‑Fi, and let the app confirm completion before retrying preview.
Force Firmware Reinstallation
When the preview still won’t load after checking the firmware status, you can force a reinstall by performing a hard reset and then re‑initiating the update.
Hold the setup button for 20‑30 seconds, power‑cycle the device, and remove it from the Ring app.
Re‑add it, confirm a stable 2.4 GHz Wi‑Fi connection, and let the automatic firmware download begin.
Verify the version in device health.
Test Wi‑Fi Signal Strength and Boost It for Stable Preview
First, check your router’s RSSI in the Ring app’s Device Health screen to see if the signal is in the “good” range (‑40 to ‑60 dBm). If the reading is weak, move the camera closer to the router or reposition the router for a clearer line of sight.
You can also enhance the signal with a Ring Chime Pro or a mesh system to keep the preview stable.
Check Router Signal Strength
To secure a stable Ring camera preview, start by checking your router’s Wi‑Fi signal strength.
Open your phone’s Wi‑Fi settings and note the bar count; four or five bars mean you’re above the 60 % threshold.
If you see two or three bars, move closer to the router or use a Wi‑Fi analyzer app to view dBm values.
Aim for -30 dBm to -50 dBm for reliable preview.
Optimize Camera Placement Proximity
How can you make sure your Ring camera stays within a reliable Wi‑Fi range?
Place the router centrally, raised, and clear of brick, concrete, or metal. Keep the camera 30‑50 ft away.
Choose 2.4 GHz for distance, or 5 GHz if close.
Use channel 4 or a mesh extender.
Run the Chime Pro Placement Test and adjust until the signal reads strong.
Give Your Ring Cameras, Phone, and Router a Quick Reboot
A quick reboot of your Ring camera, phone, and router can often resolve connectivity glitches and restore full functionality.
Open the Ring app, tap ☰ → Devices → select your camera → Device Health, then choose “Reboot This Device.” Wait two to three minutes.
For battery‑operated units, remove the pack for ten seconds, reinsert, and let it restart.
Unplug wired or plug‑in devices for ten seconds, then plug back in.
Finally, restart your phone and router, allowing each to fully power up before checking the preview.
Additionally, ensure the Ring Base Station is online and communicate with the app by verifying solid LED indicators and a stable DHCP assignment on the network. LED indicators
Configure Router (UPnP, Bypass, VPN) for Ring Connectivity
If your Ring camera isn’t showing a preview, the router is often the culprit, and adjusting UPnP, bypass rules, and VPN settings can restore connectivity.
Enable UPnP, assign a static IP, and open ports 80, 443, 9002, 53, 123, 8557‑9999, and UDP 16500‑65000.
Disable VPN during setup, then add a bypass rule for Ring traffic.
Prioritize Ring‑specific allow rules before broader policies.
The Ring Chime Pro’s extender can help stabilize connectivity for distant devices, which may improve preview reliability once the network path is optimized. Chime Pro’s extender
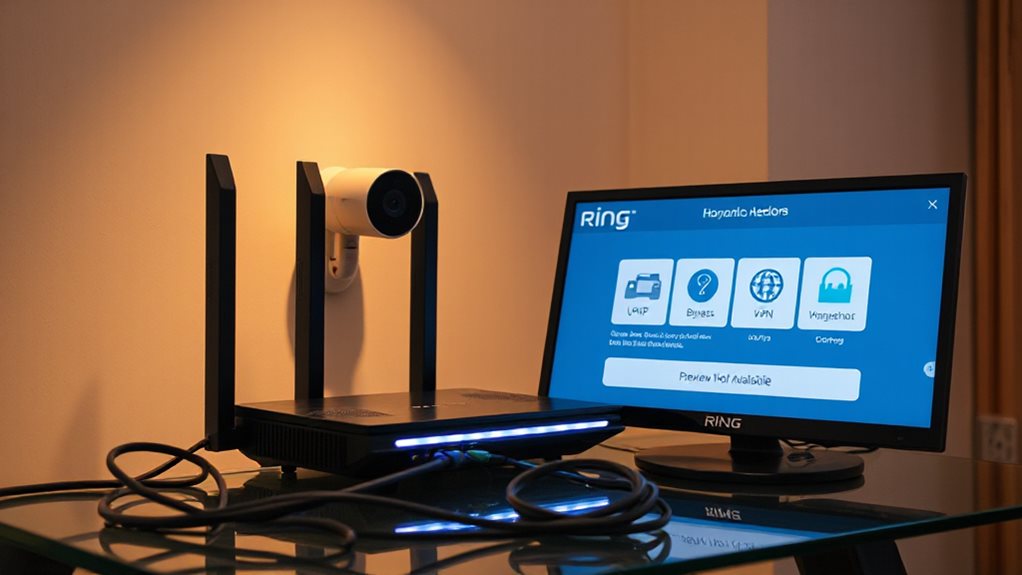
Try the Ring Web Portal to See If the Problem Is Device‑Specific
Log in to the Ring Web Portal and open the Device Health page to see the same transmit speed and signal data you get in the app.
Compare those metrics with what the browser shows; if the portal reports good speeds and a strong signal while the app shows a preview error, the issue is likely app‑specific.
Conversely, if the portal also shows low speed or weak signal, the problem is tied to the device itself. MAC address is one important identifier you can verify against known Arris devices on your network to confirm you’re checking the correct hardware.
Open Ring Web Portal
Wondering whether the issue is tied to a specific Ring device?
Open the Ring Web Portal at ring.com and log in with the same credentials you use in the app.
Choose the correct location if you have multiple.
Check the Device tab; if cameras appear in the app but not online, clear your browser cache, try incognito, or switch browsers.
Disable VPNs and make sure extensions aren’t blocking the site.
Compare Device vs Browser
When you suspect the preview issue is tied to a particular Ring device, start by opening the Ring Web Portal at ring.com and logging in with the same credentials you use in the app. Check the camera tile status and compare it to the app’s offline icon.
Use the Device Health section to reboot or power‑cycle the camera.
Test network consistency by loading ring.com on the same Wi‑Fi, switching to 2.4 GHz if needed, and ensuring only one router handles traffic.
This quick cross‑check tells you whether the problem lives in the device or the broader network.
Identify Device‑Specific Issues
If the camera tile shows offline on the Ring app but appears normal in the web portal, the issue is likely tied to the device itself.
Open the Ring web portal, log in, and check Live View.
If it works, the hardware or firmware is fine; the app may be the culprit.
Verify RSSI and firmware version in Device Health, then update or reset the camera as needed.
Full Power‑Cycle and Camera Reset When Preview Still Fails
A full power‑cycle followed by a factory reset often restores a Ring camera’s preview when other troubleshooting steps fail.
Remove the battery or unplug the device for ten seconds, then power it back on.
Use the Ring app to reboot if needed.
Hold the setup button for twenty seconds to reset, wait for flashing lights, then reconnect Wi‑Fi and test the preview.
(Alexa integration, a common method to manage Ring and Blink devices via routines, can help verify that the devices respond correctly after reset).
Contact Ring Support for Advanced Help With Diagnostic Details
If the full power‑cycle and factory reset still haven’t restored the preview, it’s time to reach out to Ring Support with detailed diagnostics.
Open the Ring app, go to Device Settings → Device Health, and generate a report.
Note the MAC address, battery level, and Wi‑Fi speed.
Then contact support via chat (6 AM‑10 PM MT) or call +1‑310‑929‑7085, providing those details for advanced troubleshooting.
Improving connection reliability can also help restore previews: ensure devices are on a stable 2.4 GHz network and verify signal strength is solid between the camera and the hub. Signal strength
And Finally
If you’ve followed these steps and the preview still won’t load, the issue is likely hardware‑related or tied to your network configuration. At this point, gather the diagnostic information you’ve collected—error logs, firmware version, Wi‑Fi strength—and contact Ring Support. Provide those details so they can pinpoint the problem and guide you through any advanced fixes or a possible replacement. This guarantees a systematic resolution without unnecessary trial and error.